I love mixed media work that layers and collages varying elements into one piece, but still creates a cohesive universe, a dreamworld with the same depth and breadth as the natural world around us. I’ve found the best way to create mixed media work that maintains perspective and three-dimensionality is to base your piece off of photos you’ve taken. I usually build a concept first, then find photos that support the design I’ve constructed in my head. Those that don’t know where to start can begin with a photo that has meaning to them, one they find inspiring, or one that just plain looks pretty and build from there. I’m going to take you through my process for creating mixed media pieces inspired by photography, but each person may approach their own process a little differently once they get started.

The Dance, Awarded Best 2D “Piece By Piece” at Creative 360 Gallery; prismacolor pencil, ink, watercolor, fabric, book pages, embroidery thread

Quite literally, frolicking in the woods. I knew these poses would come in handy for something one day …

An outtake from playtime 🙂
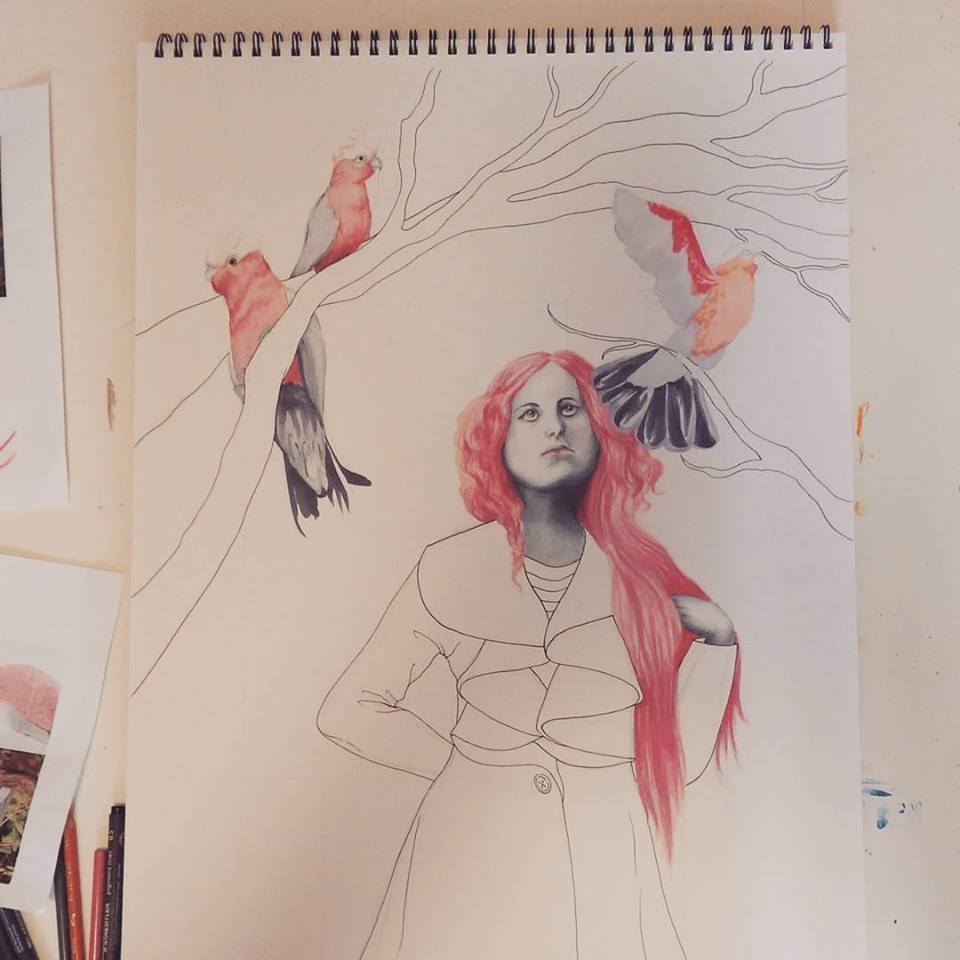
Once you have your concept and your photo(s), the first thing you want to do is break your image down into components, and decide what material will be used for which component. A sketchbook comes in real handy for jotting down notes during this part of the *adventure*.
For “The Dance”, I first thought of what needed texture, and what didn’t. The ground covered in fallen leaves was certainly full of visual texture, as was the bark on the trees. The figures and the path could be left flat – you don’t want to overdo the texture or a piece can get confusing. Framed by the raised texture, this would also help the figures stand out as the focus. Only a handful of the trees in the woods were actually birch, but I knew I wanted a lot of light colors so the girl’s gowns would be in stark contrast to the background, similar to in the black and white photograph. Therefore, I decided to make all the trees in my mixed media birch bark. FYI, book pages are fantastic as birch bark. The color is already spot on, and the all over text compliments the black circles and rings that tattoo its surface. I twisted the paper into thin tendrils for the roots and branches to bring the trees off the page. As for the ground, I used torn muslin fabric. The white color allowed me to use the fabric similar to plain paper once applied, and layer watercolor paint over it until it reached the desired color. Torn fabric is great for ground cover because it frays, creating a believable texture all on its own. I knew I wanted the dresses to be done in ink because ink appears lighter in weight and airier, and would communicate the translucent flow of the skirt. Colored pencil works well for tiny, precise detail and I also am far better at drawing the human body than painting it, which is why I used pencil for the head and hands. Ink was used for the path as well, because once again I wanted a “light” feel to the path to help it stand out and so I could better capture the strong light source hitting it from the sun. The ink also transitions well into watercolor. Transitions are still important even in more “assemblage” type projects. When creating mixed media scenes, though you are in essence collaging, you don’t want to completely have that seamed together, cut and paste look.
The choices I made for “The Dance” were based on two things; first, what look do I want to achieve but also second, what is practical based on my strengths and weaknesses with the various materials? This second deciding factor will be different for each artist. I have learned from teaching that many, many other artists do not enjoy drawing people as much as I do, and quite a few even flat out despise it. If this is you, for a piece with people in it you may choose to have the figures printed and cut them out, pasting them into the scene rather than drawing them. A way to work photography into the piece so it doesn’t look separate from the rest of the environment would be to perhaps print them in black and white or sepia and then “colorize” the photos by lightly shading over the eyes, hair, cheeks, etc. with a colored pencil. You can also add three dimensional elements over the photo such as some fabric leaves blowing across the body, a small paper flower on the person’s jacket or in their hair, or gluing actual fabric over their clothing. This “anchors” the photo of the person/people within the environment to become part of the entire piece rather than a separate cutout element.

“Actually, It Is This World That’s Too Small”, Mixed Media

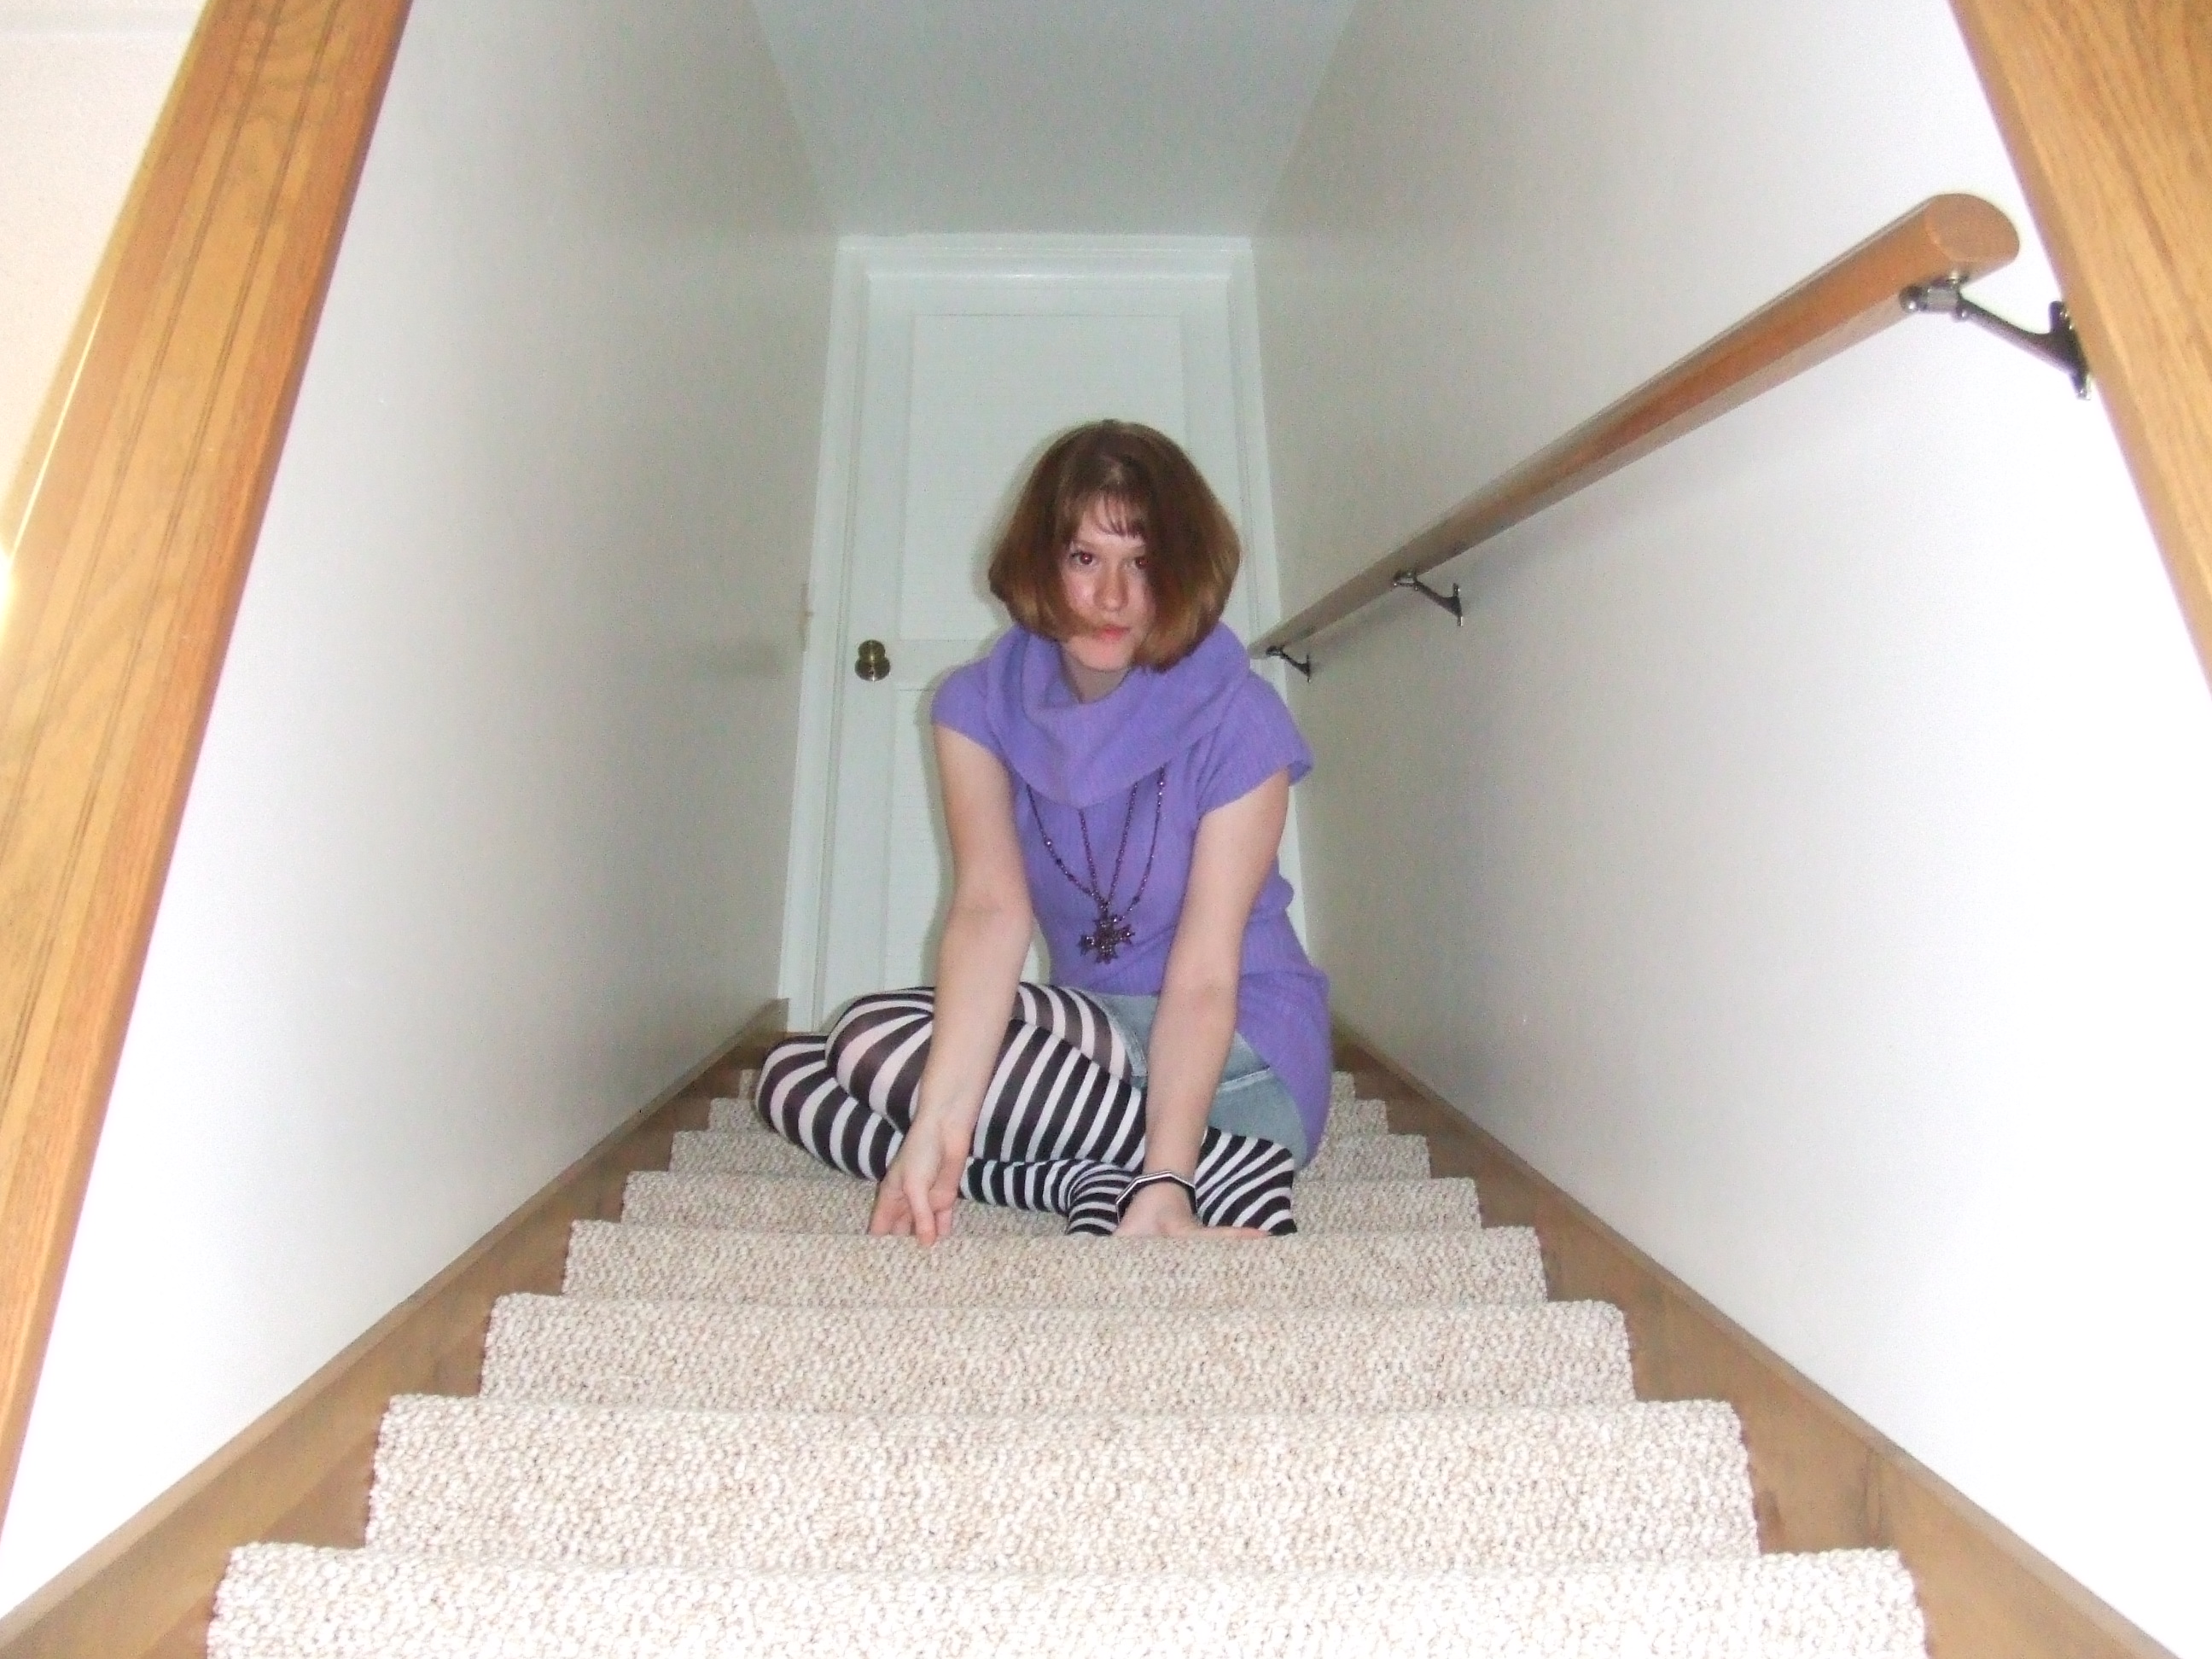
My 10 year reunion is coming up next year, and the clothes I used to wear in high school are officially beginning to look silly. Cap sleeved turtleneck sweaters and pre-worn jean skirts for the win! And always striped tights, because Amy Brown fairies and The Dresden Dolls (I would still rock those!)
“Actually, It Is This World That’s Too Small” is a mixed media piece I based on a photo a friend took in high school while we were hanging out, playing around with cameras in my basement. I never felt that I shared much in common with “typical” teenage girls, but a desire to constantly take photos of each other was one stereotypical trait my friends and I all did share – just sometimes my photos involved face painting or cardboard masks rather than manicures and false eyelashes. I found it interesting how the angle of the photograph made it look like the door behind me was miniature, like the door the white rabbit escapes through in Alice In Wonderland. You can see how the photo serves as a guide and an inspiration, but by no means dictates what your final piece has to look like. Creative alterations are always an option, and encouraged.
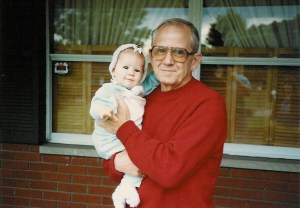
Old family photo with Grandpa (I can’t believe I’m posting this, but for the sake of art … I will publicly expose baby photos to the online universe – at least the non-embarassing ones).
What’s really awesome is that beyond conceptual art, you can apply this same technique to family photos, and make a truly meaningful piece of work that is entirely personal. I’m going to talk you through how I would approach this photograph above if I were going to turn it into a mixed media piece. This will give you another example that will hopefully help you solidify how to proceed on a project of your own. I would probably draw the people since I adore portraits and figures, but once again if figures are not your thing, you could print yours from an enlarged photo and collage them in – it’s totally allowed :). There is really no reason to just color in a solid red shirt, so I would probably trace a pattern to get the right shape, and then cut the sweater out of fabric and paste it over my grandpa like I did with the purple dress in the staircase piece shown previously. Remember, always look for places to add interest with different materials. Due to the light, reflective nature of the window glass, I would use a mix of ink and watercolor for that part. The bricks are definitely the most textural element in this particular photo, so for those I would mix a gritty element like sand into acrylic paint, and create a rough, uneven texture in dark red on the wall. Once dry, I would then paint the grey cement lines over with a thin brush. For the sake of my sanity and also to make it more interesting and less institutional looking, I would probably change the brick to an uneven pattern of varying size and shape as opposed to the uniformity that was there in real life. How else can we add interest? In the photo, there are no flower boxes on the windowsill, but why can’t there be? You can cut flowers out of paper or white fabric and color them with ink or watercolor, or you can glue on small ribbon rosettes available in the floral or wedding aisle of most craft stores.
I hope this post has given you some ideas, and I’d like to end with a simple (though not set in stone) guide as to when certain materials are most beneficial when creating your own mixed media wonderland.
Watercolor: overall background coverage, light or translucent forms, florals, glass, water
Ink: flowers and plants, light or translucent forms, fabric, glass, water, figures/faces/skin/hair
Colored Pencil: small details, figures/faces/skin/hair, birds or furry animals, stone or bark
Fabric: clothing, flowers and plants, ground cover (soil, grass, leaves, etc), interior wallpaper
Book Pages: trees and bark, interior wallpaper, flowers
Sand Mixed With Paint: brick, stone, dirt
Other Accoutrements: embroidery thread sewn through the paper as anything composed of thin lines: tree branches, eyelashes, veins, flower stems …; small ribbon flowers, tiny prints on photo paper as interior wall art, strung seed beads or glued on flatback rhinestones as jewelry, use your imagination and don’t be afraid to try something new!
Feel free to comment or message if you need any advice on a project you’re working on or a new one you are beginning. I’m happy to help!

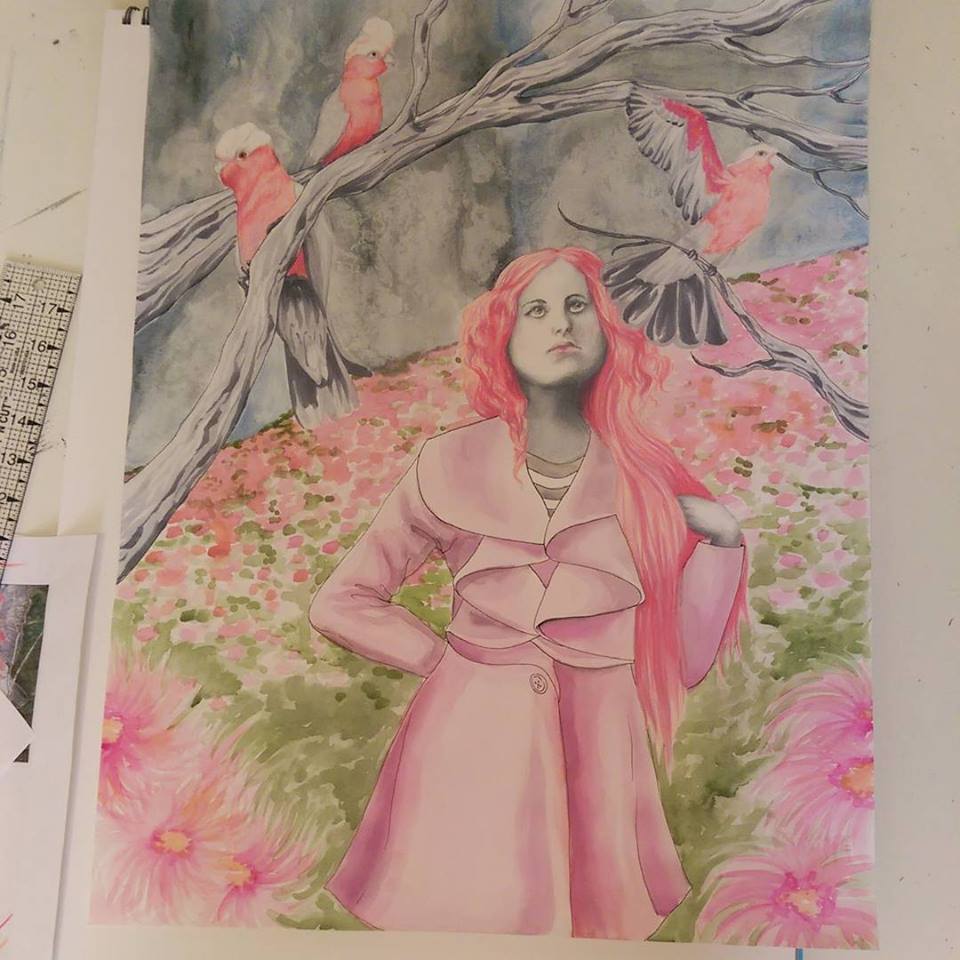
 An additional challenge – my two loves are watercolor and colored pencil, and I especially love to utilize these two vastly different mediums together. What paper to use, though? Colored pencils just cannot blend on watercolor paper with the strongly textured, bumpy surface so I tend to opt for mixed media paper when using wet and dry mediums together. However, watercolor does not act the same way on mixed media paper as on traditional watercolor paper. Doing wet-on-wet color application leads to some really blotchy, unpleasant results so I had to be patient and do a lot more light layering to build up to the look I wanted.
 I am a bit late on my
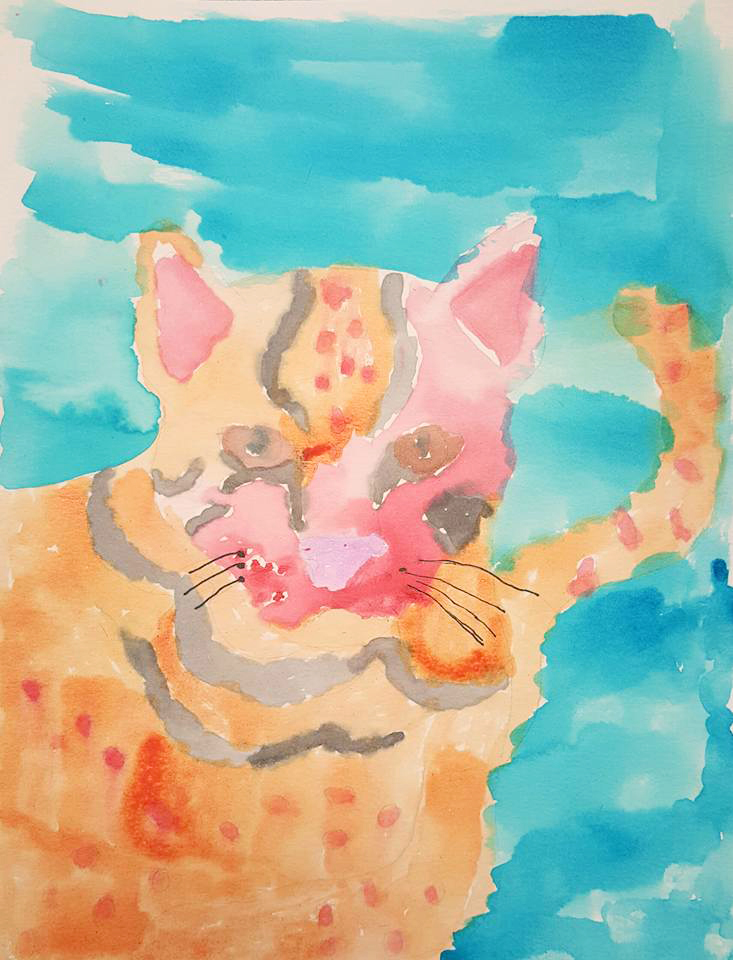
  This was a very successful box for me – I loved the brush as well. The firmness and shape allows it to work well for both filling in tiny detail areas, and covering larger areas depending how you tilt the brush. It worked excellently for applying shading. Another success was the watercolor paper, which I expected since I already quite like the Canson brand :).
 So, I was having a really rough week y’all … and then I got this in the mail.
 The January box came with:
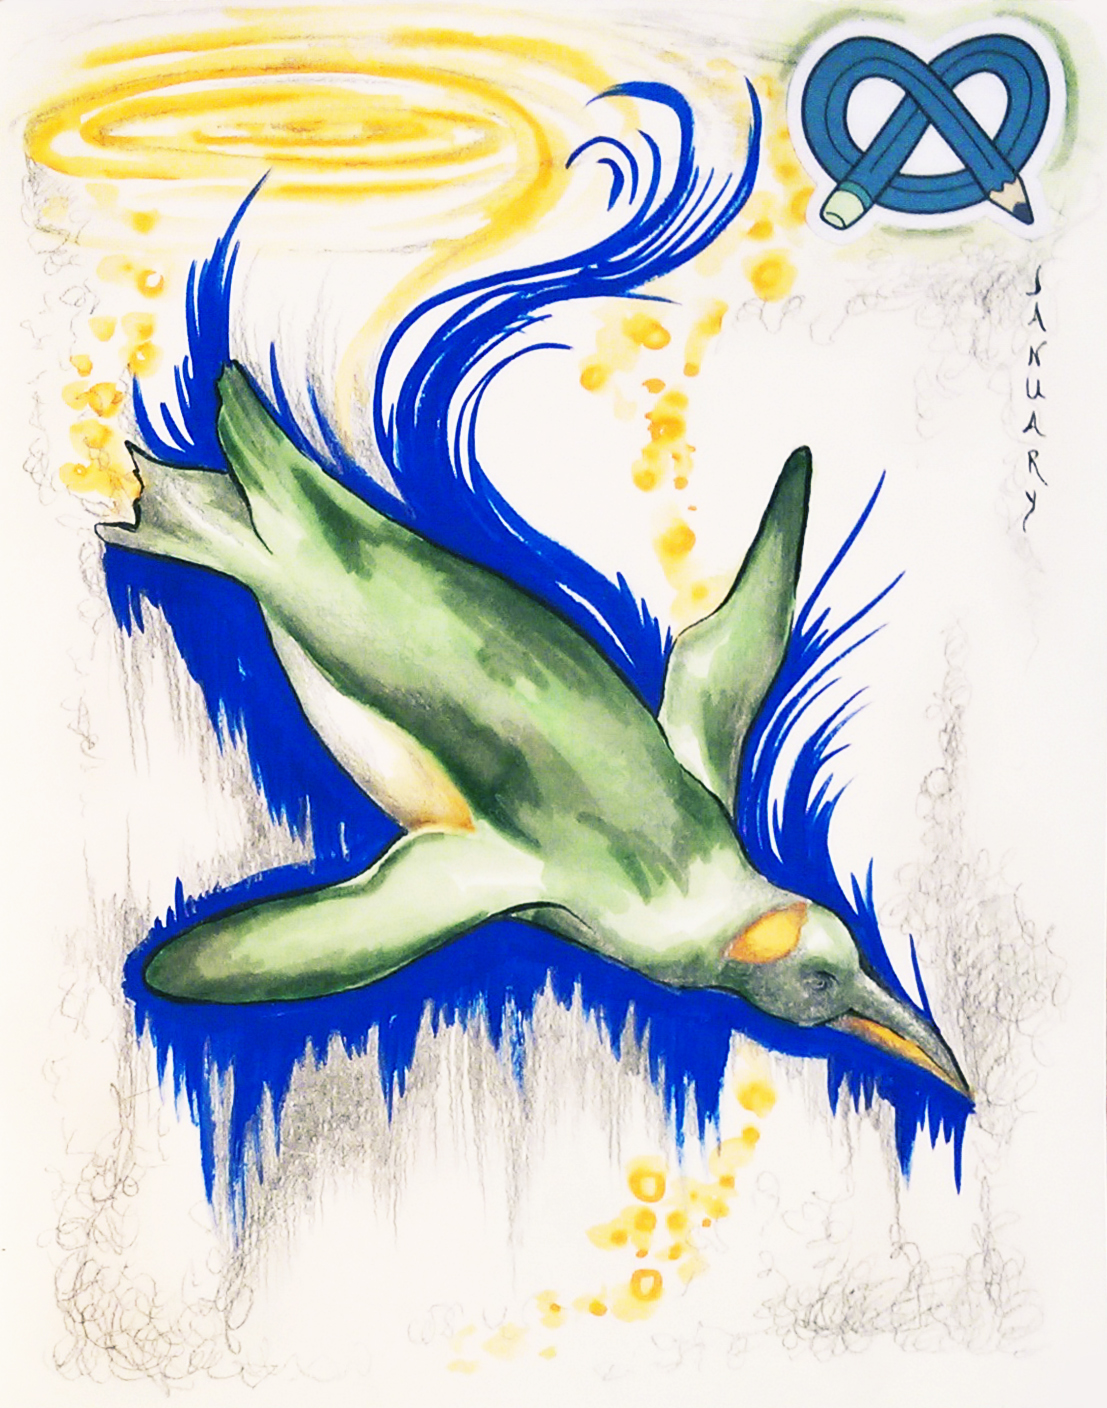 I decided to do what a lot of artsnacks subscribers do after receiving their box, and join the fun of challenging myself to create a little picture using only the products in my box for the month. This is also a great way to test out the materials, especially if they are unfamiliar to you. Another fun thing about artnsnacks is the fact that the colors of the products you receive are totally random … The royal blue was lovely, but that olivey/sage green and bright orange? – maybe ok separate but kind of yikes together. So, here is my unique green penguin, swimming beneath the chilly arctic waters.


 Montano, seriously, what a snazzy guy.