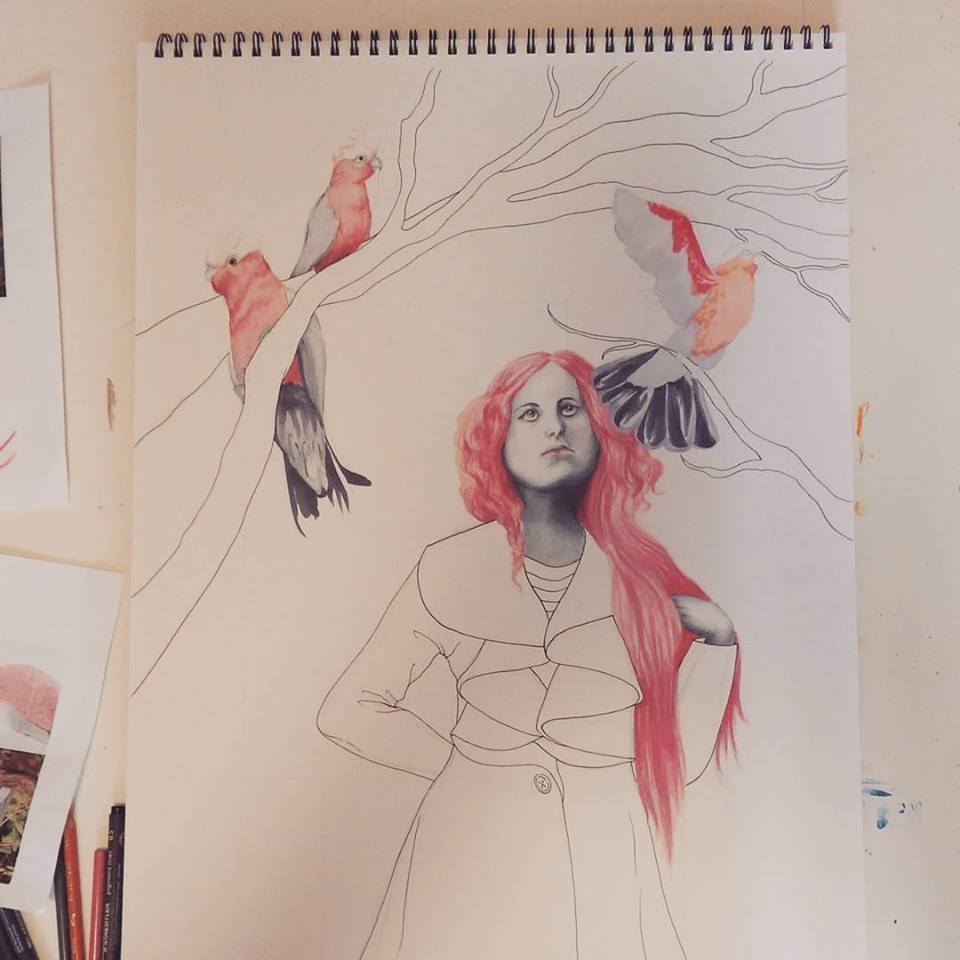
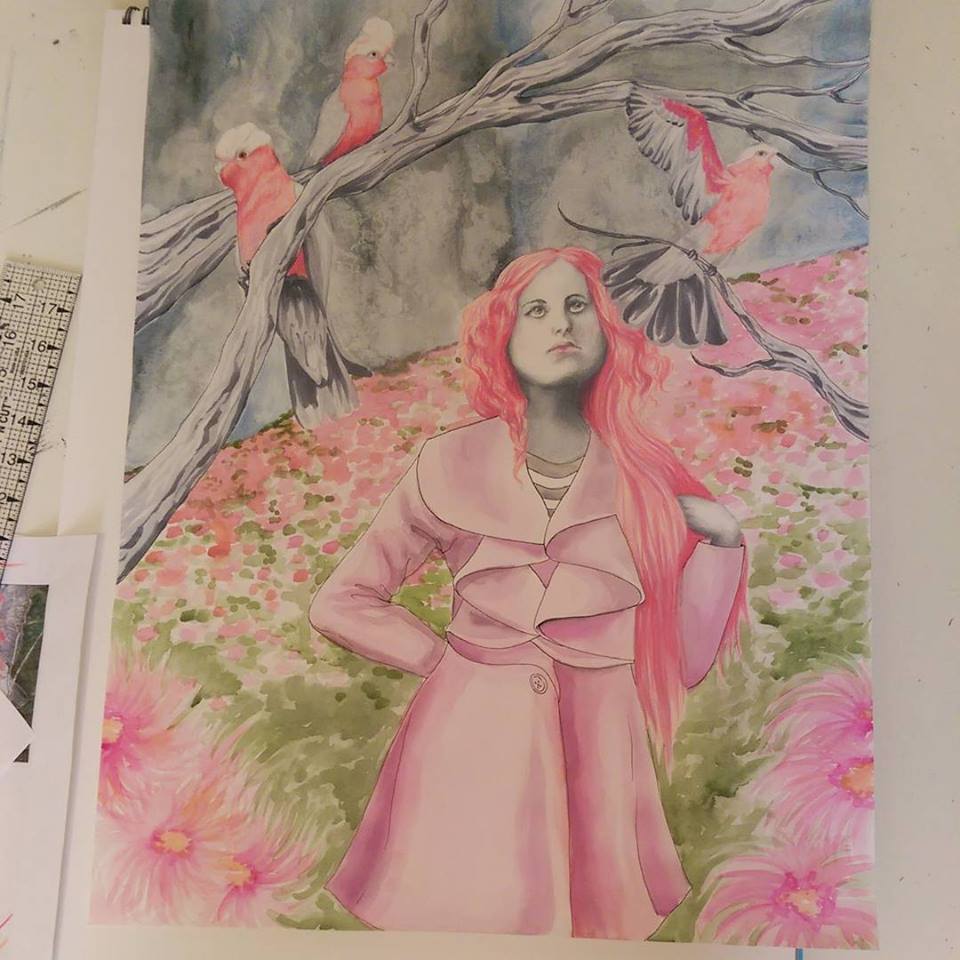
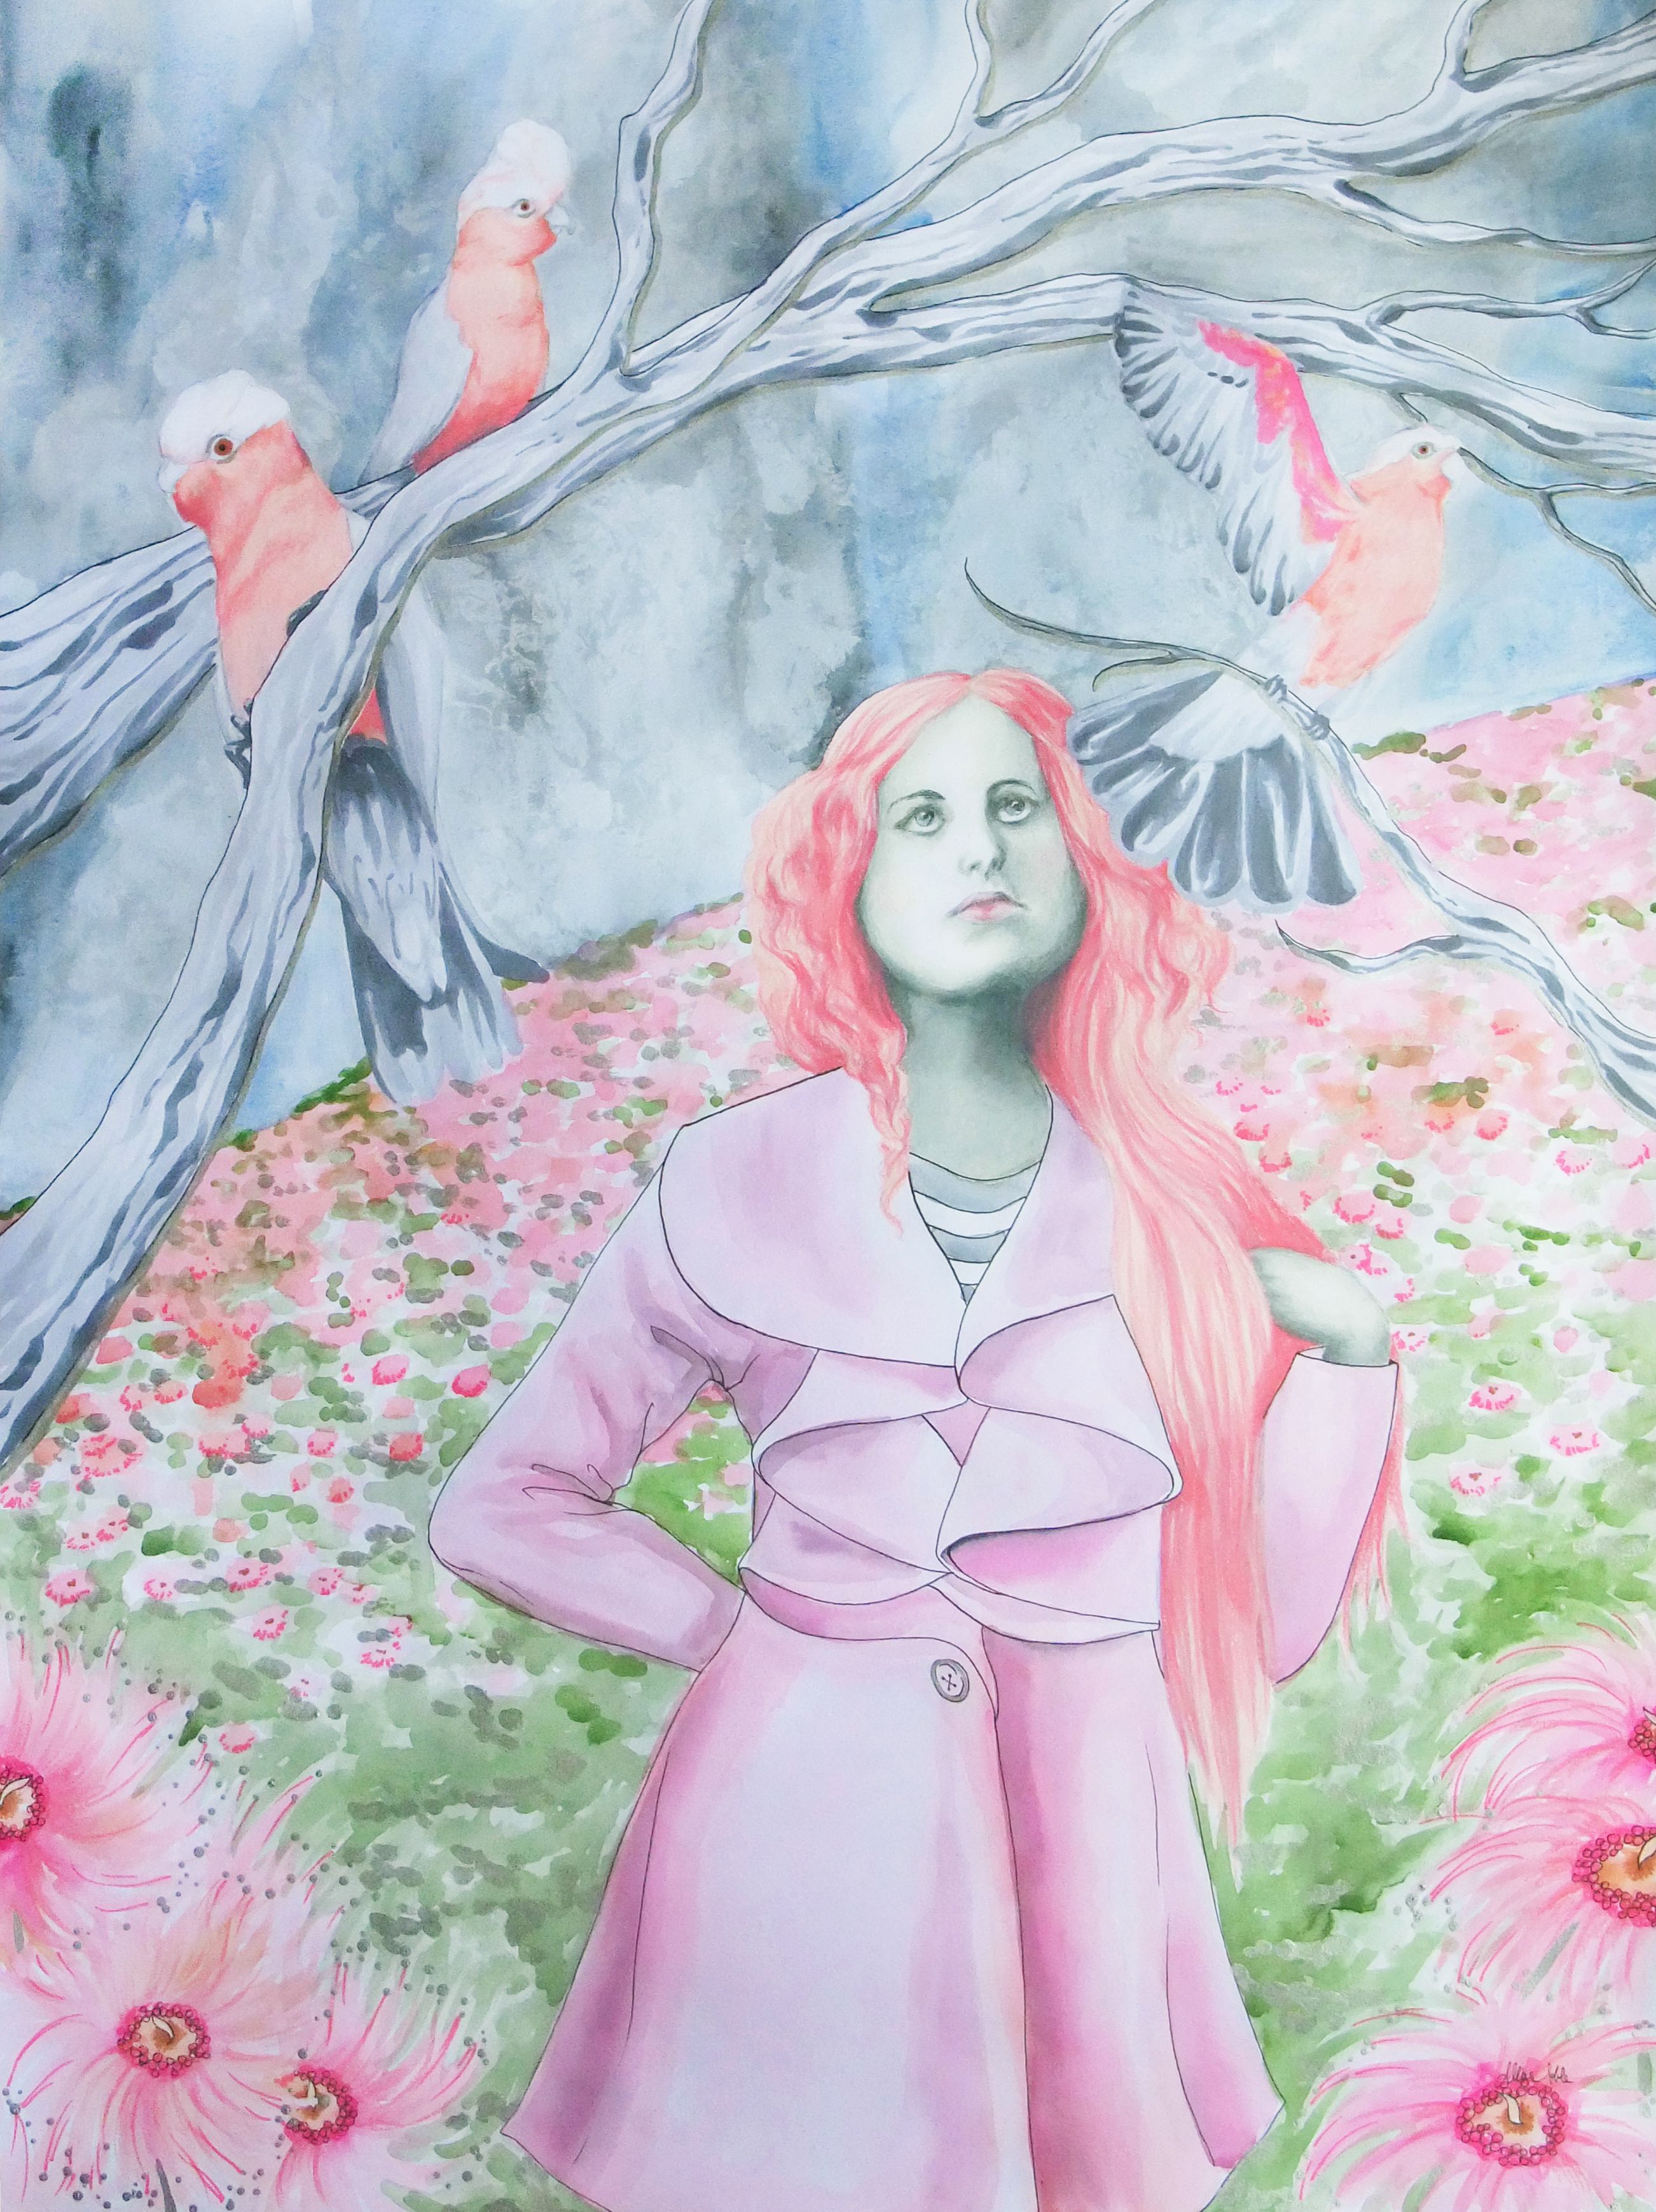
Happy Spring, a time of new beginnings and new art! I had been working on this 3’x3′ piece since the beginning of the year, inspired by a photograph I took at the Japanese Cultural Center in town when I first moved to Saginaw. I used both metallic and traditional acrylics and fabric. Like my other mixed media landscapes, I chose colors that captured what I feel within the place I am painting, not necessarily the true colors from nature.

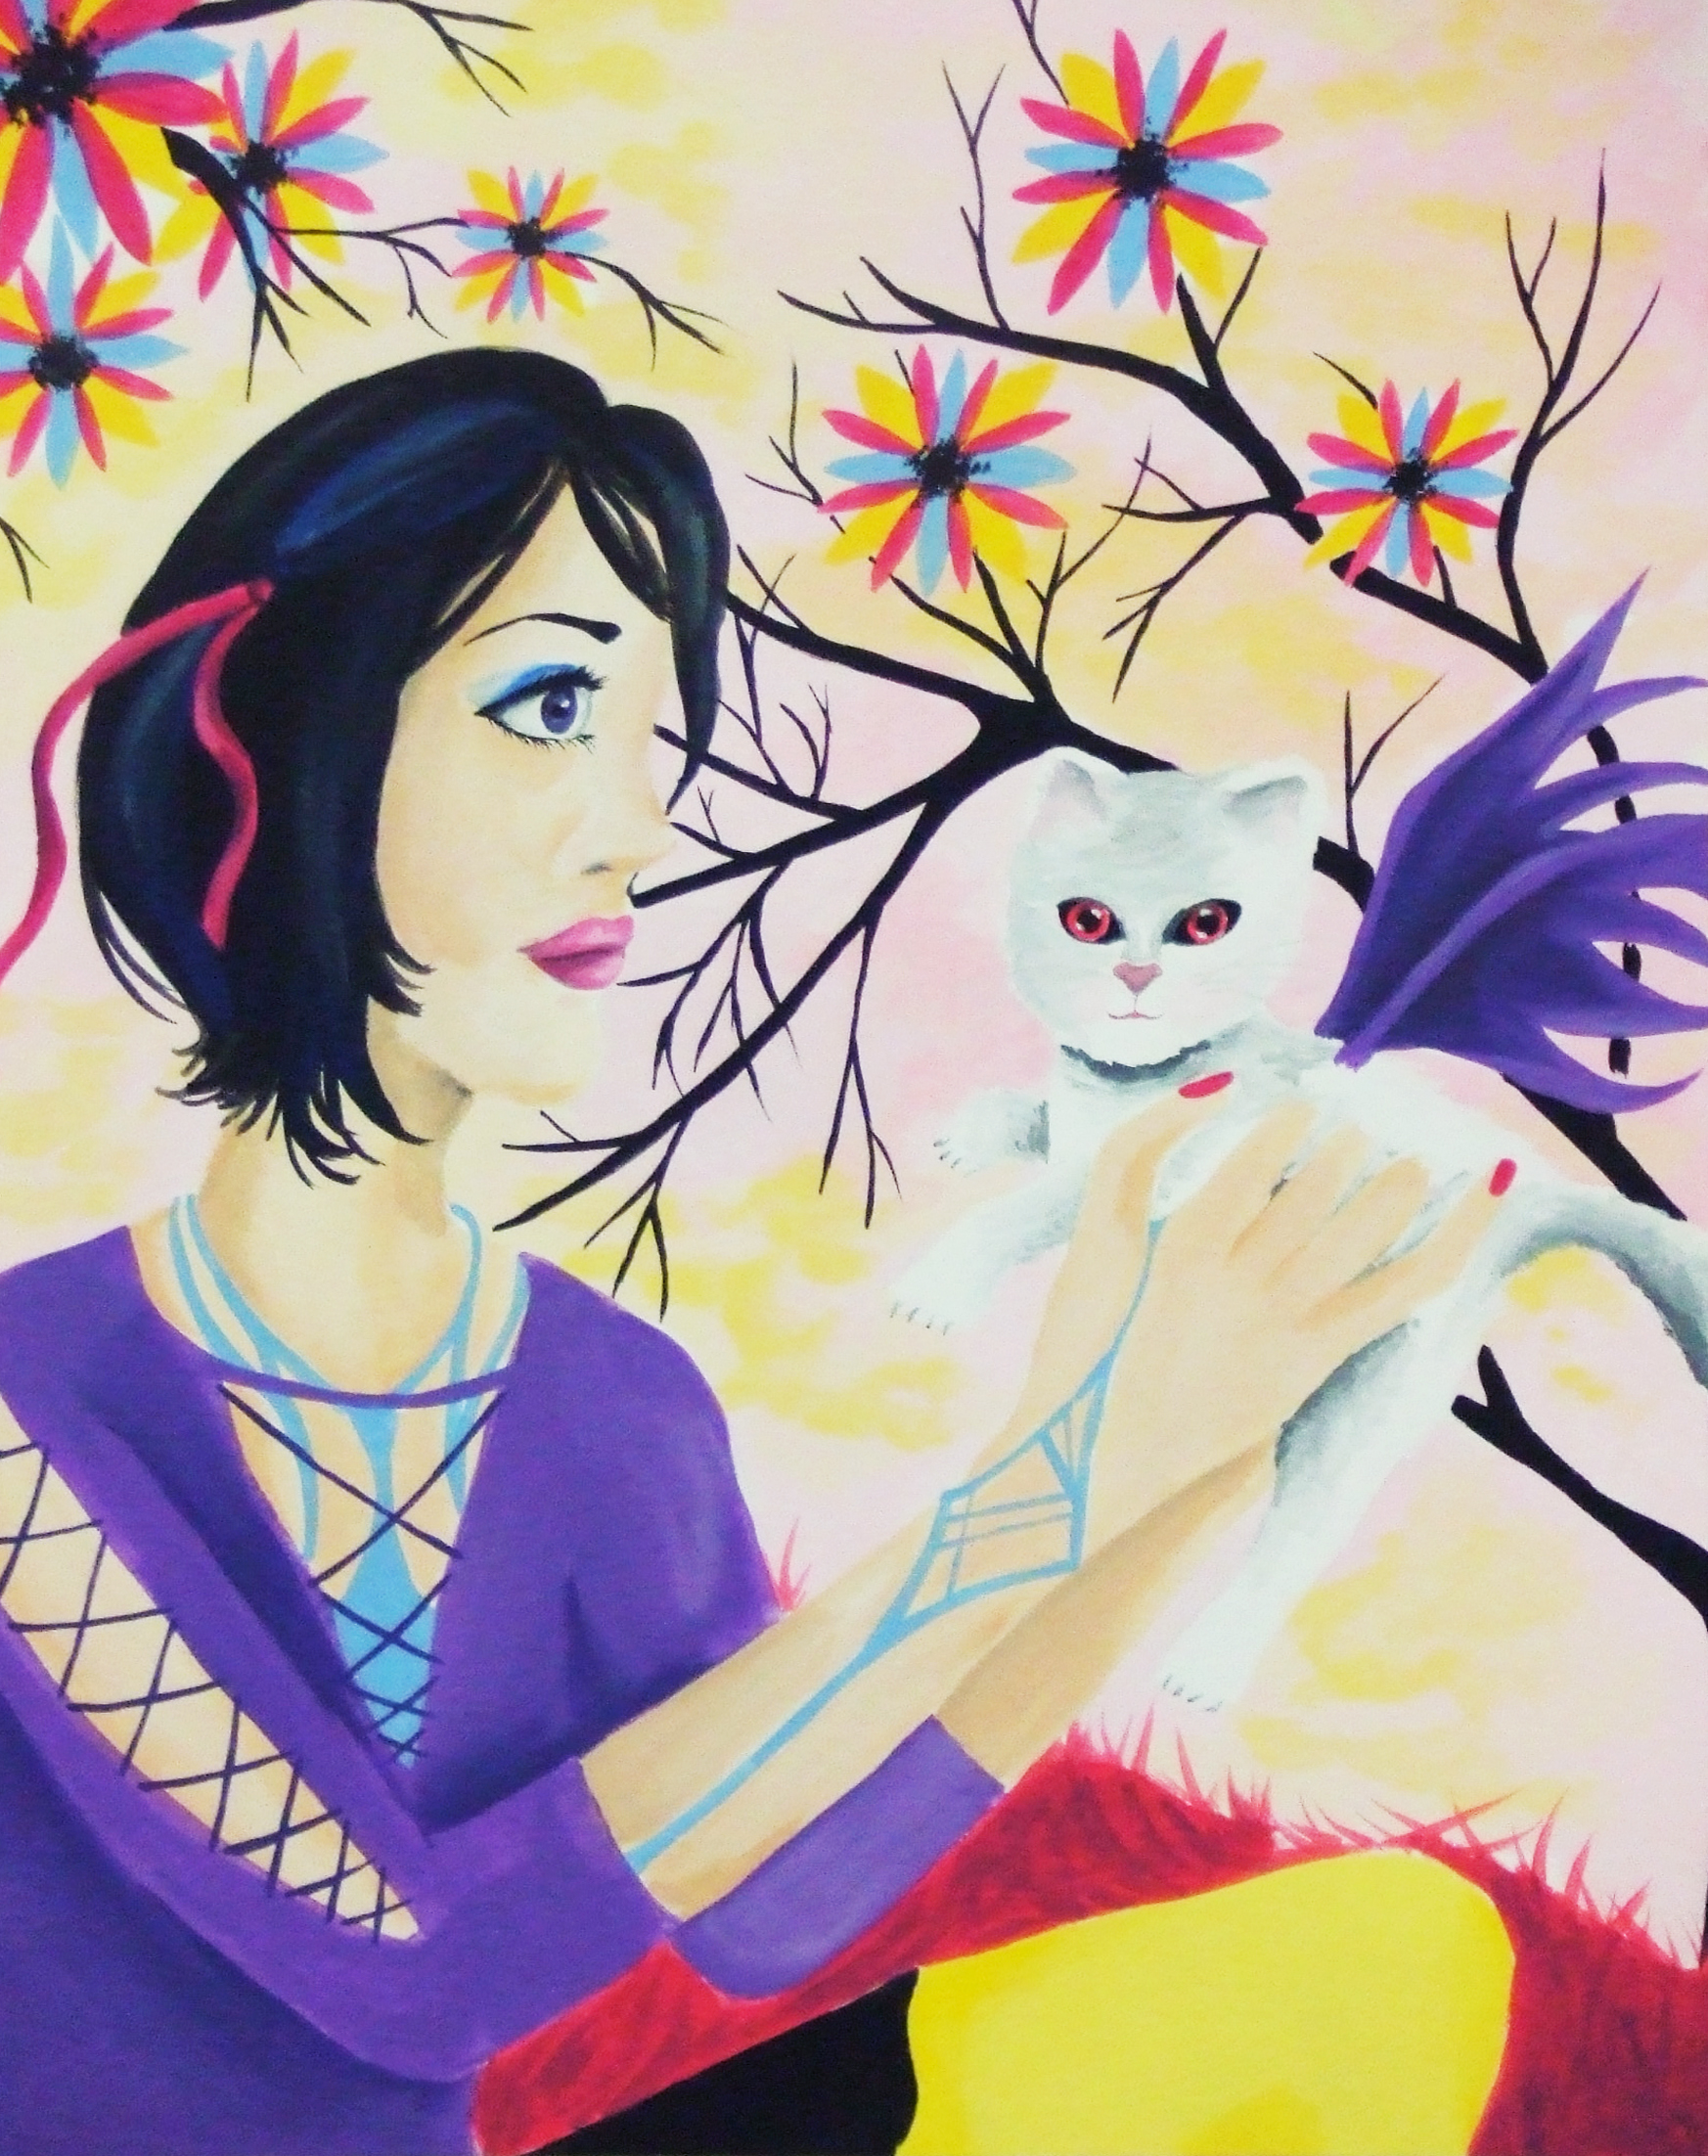
Most of my art is very heavy in symbolism and story. Those pieces are invigorating to work on, but every so often I need to draw or paint something where the process is more relaxing, and simply celebrates one of my happy places.
2023 has been all about finding my happiest places, not just physically but mentally as well. I had a series of consecutive high stress years that I didn’t even fully recognize as such until I reached severe, shutdown level burnout. I don’t think even the closest people in my life aside from my parents know how truly bad it got. Part of this stress was circumstantial and completely out of my control, but some of it came from the fact that I was trying to make certain parts of my life fit together that were just never going to, like that toy we give to toddlers where they have to fit the different shaped plastic pieces into the corresponding holes. No matter how long they try to push a moon shape into a star opening, it is not going to fit. One of the most valuable things I took away from therapy over the last 3 years was “Don’t live in the land of shoulds”. I had a constant internal dialogue of guilt and shame going, “___ shouldn’t bother me, I shouldn’t be so tired, I shouldn’t be getting overwhelmed, I should have ___ by now, I shouldn’t react like ___ …” There is really not much point ruminating over what should or shouldn’t be, because reality still exists and that energy is better spent doing what we can to change what we don’t like about it rather than chastising ourselves for how we are wired.
Starting in January, I made the big scary decision to make a career transition to entirely contracted and freelance work focusing mainly on different avenues of teaching, as well as other art and design related services. I read a short blurb I happened upon while scrolling before bed the other night that said we as humans basically operate under the assumption that everything is supposed to suck (“work isn’t supposed to be fun!” “life is hard!” “everyone is tired!” “no one gets to do what they want!”), but who decided that? Is this really the best way?
Don’t ever accept a life devoid of joy, but don’t run from struggle either. Yes, life is hard but we get to choose what kind of hard. Not in all circumstances but in many, we get to pick the “hard” that we want to deal with. I made a lot of pretty serious changes around how I spend my time this year, not only with the career switch but in the way I spend time socially as well. I’m an introvert/extrovert blend for sure but I do get some serious communication fatigue. I am no longer giving time to people out of feelings of obligation, and I am no longer wasting time on outings I’m not interested in just to please others. Never fear, I have actually not become a hermit! I still go out and do fun things and socialize, but I have a lot more energy and am a lot less stressed now when I choose to do so. These changes aren’t magic, things are still hard, but it is the right type of hard (for me) and that makes all the difference.
I love teaching in person, but not everyone that wants to learn some of my techniques lives in an area where this is possible so I am open to teaching private or group lessons virtually! If this is of interest, don’t hesitate to reach out.
What changes have you made lately that made you feel more joyful?