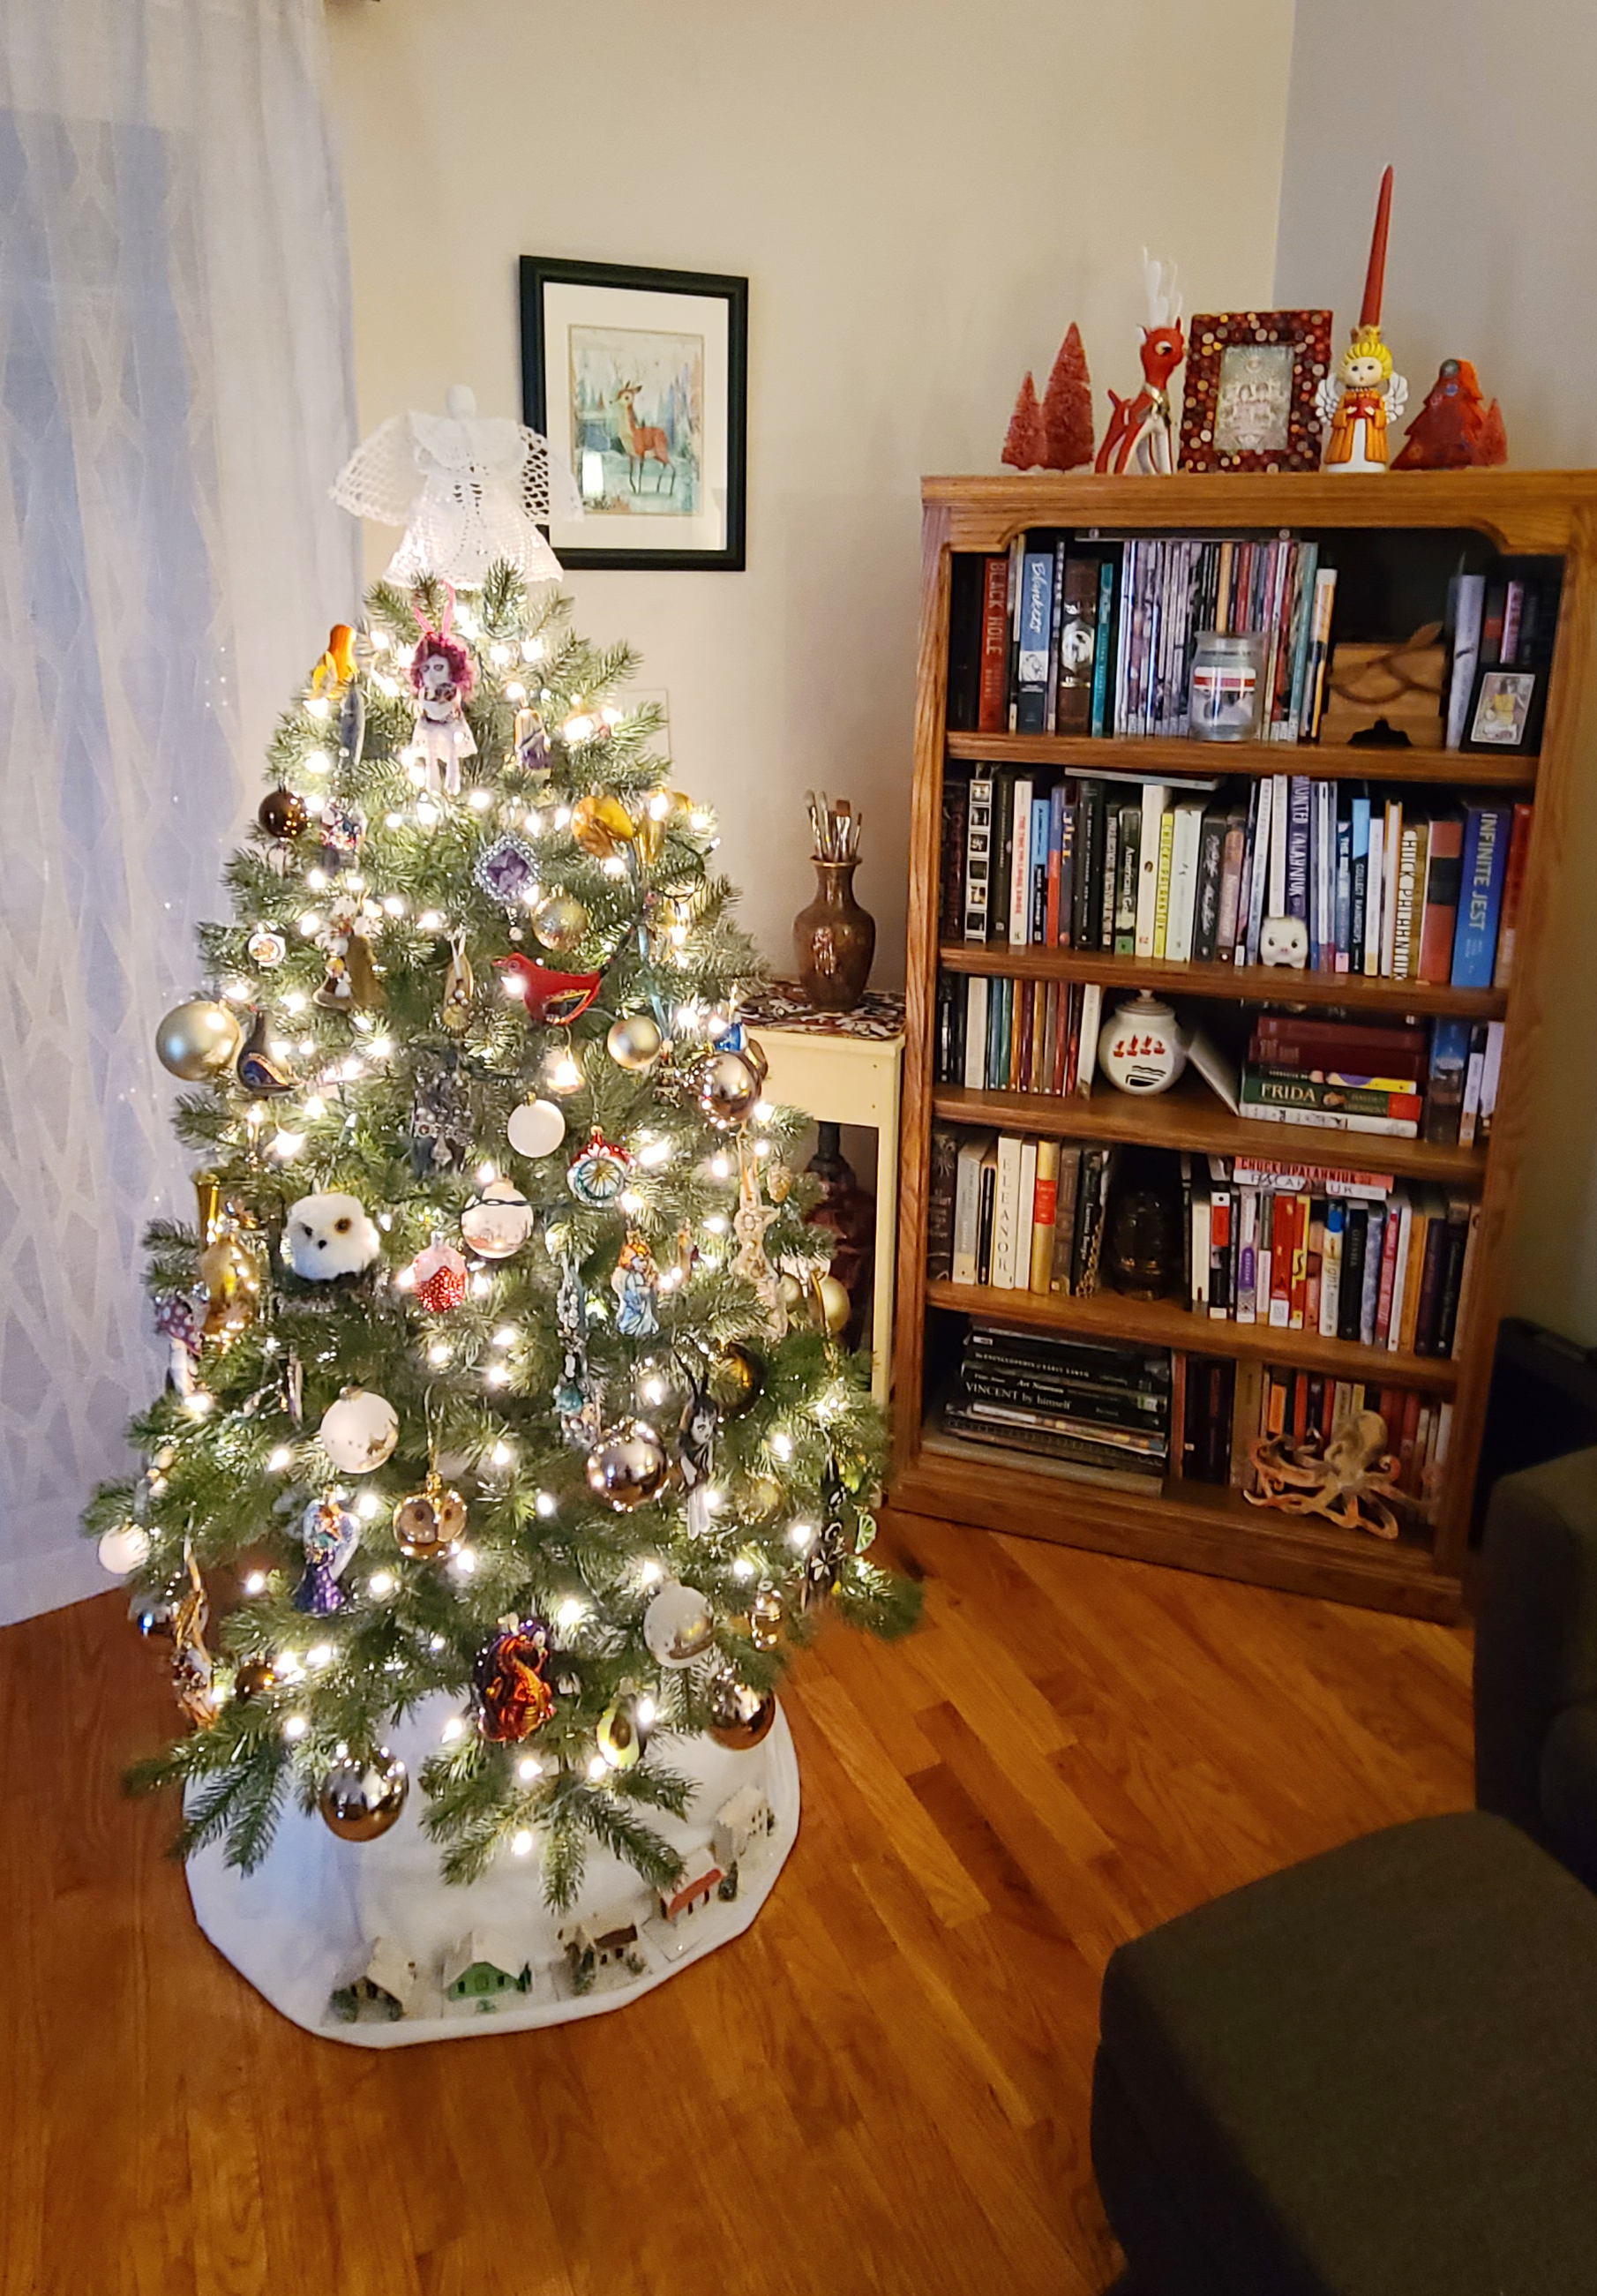
I usually wait until Thanksgiving weekend, but I couldn’t resist putting up my tree early this year ;). I love vintage Christmas decor almost as much as I love handmade ornaments, so I’ve combined my two holiday passions with this fun and simple craft. I hope you are inspired to give it a go!
This year, my main tree in the living room is covered in my paintbrush assemblage ornaments accented by bulbs in different shades of gold, some vintage pieces, and some softies gifted by friends and family. My second small tree in the spare room has all my bulbs decoupaged with images from art magazines. And of course, I have my own vintage jewelry tree hanging up in my kitchen! I did some tutorials showing my process for both the paintbrush ornaments and trees using old junk jewelry pieces last year, so be sure to check those out if you need some inspiration. I know for me, crafting these decorations has been wonderful art therapy in between my more taxing commissioned pieces, gifts, and pieces for upcoming shows. I know it can be difficult, but I hope you all take some time near the end of this year to reflect and unwind, and remember holidays are supposed to be fun – don’t pressure yourself too much or feel you have to stick to traditions that don’t work for you. Make these next couple months what you need them to be. ❤
Those who have visited before may have noticed my affinity for art subscription boxes. Whenever I receive a new box, I always challenge myself to create a small piece of art using only the materials that came in my monthly box as a way to try new techniques and get to know the materials. I am also quite the fan of the cooking show “Chopped”, in which contestants are give a basket of mystery ingredients, some delicious and some just plain odd, from which they must make a cohesive dish. My “day job” is running a program for artists of all abilities, and this new Fall semester I decided to run a class based on this concept. Each week my group will get a surprise box filled with 3-4 different types of materials and be challenged to use only those to make a work of art. Everyone gets the same supplies each week, just different colors or designs. I will be sharing what people came up with, as well as some tips for those who want to try the materials featured at home.
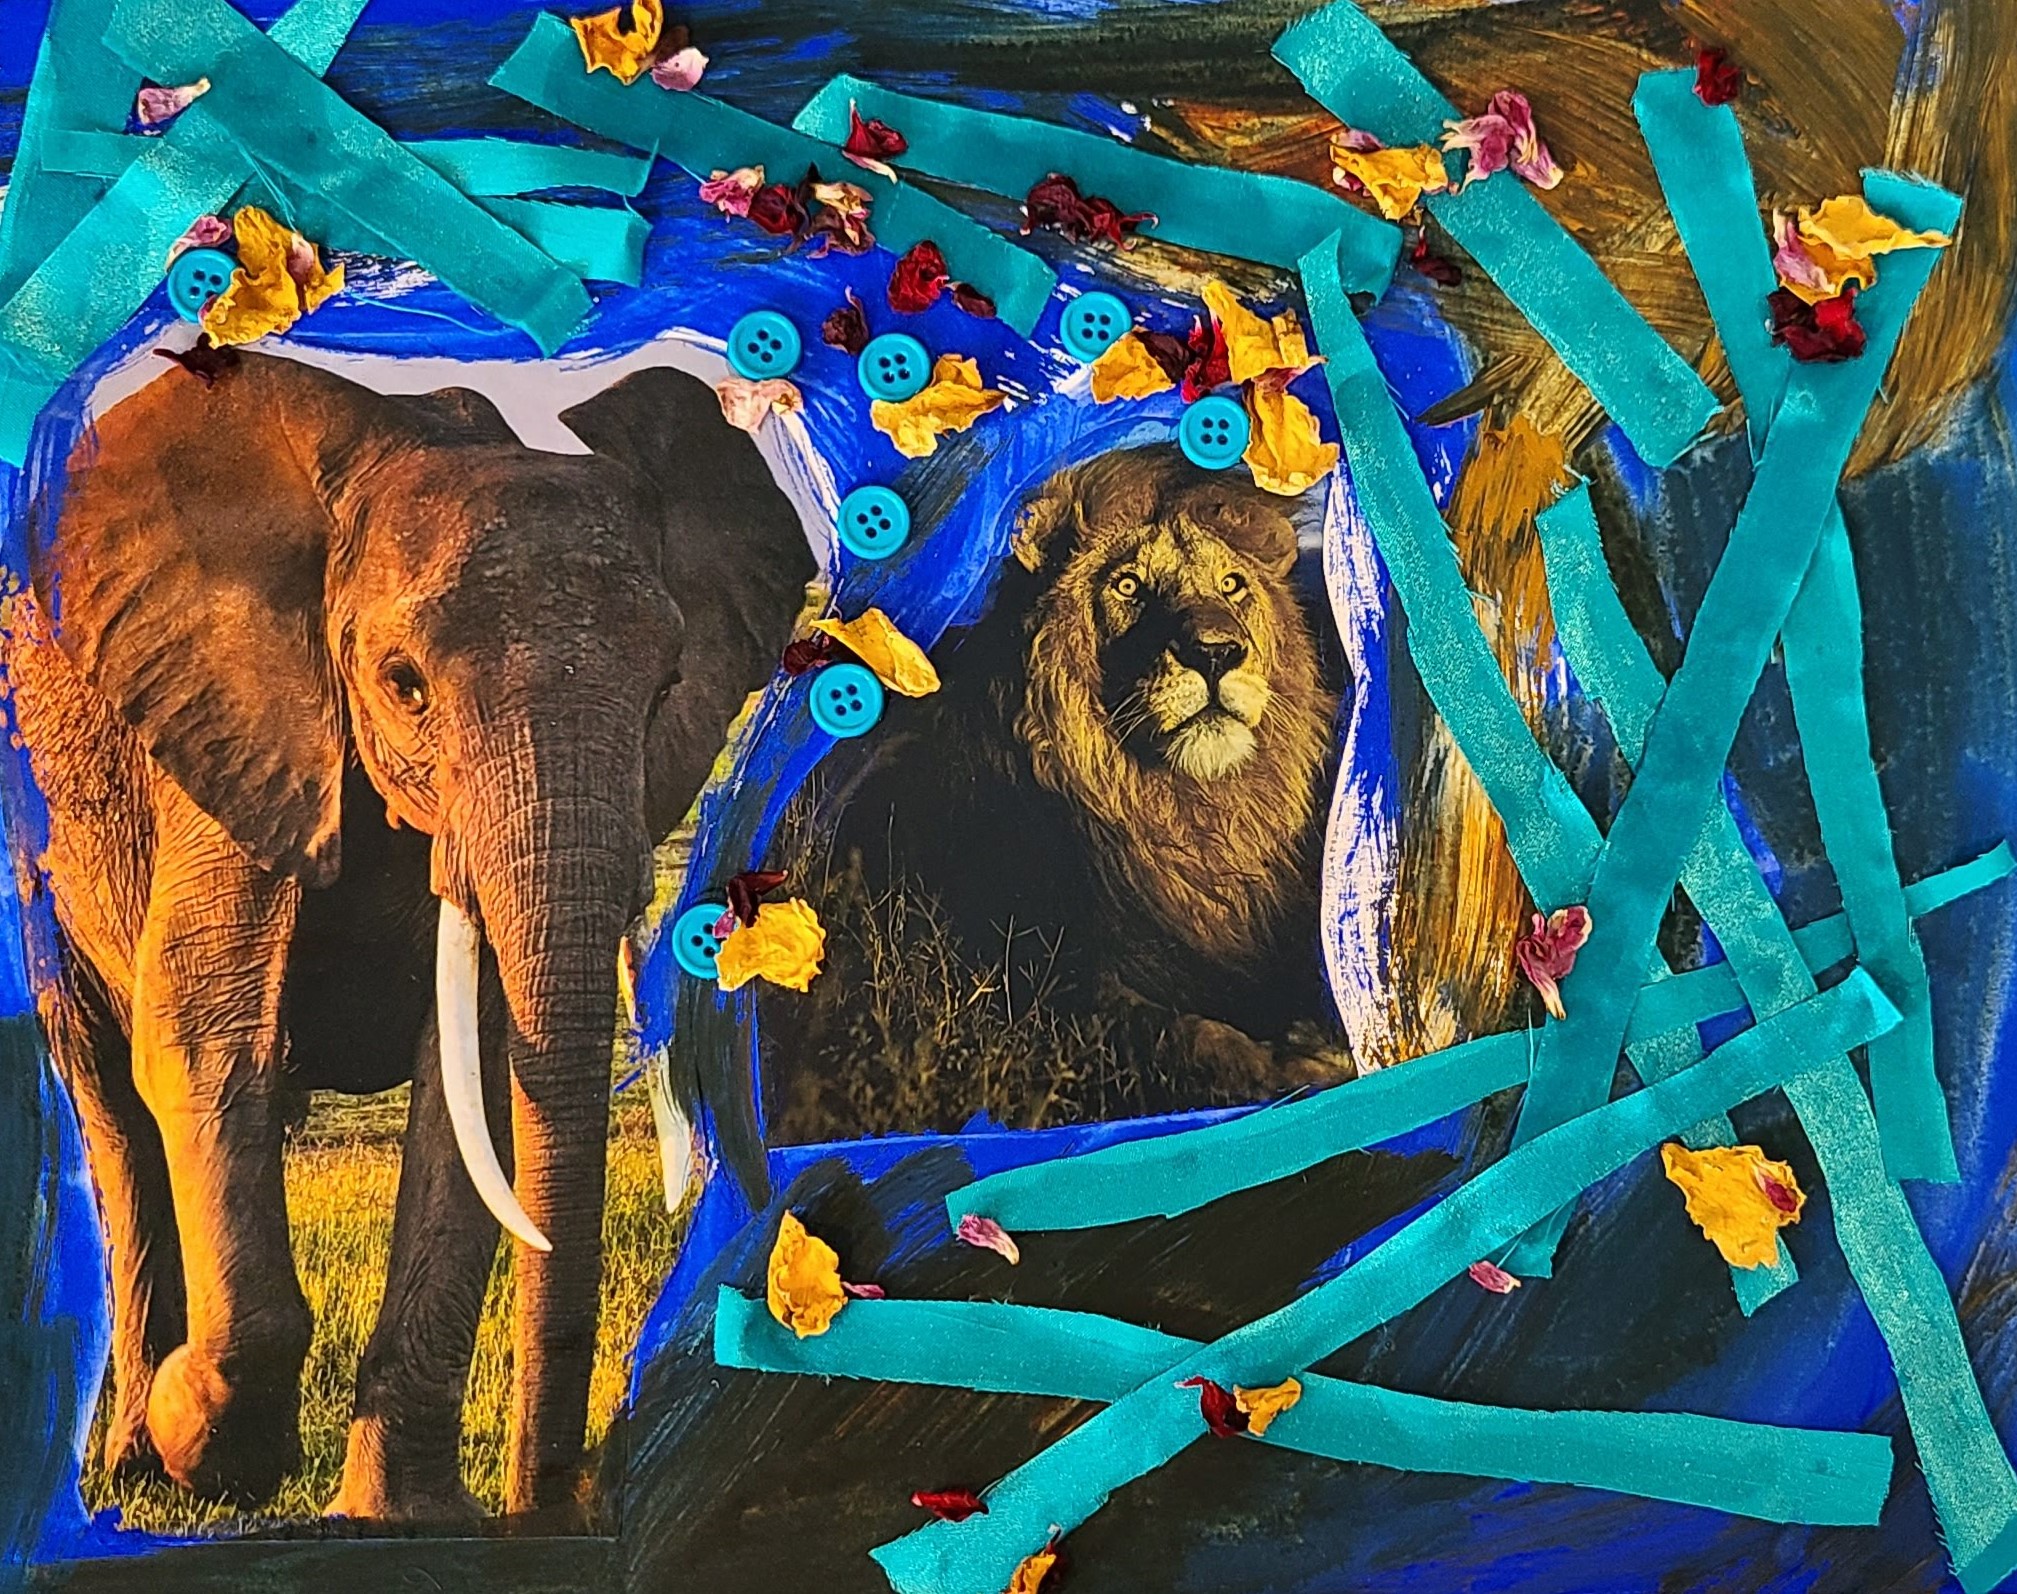
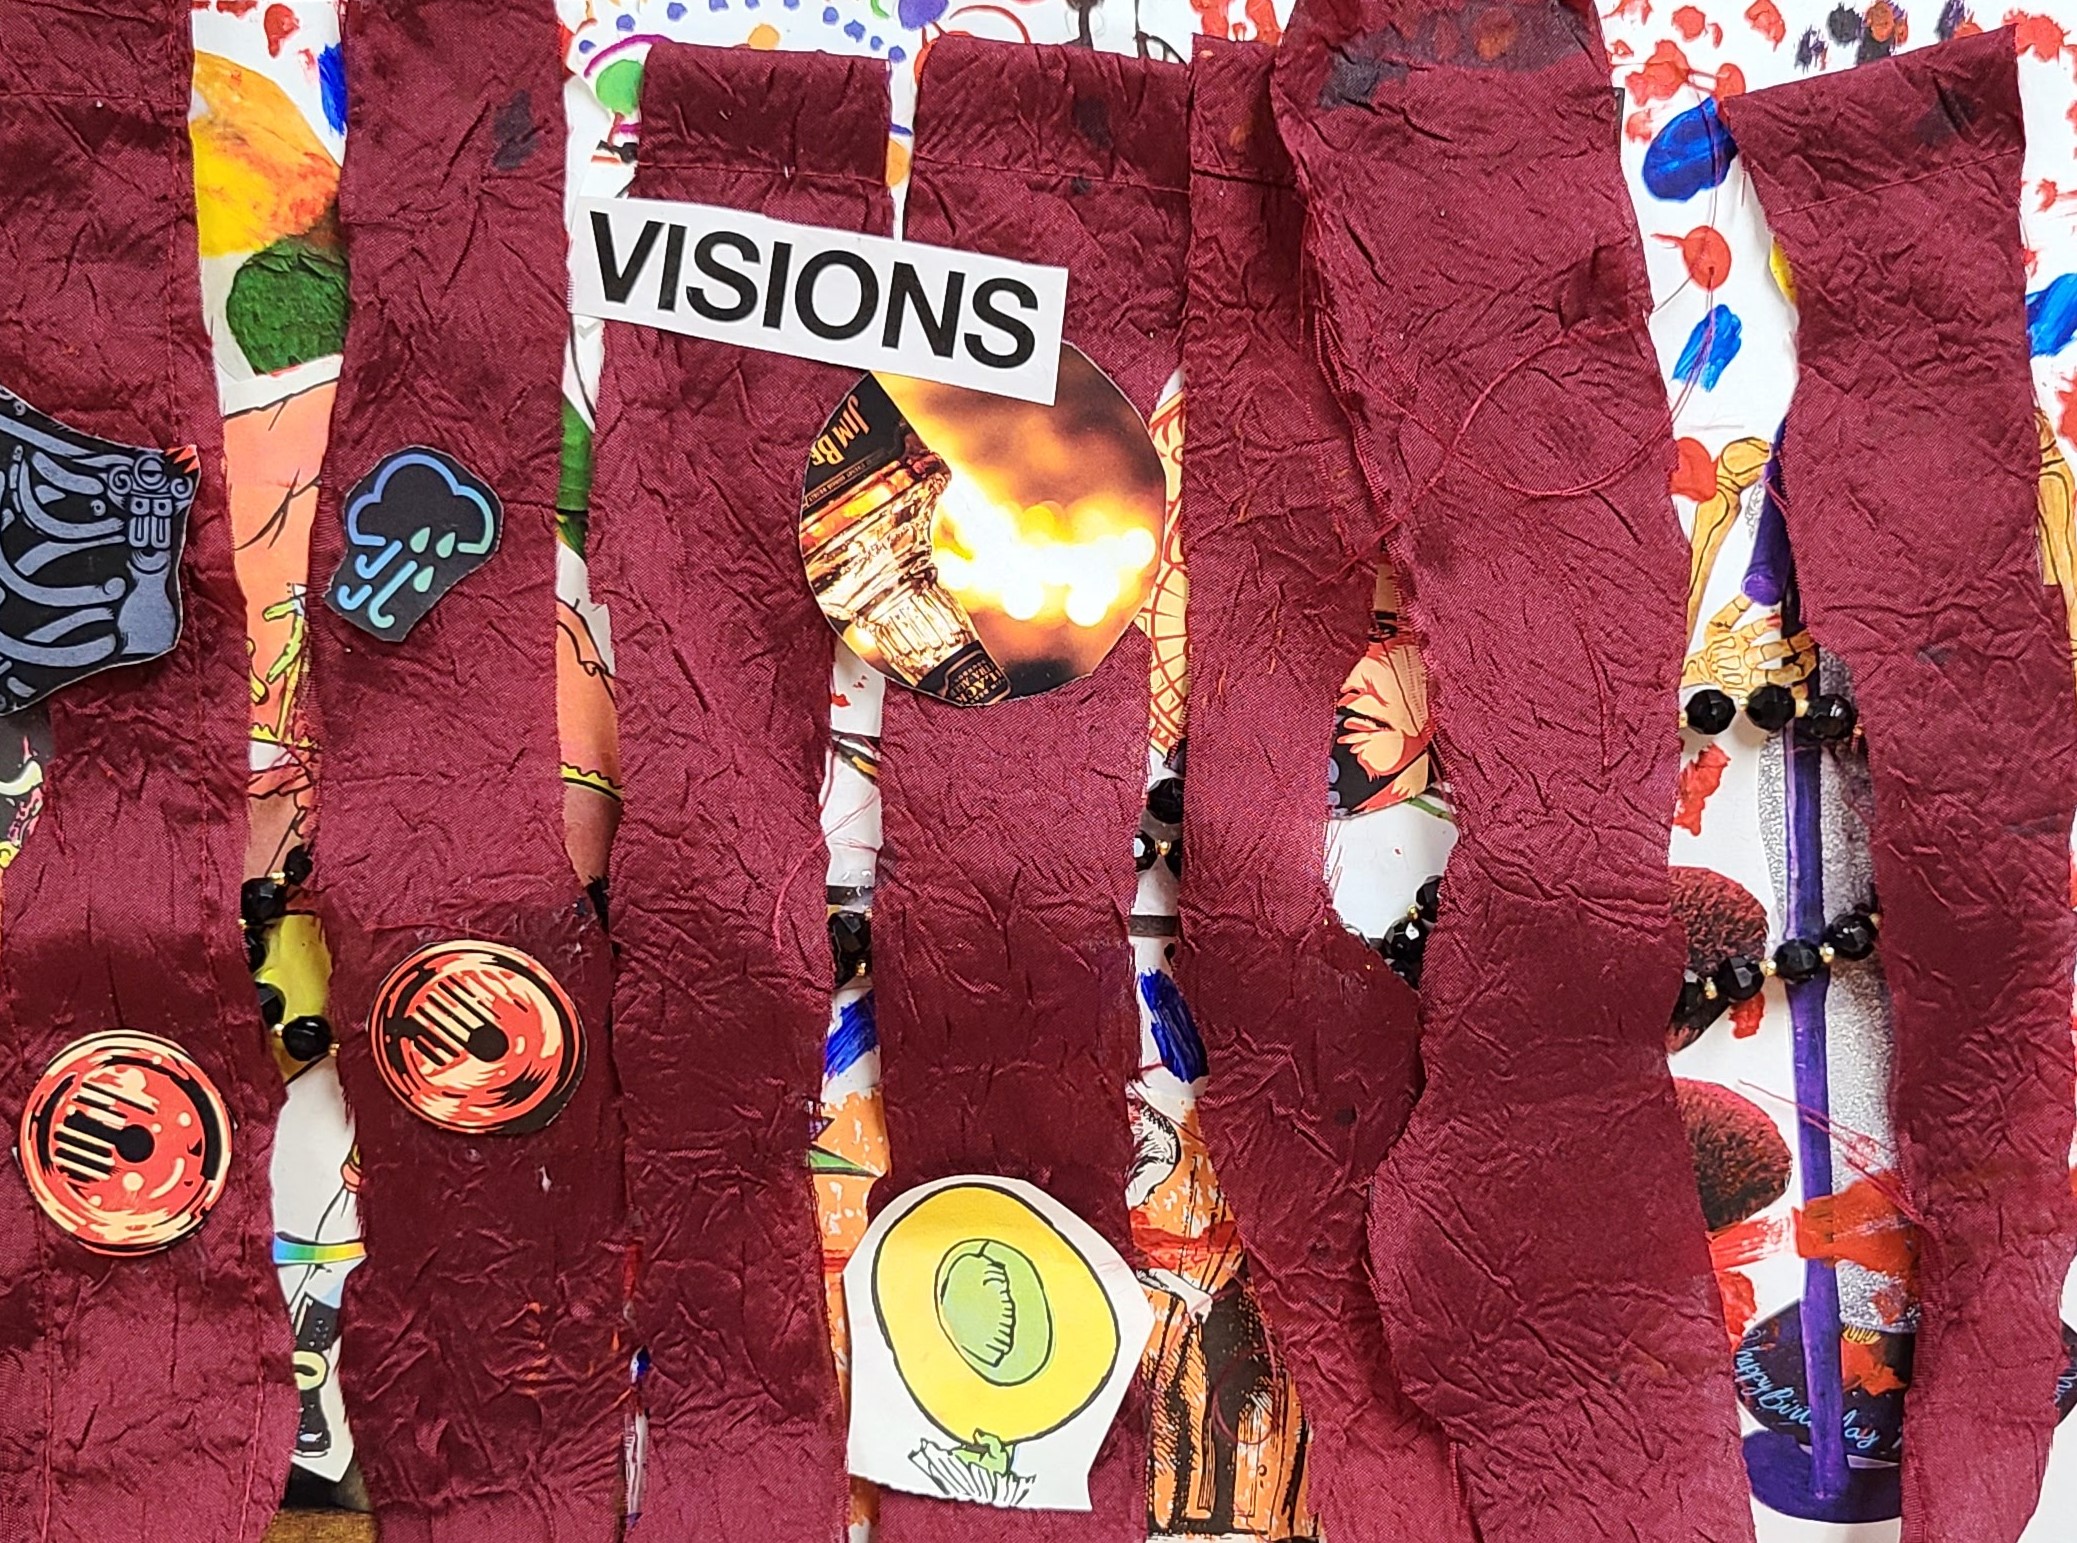
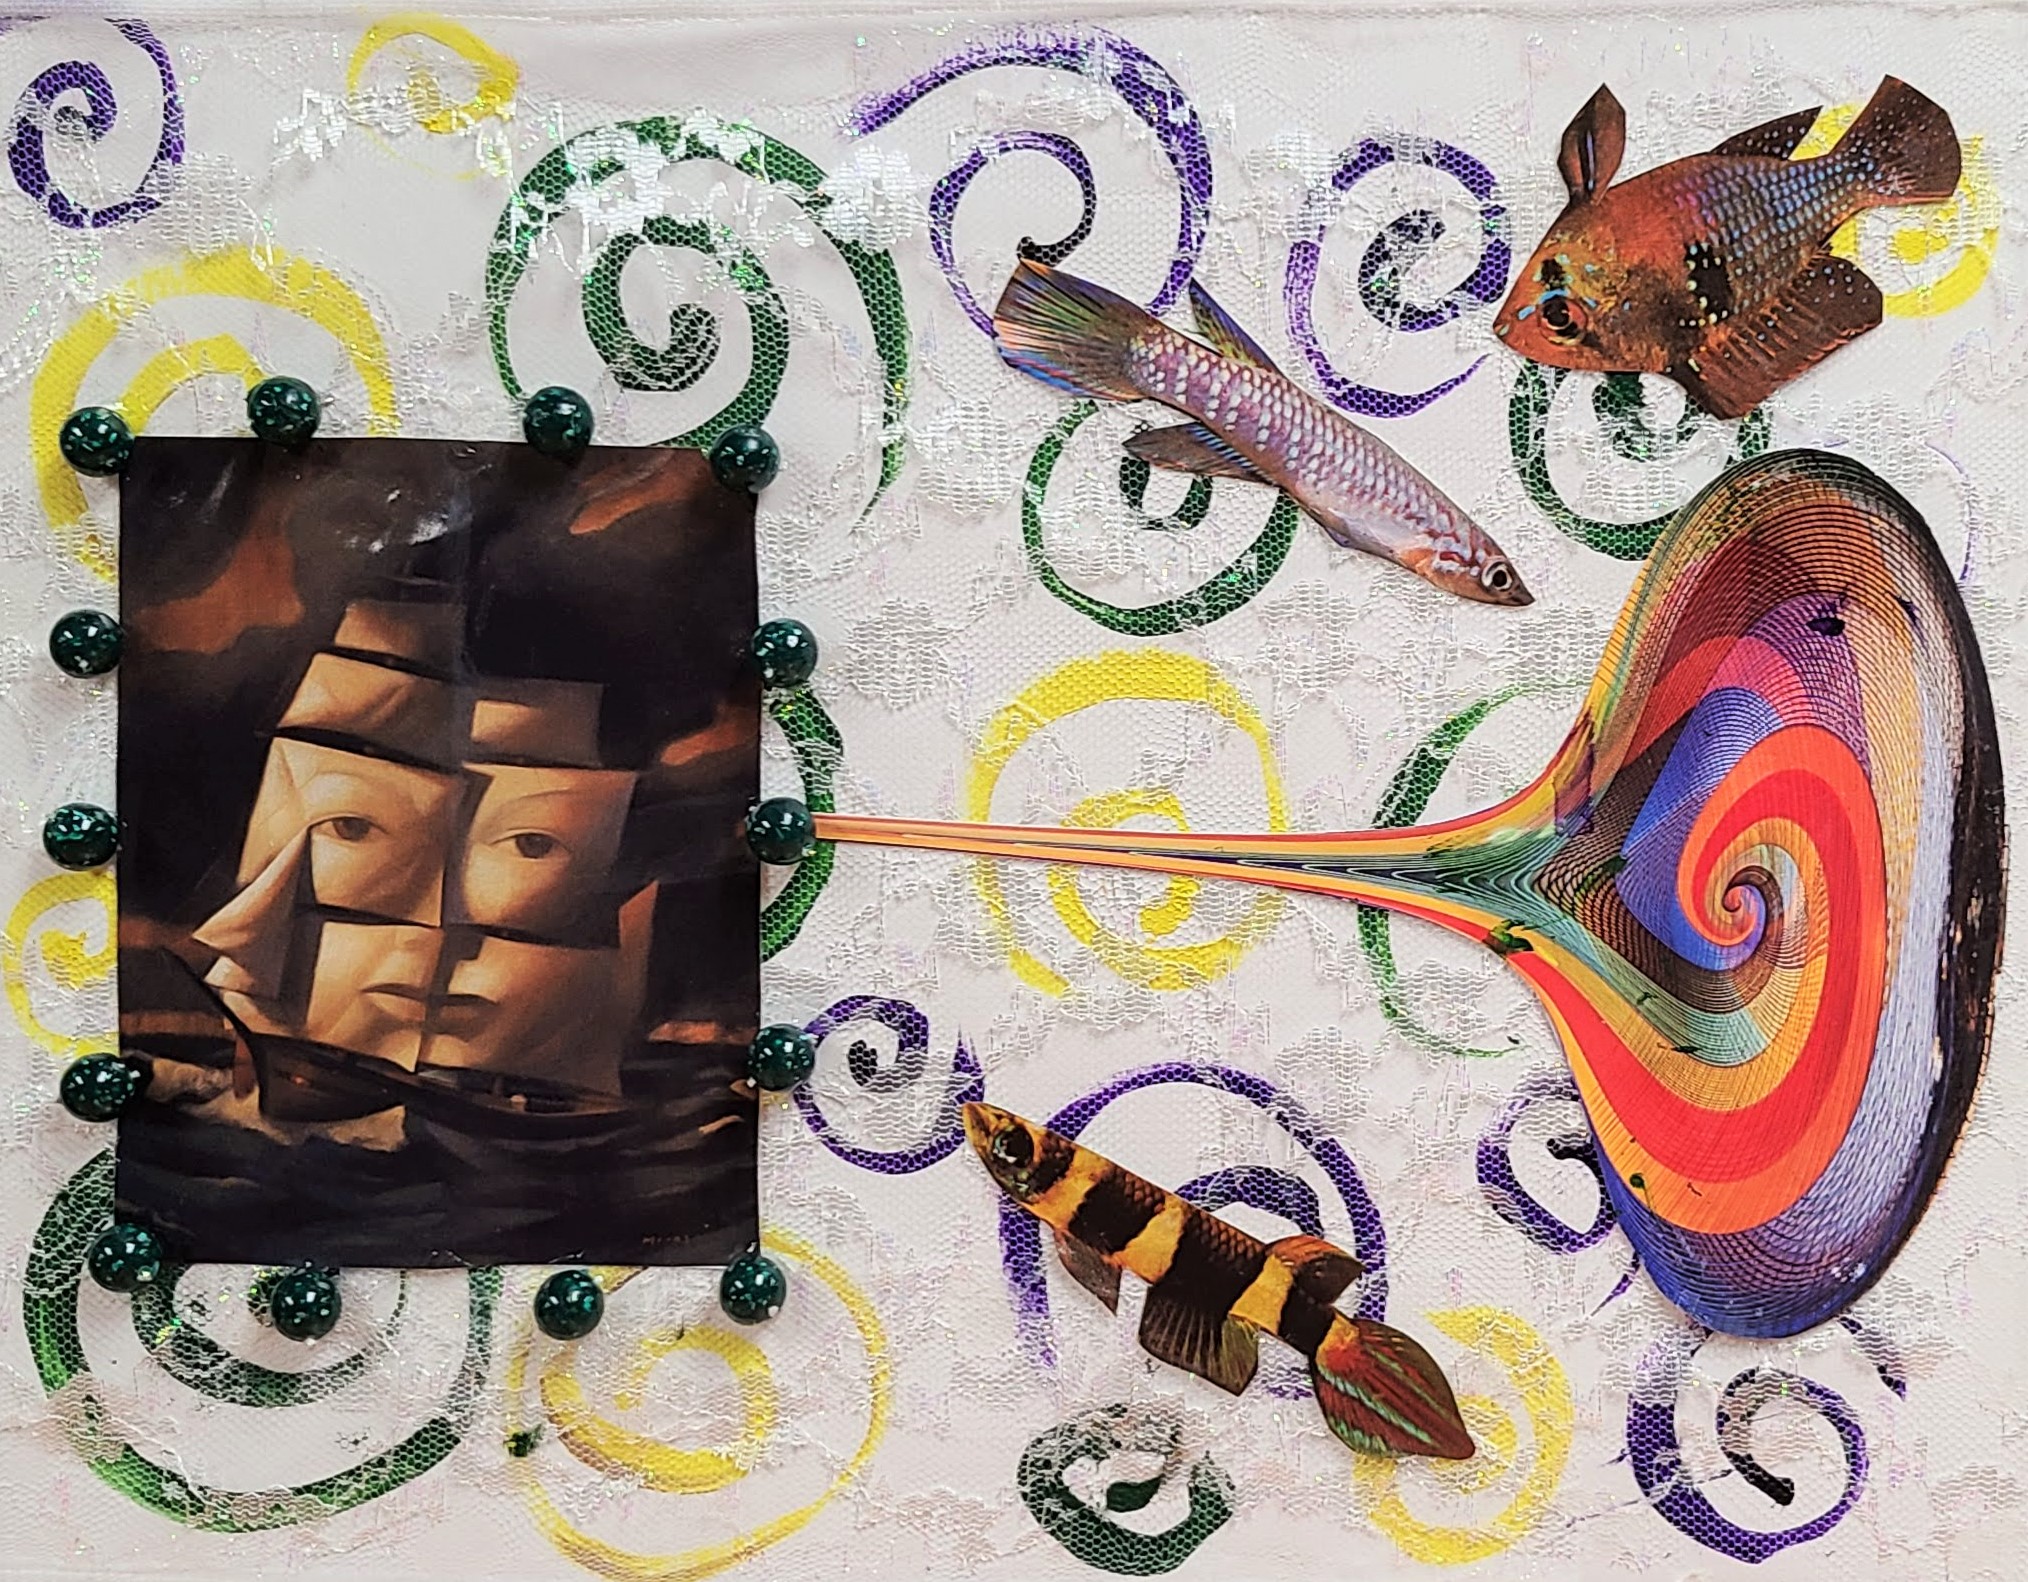
Week 2 was all about collage, and using materials that may oftentimes be discarded. Students were given magazine pages, fabric scraps, a simple plastic beaded necklace, some acrylic paint to tie it all together, and an illustration board base. Collage is a fantastic method for telling a story with your art.
Collage works well when, much like a narrative, there is a central “character” be it a person, plant, or animal. You also want to be sure to choose a color scheme, build in some “space” that is just color or all over pattern rather than more people or objects, layer and overlap cutouts in 3 planes to create a background, middle ground, and foreground (the very front), and include a variety of textures whether they are just visual or actually tactile such as by using some 3D/mixed media items like the beads.
Though many things today have become paperless, we all still have some old paper laying around our house be it magazines, ads, greeting cards … Put that paper to use and make some interesting art!
Those who have visited before may have noticed my affinity for art subscription boxes. Whenever I receive a new box, I always challenge myself to create a small piece of art using only the materials that came in my monthly box as a way to try new techniques and get to know the materials. I am also quite the fan of the cooking show “Chopped”, in which contestants are give a basket of mystery ingredients, some delicious and some just plain odd, from which they must make a cohesive dish. My “day job” is running a program for artists of all abilities, and this new Fall semester I decided to run a class based on this concept. Each week my group will get a surprise box filled with 3-4 different types of materials and be challenged to use only those to make a work of art. Everyone gets the same supplies each week, just different colors or designs. I will be sharing what people came up with, as well as some tips for those who want to try the materials featured at home.
Tombo is my absolute favorite brand for brush markers, and while these are often used for illustration and come with a colorless blender for drawing, they are also water soluble. This means they additionally work great as watercolor markers. I have yet to find another brand of watercolor markers that have such brilliant colors and blend as seamlessly. I’ve been a fan since I started using them for interior design project assignments and architectural drawings back in college.
When it comes to oil pastels, quality does matter. With cheaper brands, you will often end up with nothing but glorified crayons as you can see in my latest YouTube video where I reviewed art supplies from Dollar Tree (The oil pastels were actually the ONLY supply to get a poor review – Seriously, you should check this out especially if you have kids who love art.). However, we are also a non-profit with a tight budget. Though the Portfolio Series pastels are an art student spinoff of Crayola which is known for making “kid grade” products, these are decent for students and budget friendly. These particular pastels, staying with the kid friendly theme, are also water soluble. This makes for easy cleanup (yay!) but also allows for blending with watercolors for some cool mixed media art. Despite this, if you leave your watercolors more “painty” and don’t add a ton of water the pastels will still repel the color you are layering over for some great resist effects.
Last but certainly not least, I cannot say enough about the metallic watercolors we used. I’ve tried metallic watercolor sets in the past myself and they were underwhelming … Very translucent, hard and chalky texture that didn’t blend well, and only able to get a pastel hue when applied no matter how little water I added. This brand is absolutely fantastic. The metallic sheen is so intense it almost looks like a high quality acrylic, but it blends like watercolors. It also had plenty of bright electric hues and intense darks. I will definitely be getting a set of these for myself.
In my class with a variety of ages and abilities, including some students with intellectual/developmental disabilities and mental health struggles, here is what everyone came up with:
Some tips when using these materials together:
Metallic watercolors don’t look very metallic until they are dry, so have patience :).
If you draw with a light colored oil pastel first and layer a dark watercolor over, the light pastel will resist the watercolor and show through.
Tombo brush markers run with water, but can also be used for drawing just like regular markers. They can be brushed over with water for a paint like effect, but will not draw over a wet surface. They have two ends, including a fine tip that is perfect for adding details to watercolor paintings that beginning artists or those struggling with dexterity would have a stressful time adding with a brush.
Using multiple mediums works best when you layer layer layer! Pastels can be added right over the watercolor and ink. Often it’s easiest to create a light wash of background color over your whole surface first, and build up your design from there.
I hope as I continue to share, it will spark some ideas for your creativity at home. Stay tuned for next week’s challenge!
Happy Winter! I know I am already getting sick of the cold, but there has been some beautiful snow and bright blue skies lately which have been nice to admire out my window 😉 … Winter can be one of the most attractive seasons if not always the most comfortable, and winter scenes are so fun to create with watercolors.
These quick tutorials are an easy way to take a bit of time out of your day no matter how busy you are to do something for yourself, relax, and get creative. They are also great practice at blending color and working with white space for beginners to the medium. If you have kids, these simple projects would be fun to do together. Grab a watercolor palette, 3 different sizes of round brushes, and let’s paint!
As always, if you run into any problems or have questions feel free to shoot me a comment or message. I’m always happy to help with troubleshooting! Have fun!
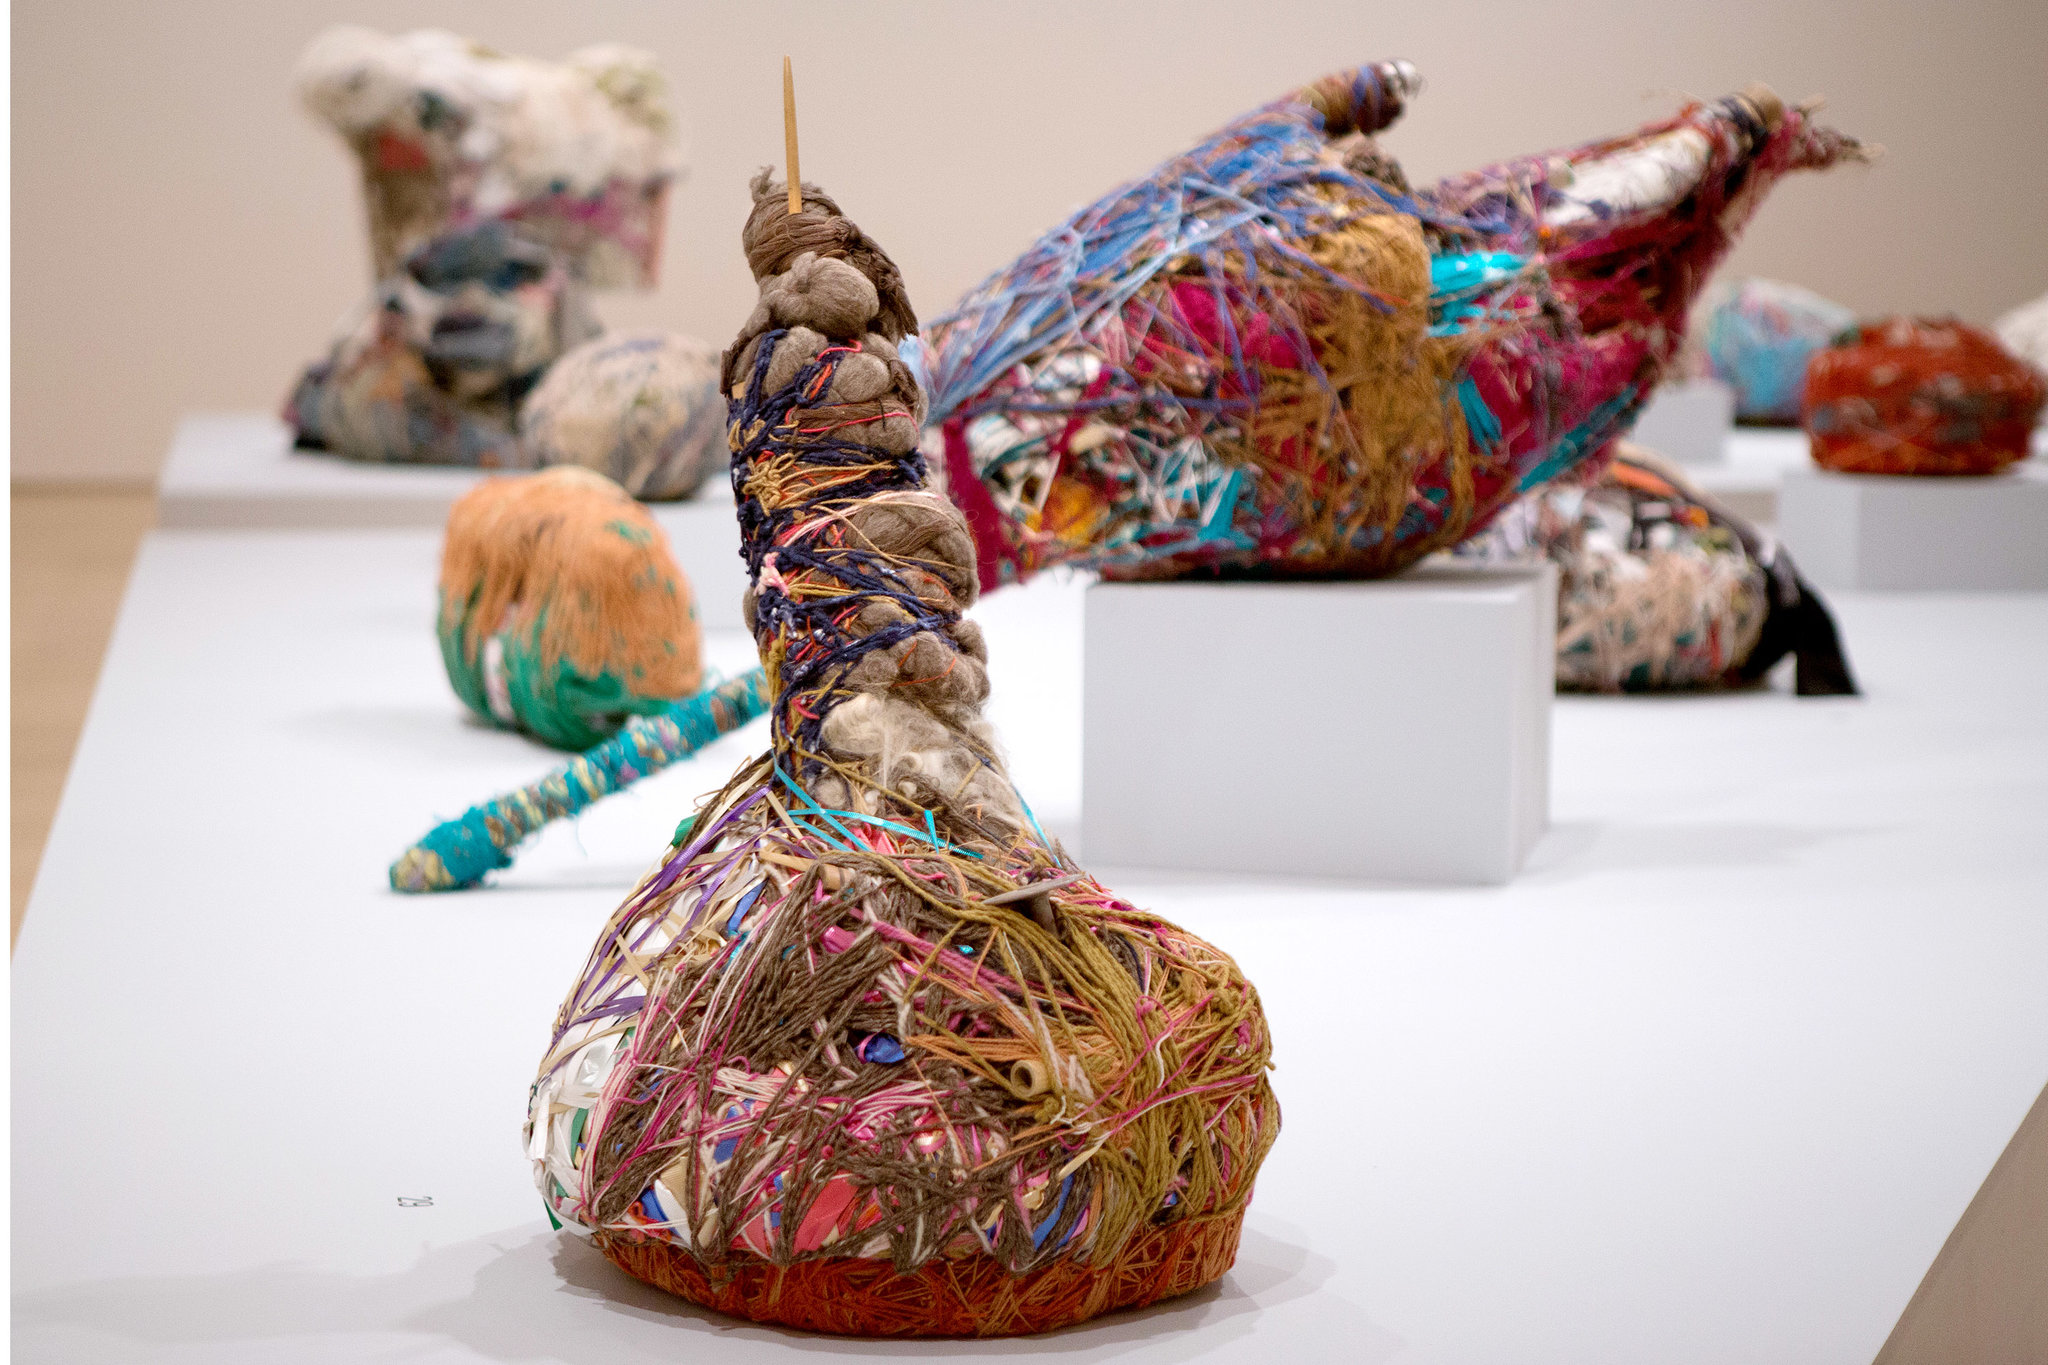
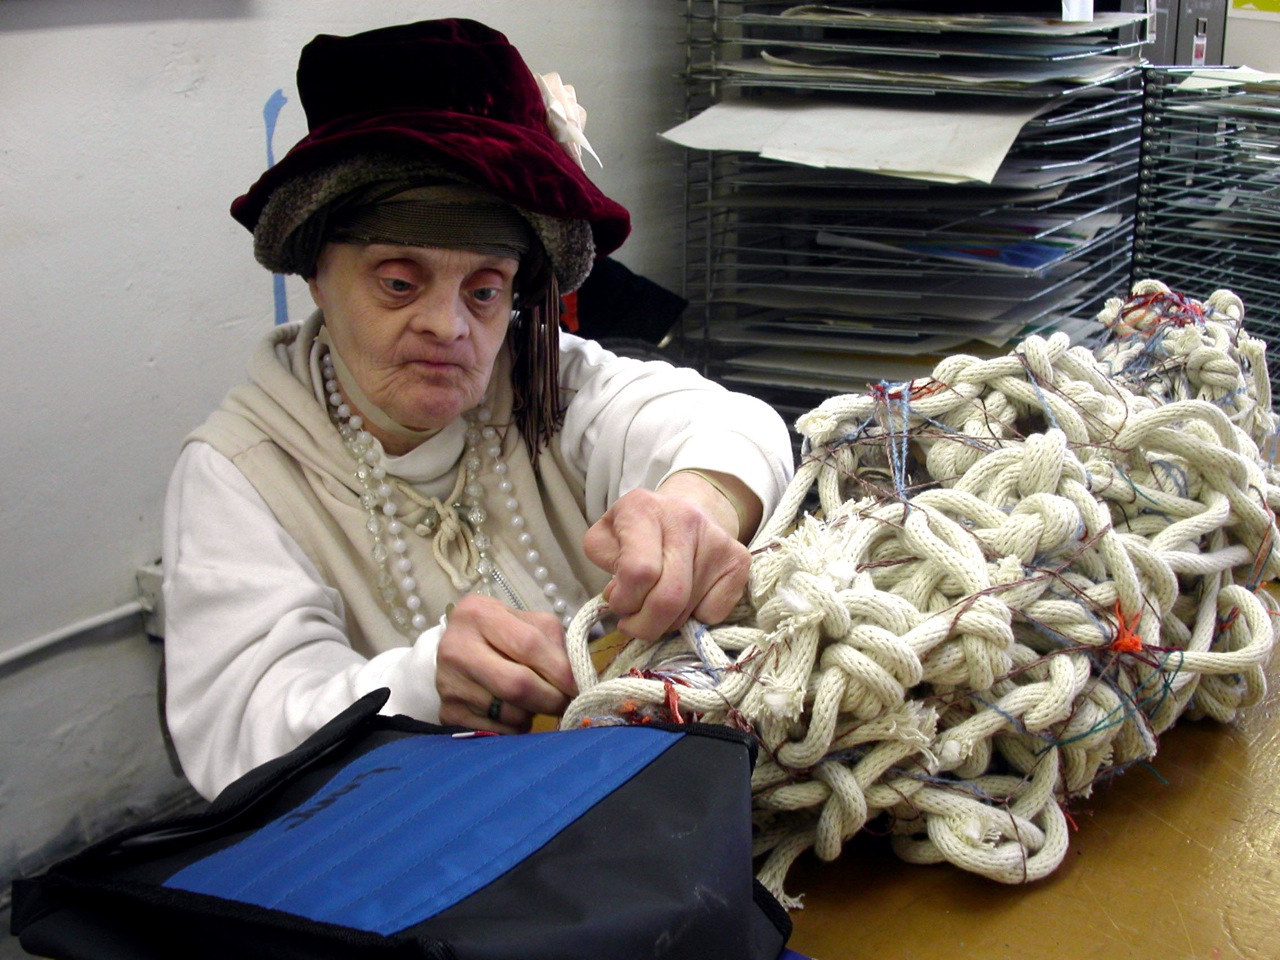
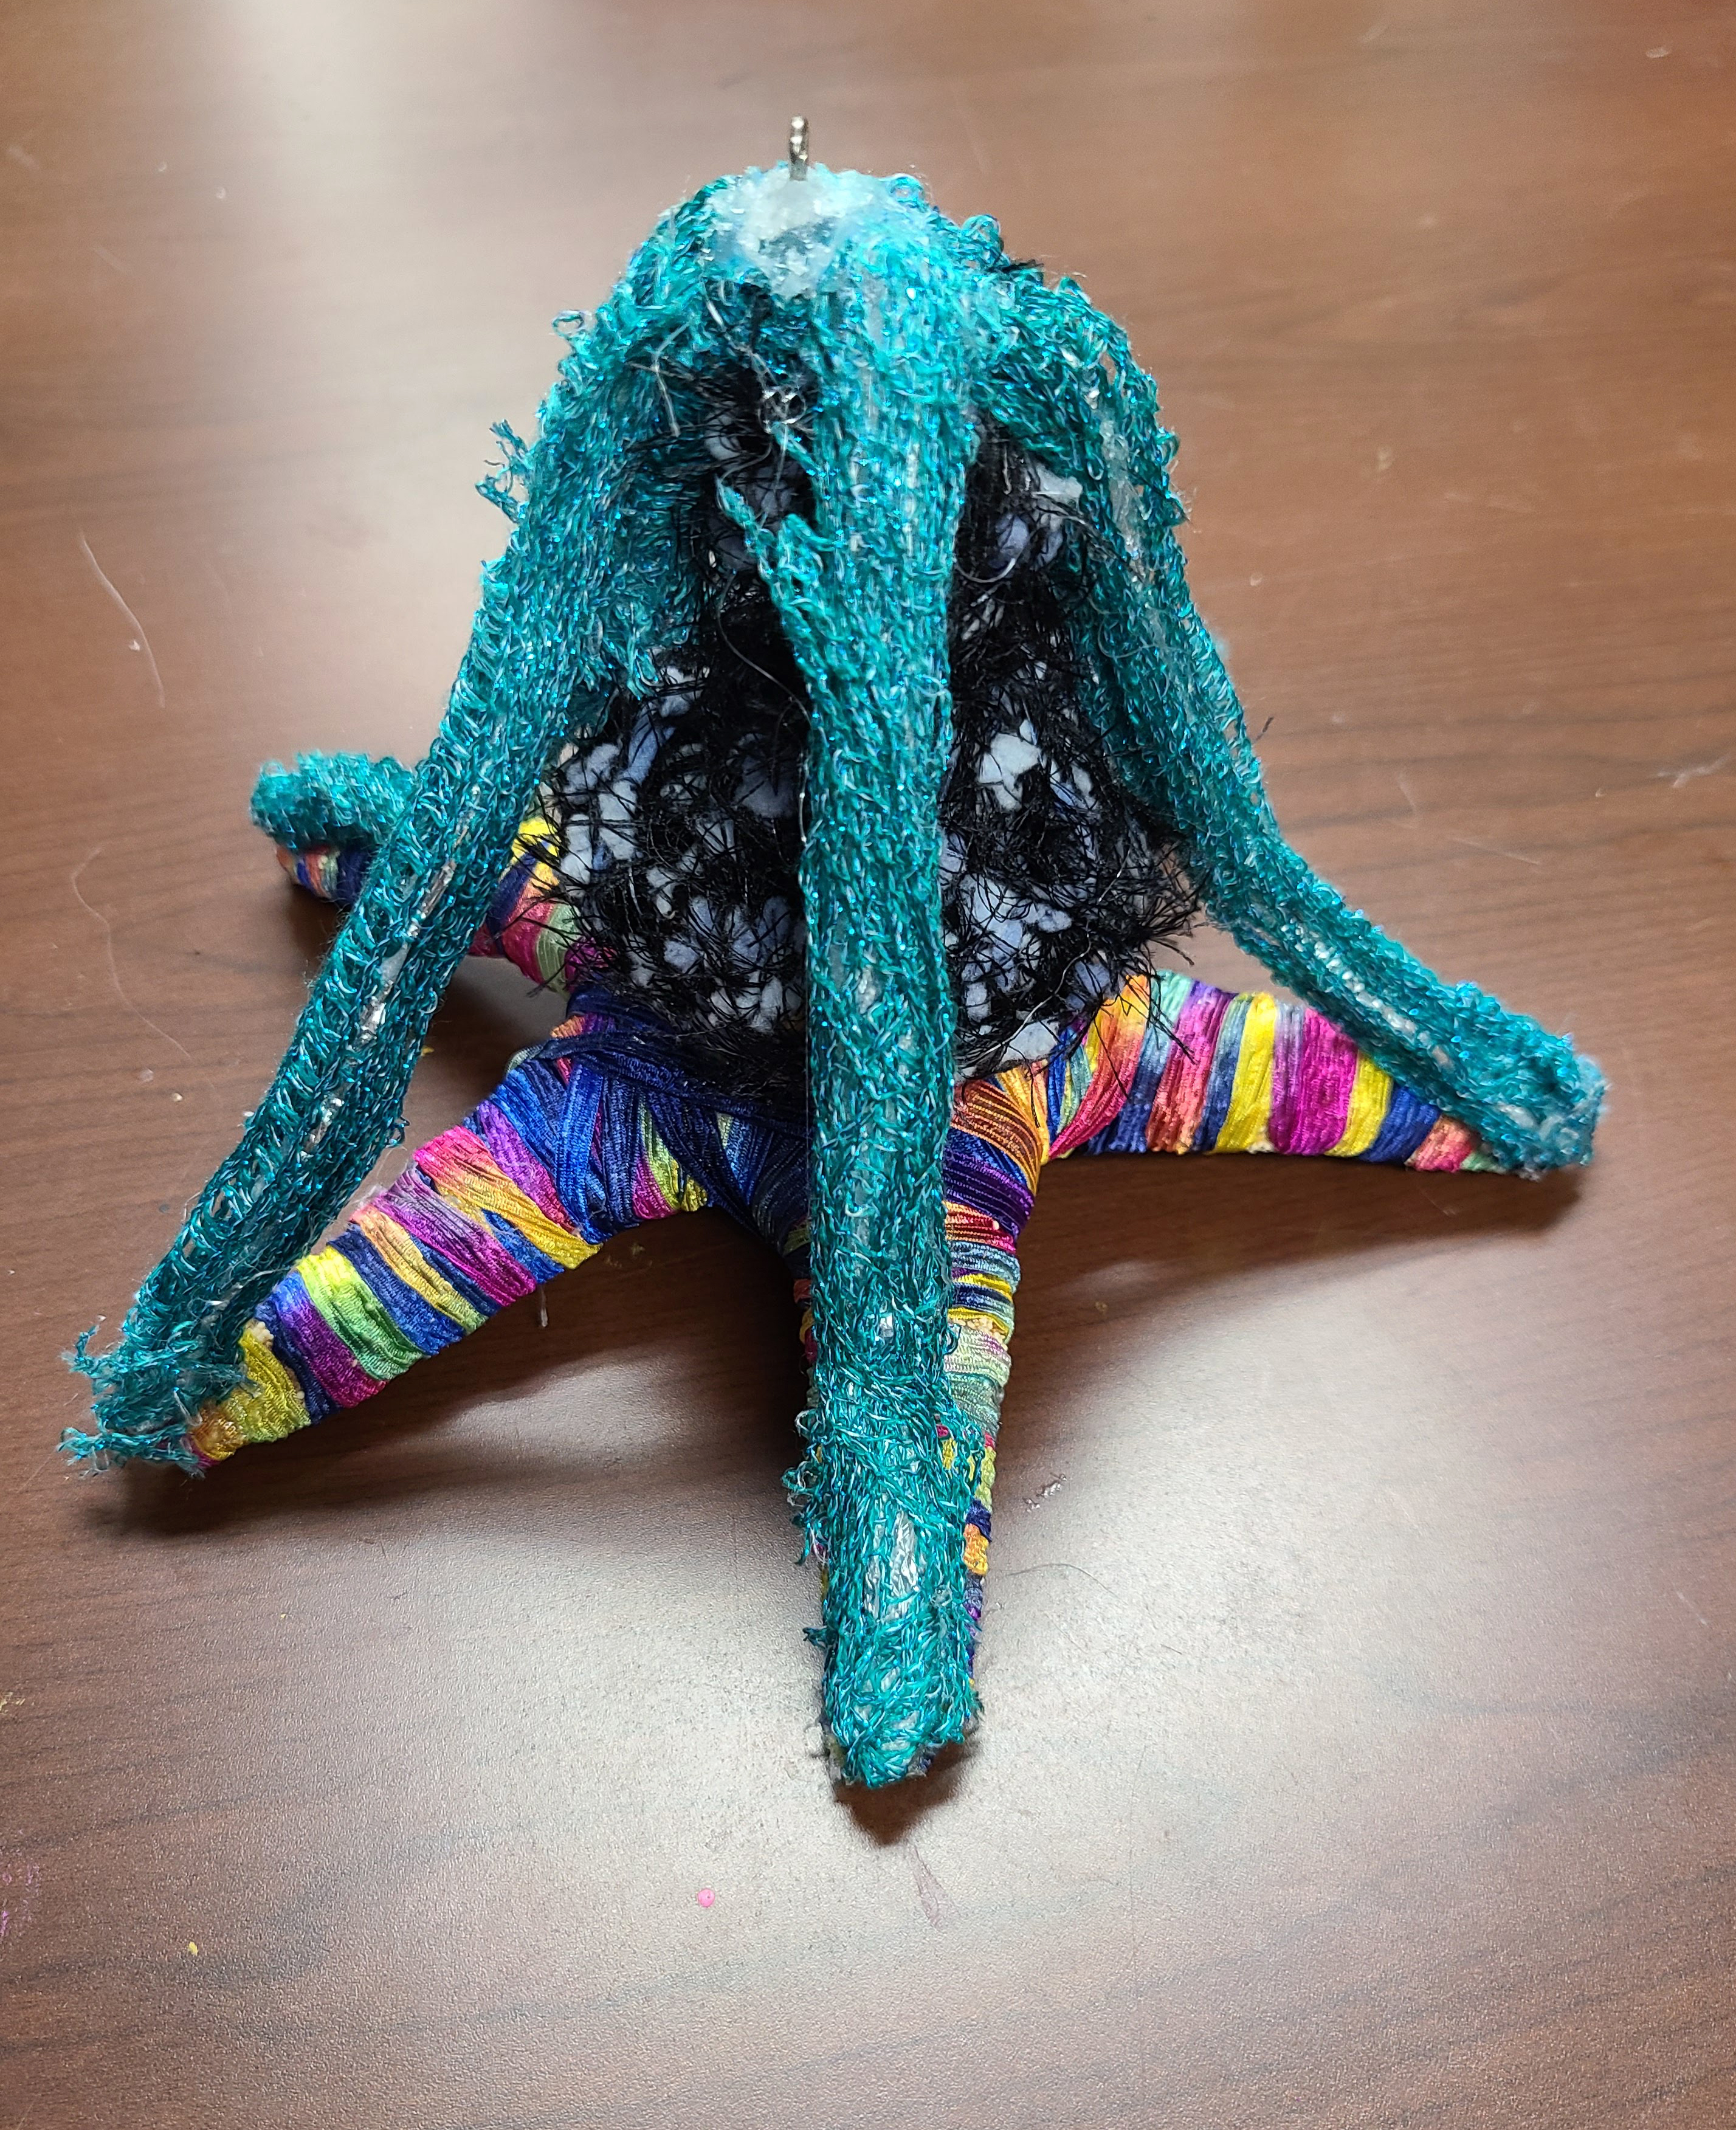
Judith Scott is a world renowned fiber artist with down syndrome. She spent most of her life in an institution, and her natural gifts may never have been discovered had her sister not fought for guardianship later in Judith’s life and enrolled her in an arts education program. It was here that they discovered she had a natural eye for form and color as she started combining and wrapping objects in yarn entirely on her own to make fantastical abstract sculptures. Being that my group I work with is primarily adults with disabilities, I love sharing stories like this. I also thought this project would be a nice break from a traditional art assignment because it’s completely open ended.
This project is intuitive, fun, and a little crazy. Repeatedly students throughout the process would laugh and say, “I have no idea what I’m trying to do…” but they were engaged and smiling! Sometimes you need to just let loose and allow creating to be about nothing more than the process, enjoying the act of assembling, the feel of the different textures of material, just let your senses take everything in.
We started with an armature, frankensteining together random objects to create the shape we would wrap with yarn. Then, we got to wrapping. It works best to use as little glue as possible to still have the wrapping stick so you don’t get a soggy mess. I used some at the beginning and end, and just wrapped tightly so the rest holds on its own.
Some became inspired by a real living thing they chose to abstract, and some just let the shape of their chosen object speak for itself. It was very interesting to see what each individual came up with!
This is a great boredom buster for kids as well, and doesn’t use a lot of materials… Just yarn and literally anything laying around the house you would usually toss or just don’t know what to do with. It is also a wonderful segway into discussing that individuals with disabilities have rich inner lives; interests, goals, and achievements just like we all do – and that we all reach our full potential best when we have someone who is willing to come by our side, be a friend, and believe in us!
If you end up trying this at home, please share I’d love to see pictures! Have fun :).
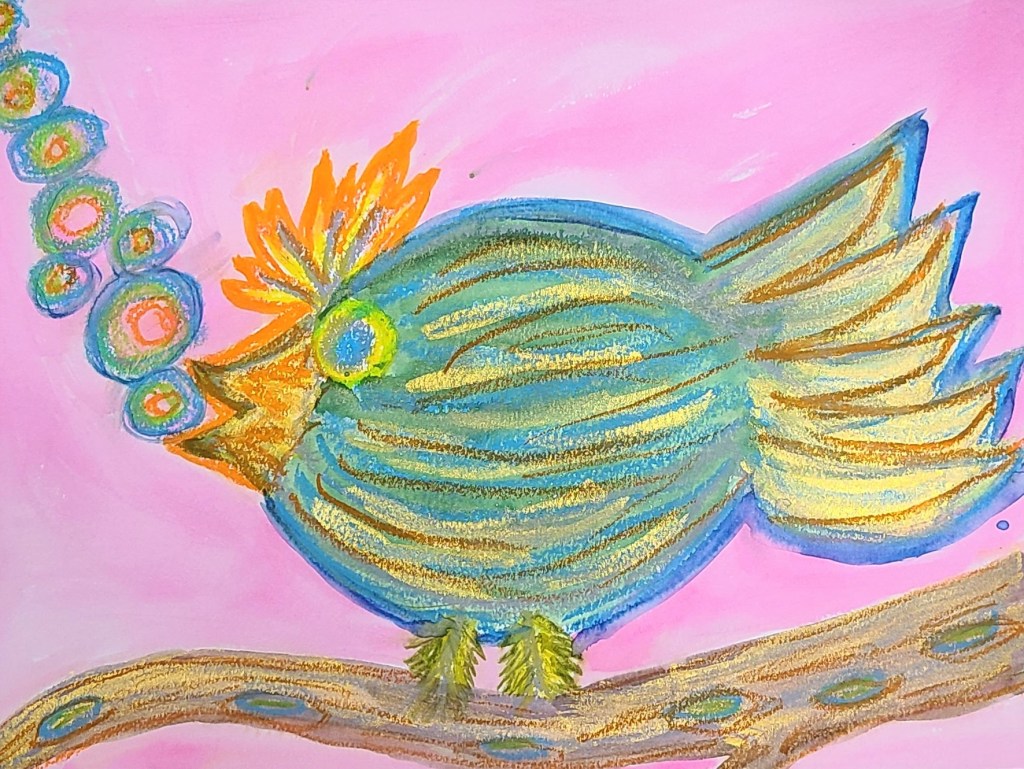
I’ve recently been doing some experimentation with palette knife painting, though for now my forte is mainly just birds! (I tried an octopus recently with disasterous results 😉 ). As someone who was previously very skeptical about palette knifing, I wanted to share how much fun it really is! As someone who is very sharp detail oriented with art, I was worried about not having the control that I can get with a pencil or brush. In the end, I found the expressive process of smearing and marbling colors with the knife incredibly calming and meditative. This is beginner level, so anyone can try it even if you have no painting experience. Give it a go and let me know what you think!
What do you think I should try to palette knife next?
For those new to the blog, my “day job” is running an inclusive arts and wellness program geared towards adults of all abilities, Express Yourself Artshop. Though we have a full staff of instructors, I love teaching so I always make sure I have the time to teach one or two classes each semester. One of my favorites is Creative Minds, an art history based class where students learn about a different artist each week and do a quick project based on their work. I especially like to focus on artists with disabilities or mental health struggles. Due to the whole Covid situation, I haven’t taught this class in awhile so I figured I’d share some of my fun ideas online! Cat lovers, today’s artist is for you :).
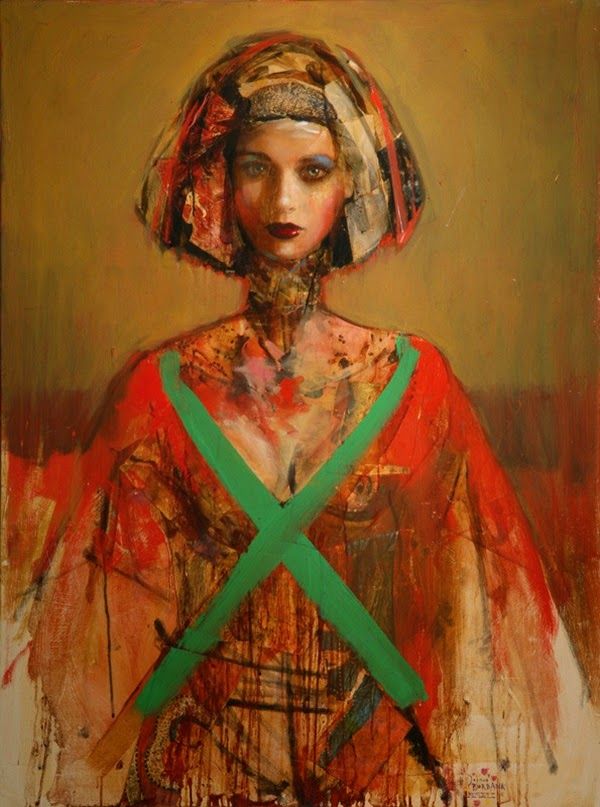
Louis Wain was a late 19th century artist who made playful illustrations of cats, oftentimes dressed and behaving as humans. Though his art was whimsical and light hearted, he had a very difficult life. He was born with a cleft lip, and doctors at that time advised his parents that he should not go to school with other children because of this. He received no education until age 10. His father passed away when he was 20 and he then became fully responsible for supporting his mother and sisters. He fell in love and got married, but shortly thereafter his wife became ill and passed. His illustrations, most of which he had done for his wife to lift her spirits while she was ill, became wildly popular and were being published in magazines all over the US. However, he did not have a strong business sense and was often taken advantage of. By the early 20th century he was destitute.
As his mental health began to decline, his cats became far more psychedelic, surreal, colorful, geometric, and fragmented. The fact that his art so viscerally reflected what was going on inside has made him an interesting artist to study. Though there is no way to know for sure, it is believed he probably had schizophrenia.
Were Wain “normal”, would his art have looked the same? The answer is undoubtedly no. Our differences give us insight and ideas that others don’t have. Sadly, back then mental health was very much a mystery. Today, help is available so that people can maintain their unique way of thinking, but for the most part not unduly suffer. Until the end of his life, art was an anchor for Wain when all else was instability, as it is for many.
So, I just learned that Mermay was a thing in the online arts community. Ironically enough, I’ve jumped on the Disney Plus bandwagon over quarantine and just finished watching The Little Mermaid for the first time in probably over a decade :). Though I have too many projects going right now to fully participate in the daily mermaid art prompts, I did create a fun demo that will show you how to paint a simple, adorable mermaid with watercolors. No art experience necessary! This is a fun and quick project for all ages and skill levels. You will need: Watercolors, watercolor paper or a heavier paper that can survive getting wet, and a variety of sizes of round brushes.
Despite my being late to the Mermay party, I must have still had mermaids on the brain because I also recently adapted my original human girl plush doll pattern to create some stylish mermaids!
These new mermaid friends along with a huge selection of original art and other goodies will be shown in a Virtual Live Art Show on facebook tomorrow at 6 pm. Be sure to mark yourself as going or interested in the event to get a reminder when I go live! This show will benefit Express Yourself Artshop, the inclusive program geared towards adults with disabilities and mental health issues that I lead. Help us ensure we are ready to rock once we are able to safely open again, and get your hands on some original works at way discounted prices.
If you enjoyed this demo, I am still doing watercolor and ink paintings live each afternoon from my Artist Facebook Page, so you can check that out as well. As always, if you end up with questions after trying this demo feel free to ask, I’d love to help. Hope to find you visiting the show tomorrow!
Hope you all are staying safe out there! This easy do-at-home illustration project is inspired by all the happy heart art I’ve been seeing in person as I walk through my neighborhood and in photos and videos online. It is a difficult, unfortunate situation we are experiencing across the globe, but we can always turn to creativity to make connections to others even when we cannot be in close proximity, and to create joy in our own life in uncertain times.
For this project, you will need only paper (obviously watercolor paper is ideal but if you don’t have any on hand, any heavier paper that will take water a little better can work), an assortment of brushes, a permanent fine liner pen (Sharpies will work), watercolor paints, and water soluble markers (classic washable crayolas work if you don’t have traditional watercolor or art markers).
This is a fun illustration to try for all ages, and you can really get creative and make it your own. You can even make it a self portrait to express how you are feeling! Give this simple project a go, and if you have kids in the house encourage them to join you :).
Sending love <3! As always, if you try this out at home and have any issues feel free to shoot me a comment or message, I’m here to help!
If you enjoyed this, check out my other watercolor tutorials:
So, I promise I have been continuing to make entertaining quarantine content to keep hands and minds busy for those spending a lot of time at home, but have just gotten behind on posting it here. I’m excited to share a popular project that I often do with my watercolor class at Creative 360 Studio and Gallery.
For this project, you will need:
Watercolor paper (or a heavier paper that can take getting wet)
Water soluble markers (I use Tombo brush markers, but if you don’t have art markers on hand washable Crayola markers can work too)
Pencil
Round brushes in a variety of sizes
This tiger combines both drawing and painting techniques, and is fun for all skill levels, even those who never do art. Join the fun and give it a try!
If you find you have some questions or need advice, feel free to leave a comment. I’m always willing to help! 🙂


")

