Project Ideas, Techniques and Tutorials

Vintage Inspired Christmas Ornament Crafting Tutorial

I usually wait until Thanksgiving weekend, but I couldn’t resist putting up my tree early this year ;). I love vintage Christmas decor almost as much as I love handmade ornaments, so I’ve combined my two holiday passions with this fun and simple craft. I hope you are inspired to give it a go!

This year, my main tree in the living room is covered in my paintbrush assemblage ornaments accented by bulbs in different shades of gold, some vintage pieces, and some softies gifted by friends and family. My second small tree in the spare room has all my bulbs decoupaged with images from art magazines. And of course, I have my own vintage jewelry tree hanging up in my kitchen! I did some tutorials showing my process for both the paintbrush ornaments and trees using old junk jewelry pieces last year, so be sure to check those out if you need some inspiration. I know for me, crafting these decorations has been wonderful art therapy in between my more taxing commissioned pieces, gifts, and pieces for upcoming shows. I know it can be difficult, but I hope you all take some time near the end of this year to reflect and unwind, and remember holidays are supposed to be fun – don’t pressure yourself too much or feel you have to stick to traditions that don’t work for you. Make these next couple months what you need them to be. ❤

sdas

Advertisement
Standard
Art Discussion, New Work

New Work – September: She Is An Atlas

This was one of the most challenging pieces in my series thus far, because I was working with multiple layers of meaning and thoughts. It also is the most “mixed media” of all my series installments, utilizing not just mixed fine art mediums but fabric, metal chain, tiny rhinestones, and torn book pages. I have been so into metallic accents since the collaboration with my friend and student, Heather. I also blame her for the inclusion of rhinestones – she encourages me to be sparkly.

she is an atlas

I’ve mentioned in previous posts that when I feel, I feel BIG or not at all. There is no other way. The sketch that inspired this piece started as a way for me to process the weight of my own emotions and feelings of powerlessness. As  I began further conceptualizing this current series, I realized the idea could fit as one of the 12 pieces. For new readers, here’s my blurb briefly explaining the series (If you are already in the know, feel free to skip ahead 😉 ): I am creating 12 mixed media, surreal, conceptual portraits in which the meaning is influenced by the use of pattern and color. They will depict women of all ages, races, and time periods, and each will communicate a different theme. I aim for the pieces to speak to women’s collective experiences beyond their differences. Each of the 12 will represent a month of the year. We tend to think of time and events in terms of our own personal history or the history of the nation in which we reside. But of course, there are women everywhere living out their day to day life all over the world, with hopes, dreams, fears , relationships. Our situations and struggles are very different, but were we in some alternate reality all given a chance to meet, I suspect we would find some surprising similarities, maybe more than we ever expected. The title of each piece starts with the month it represents, followed by “She Is _______”. The figure in this piece quite literally has “the world on her shoulders” through the pattern on her clothing, much like the mythic Atlas. Atlas the physical object is also defined as a book of maps or charts, and can signify one feeling that they alone must have all the directions and answers to all of the world’s problems, a grand and impossible responsibility.

The exposed heart necklace represents empathy, an open heart waiting to be wounded , left unprotected and raw. She leans against a bulls-eye wall, surrounded by an outline of thrown knives, a target girl like in the well known circus act. With each act of injustice and malice directed at others, she feels as if she is standing in their place, each offense a knife thrown at her, just missing. Though fearful, her face is strong and even. I’ve written before about how compassion and empathy does not equal weakness. To stick one’s head in the sand and be ignorant of the world’s ills is weakness; foolish, avoidant, and selfish.

Another way the subject can be viewed is not as the empathizer but as the victim. Some people are born into situations that are so difficult, living day to day is much like standing against a target with knives being thrown at them. It can be their geographic location, their income, the people that surround them or lack thereof, and the list goes on. Though yes, our personal choices certainly can influence outcomes, isn’t so much of life like a gigantic, living lottery when you think about it? Yet we shake our heads and wag our fingers when we see people who are struggling both around us and abroad, because certainly they must have done something wrong or things would look different? This way of thinking frees us of the responsibility to help others, and gives us a false sense of power that by doing certain things we can be 100% sure we attain the exact sort of life that we want. It all goes back to empathy and control.

One of the things I love about art is the way people can discern completely different meanings from a piece based on their own thoughts and experiences. Did something different strike you as you looked at this piece, did it remind you of something? Please share, don’t be shy!


Standard
New Work

Be My Eyes

be-my-eyes.jpg.jpg

This newly finished mixed media piece, titled “Be My Eyes”, continues along a similar theme to my last piece. I love how it turned out, but I must admit this is one of the first works in awhile that was not buckets of fun throughout the entire process. I’m lucky in that I don’t get incredibly angry with my art much anymore. Like any relationship, if things aren’t working, I can say hey, I think we need to give each other some personal space, and leave it alone for awhile and work on something else. However, this one had a quickly approaching deadline for an all-area Michigan show I wanted to enter it into, so I didn’t have that luxury. It may be freaking gorgeous, but filling in all those detailed little butterflies was a chore. Like, I almost considered taking a break from working on art at one point to go clean my kitchen – that’s how bad it was. Cleaning my kitchen was a reprieve. What’s that about blood, sweat, and tears?

img_20160713_162405.jpg

After doing the basic outline lightly in pencil, I started filling in the figure from the top down. I broke my own guideline that I always give my students about starting with the background first, mainly because to be absolutely honest, I had no clue what to do with the background yet. The hair was so swirly, and fun, and free, and so the opposite of those technical, detailed little insects. I used prismacolor pencil for the face and skin, watercolor for everything else. I made some commitment to a background by dripping orange, gold, and magenta watercolor over it – similar colors to what were used in the hair. After this, my work of art temporarily looked like a 70s album cover. The photos don’t do it justice, the colors were BRIGHT.

img_20160722_193236.jpg

After that, I went back to ignoring the background because I still had no idea what to do with it, and finished the central figure. Rules in art really are just suggestions ;). I had known from the beginning that this piece required metallic gold somewhere, and the background now seemed just the place to put it. Huzzah to dulling all those bright Barbie Dreamhouse colors! I needed to break it up with some texture, so I used a crumpled paper towel to apply the first layer of gold, but it just didn’t do it. It was reminding me of a faux finish accent wall circa 1995. In a surprisingly impulsive move (Even in art, I am so not an impulsive person.), I squirted gobs of paint right on the background, and used a toothpick to marble the colors together. I have the technique down because of how many times I’ve made these nutella brownies. Seriously, same technique to marble the nutella and peanut butter. To lighten this now very dark background (Art is always such a Goldilocks situation.), I used white watercolor and added designs of blown up butterfly wing patterns over top. The finishing touch was the gluing the bunched lace over the dress, and voila!

The reason I’ve included this 100% honest rendition of this piece’s birthing process (including the part about my background being inspired by delicious baked goods) is because I’ve learned one thing from all the different students I work with, and it is this: They think artists always know what they are doing, have an exact plan in their head, and that their piece turns out just precisely how they imagined it in the end, and that real artists never get stuck or doubt what they are doing. This is absolutely not true. Everyone’s art looks completely wonky until it is all the way finished. It’s part of the process. When art is in progress, it’s awkward looking, we don’t always know what we are going to do next, and we don’t always enjoy every single step of the process. And that’s ok. If your art is easy, you probably aren’t pushing yourself enough, or being as creative as you could be.

I haven’t talked much about the meaning behind this piece, because I want to hear what you think. This image could definitely be open to innumerable interpretations, and that is one of the most fun things. What does it say to you?

Standard
Interior Design

8 Interior Essentials For A Happy, Interesting Space

When I finally got a dependable, non-commission-based-or-freelancing-big-person-job last year, my boyfriend and I talked and decided after 4 years it was a good time to pull our resources and find a place together. Unfortunately, fall and winter got super busy and then it was the holidays and then it was march and we had visited ZERO houses. So, in order to not make a hasty decision about something super important, we decided I could chill in my one bedroom apartment a little longer and keep saving money until we found somewhere awesome to live. I have to say, the place has its benefits. Though extra space is not one of them, it is:

A) Within walking distance of Mooney’s Ice Cream. I don’t need to explain what an asset this is. In a list of cohabiting concerns, not being close enough to 30+ delicious varieties of ice cream  cones at whim was right up there with having stinky socks piled on top of my reading chair. So basically, a pretty big deal.

B) I’m on the second floor and have a fun little balcony that is just excellent for drinking wine upon at night on summer evenings. We call it the veranda … what are delusions of grandeur again?

I am very much a visual person, and can tend towards being as much of a perfectionist in the decoration of my living space as the creation of my art. I always worried with a space that was not-so-much-space, and with the fun apartment restriction of being stuck with stark white stucco walls, always stucco, I wouldn’t be able to truly express myself with my home, or get it to look as awesome as I pictured in my head. Add to that the fact that I studied Interior Design in college, and I place pretty fierce expectations upon myself. However, I found there are plenty of easy things you can do to bring together a small area and make your space stand out. The essentials are …

A teapot with personality. 

a26619af3f34baa449f4746ce6f6c1e2

Going back to the apartment thing; in a one or two bedroom apartment, it can be hard for your kitchen to really feel like a kitchen when it’s about 15 square feet. Oftentimes this space gets ignored. A brightly colored or fun patterned teapot sitting out on the stove top can wake it up a bit and make it a little more inviting, which is a good thing when you have just had the longest day ever and know you have to go home and cook ;).

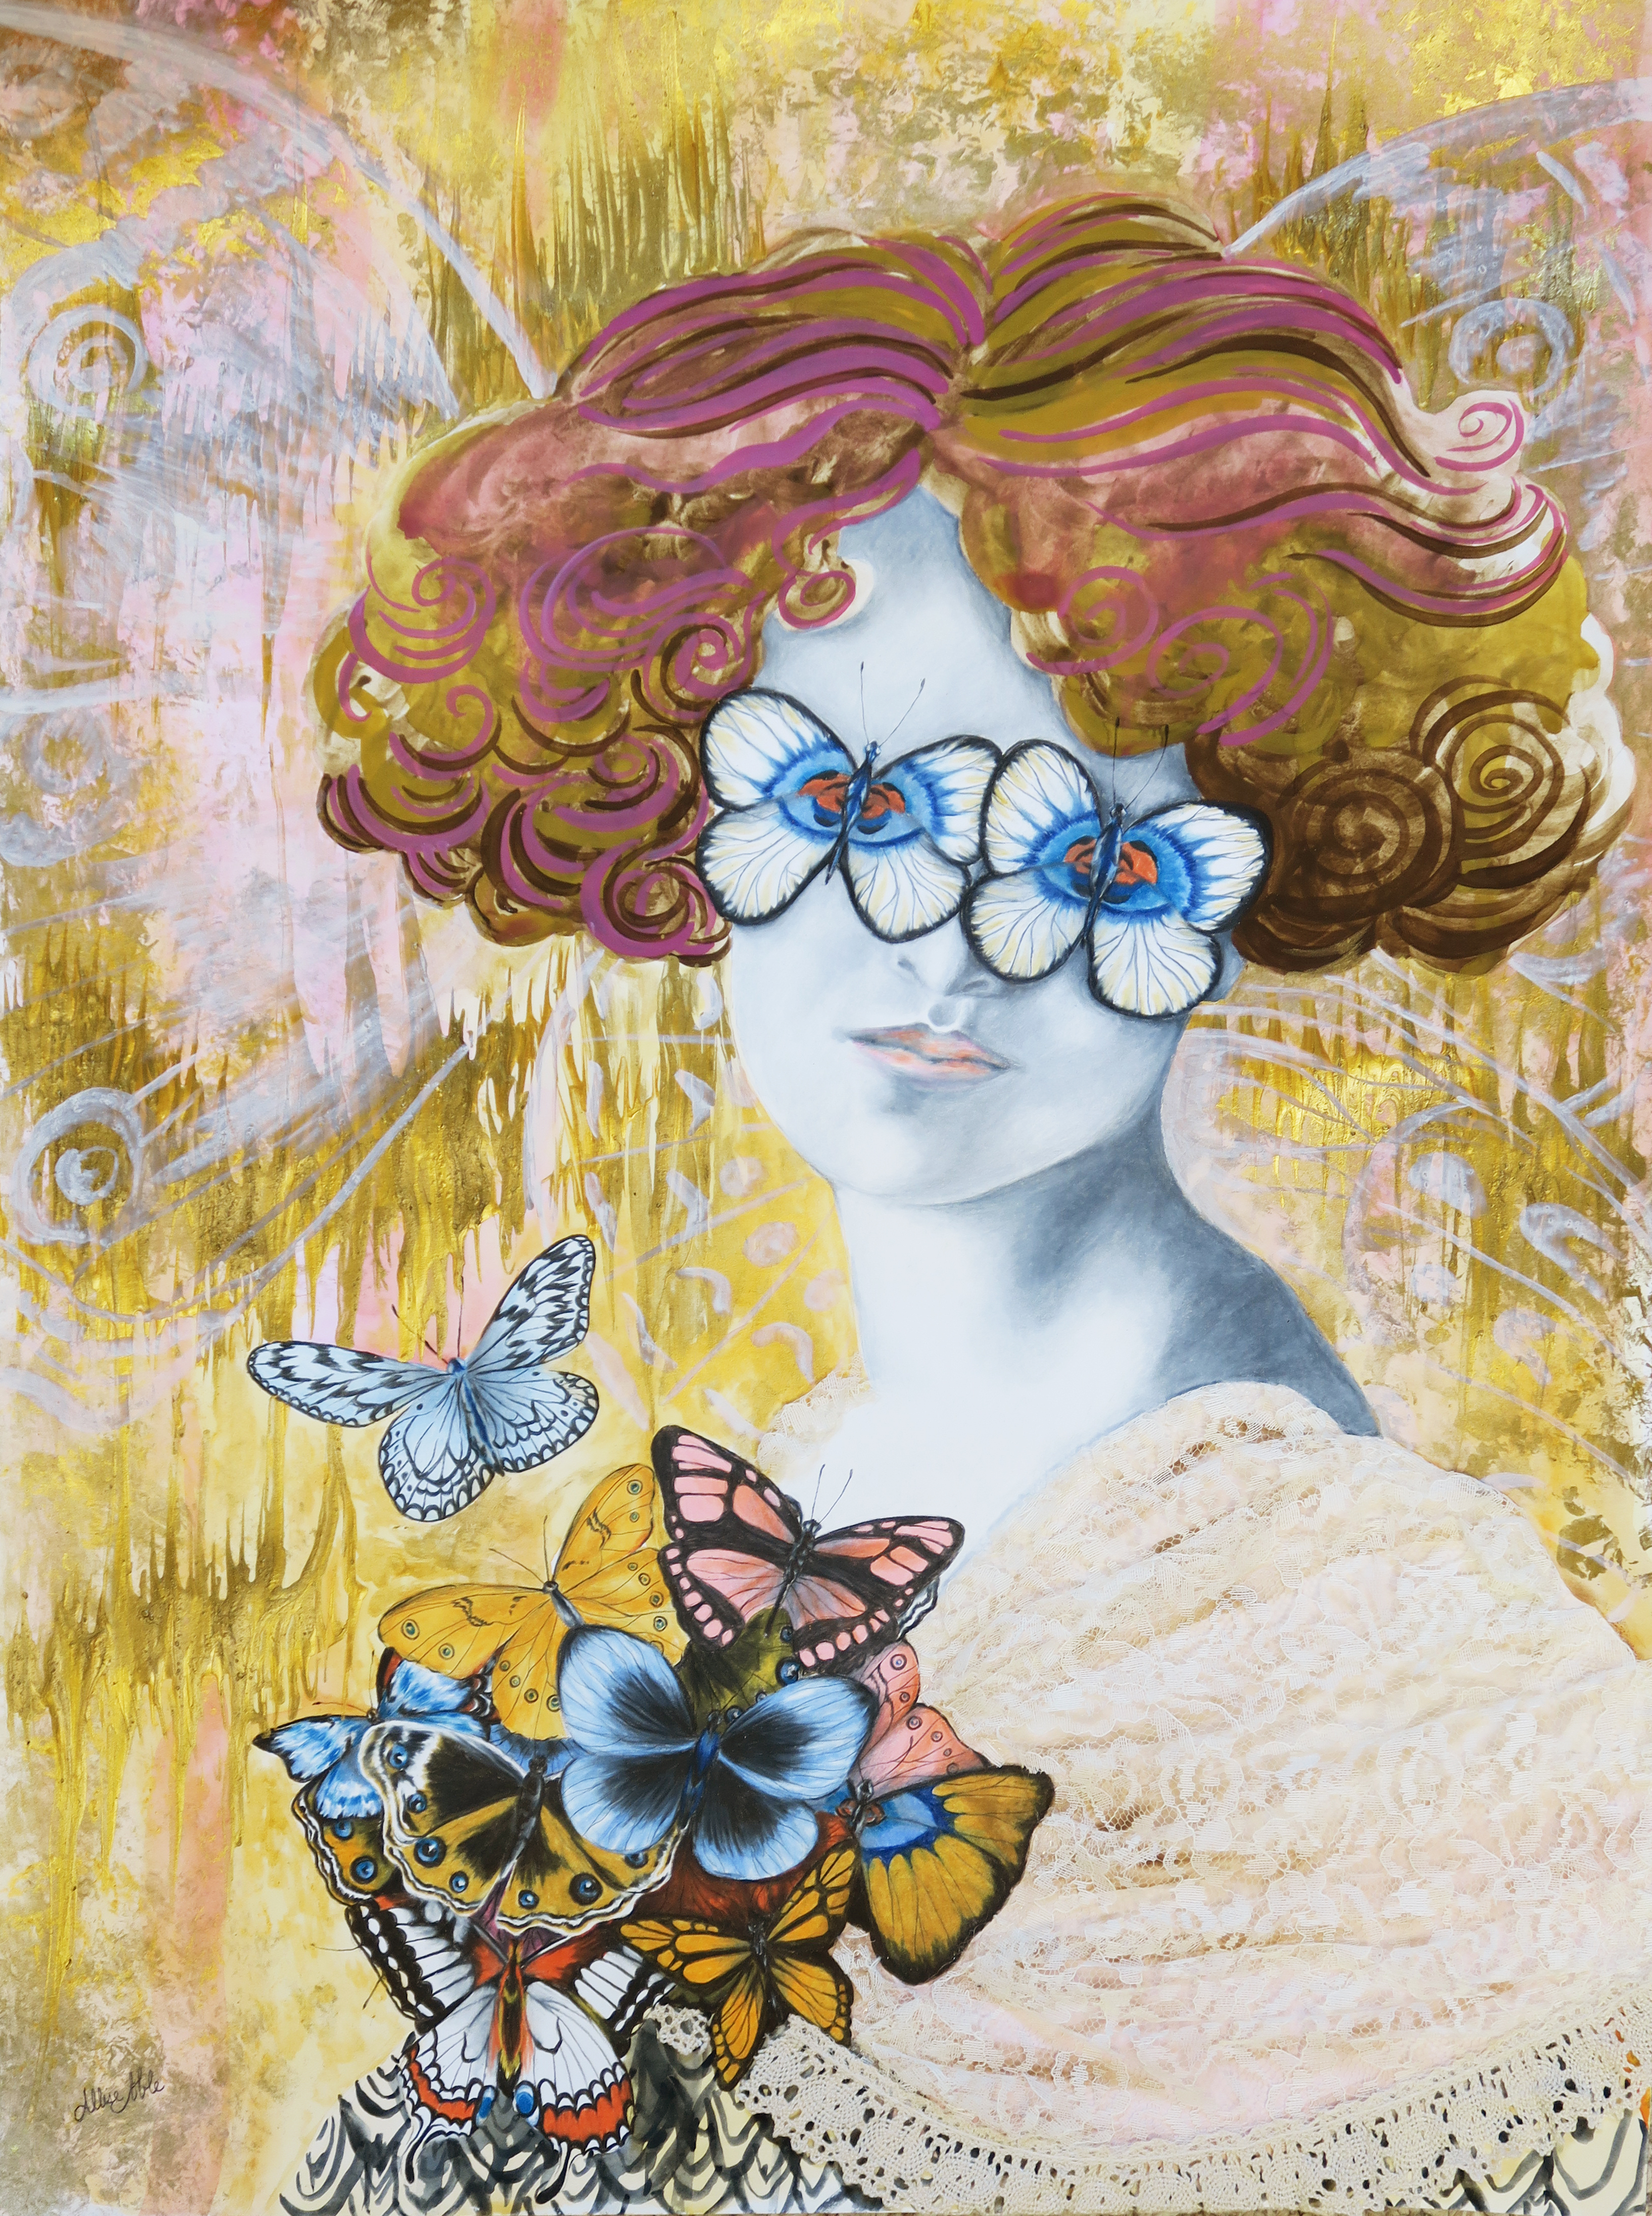
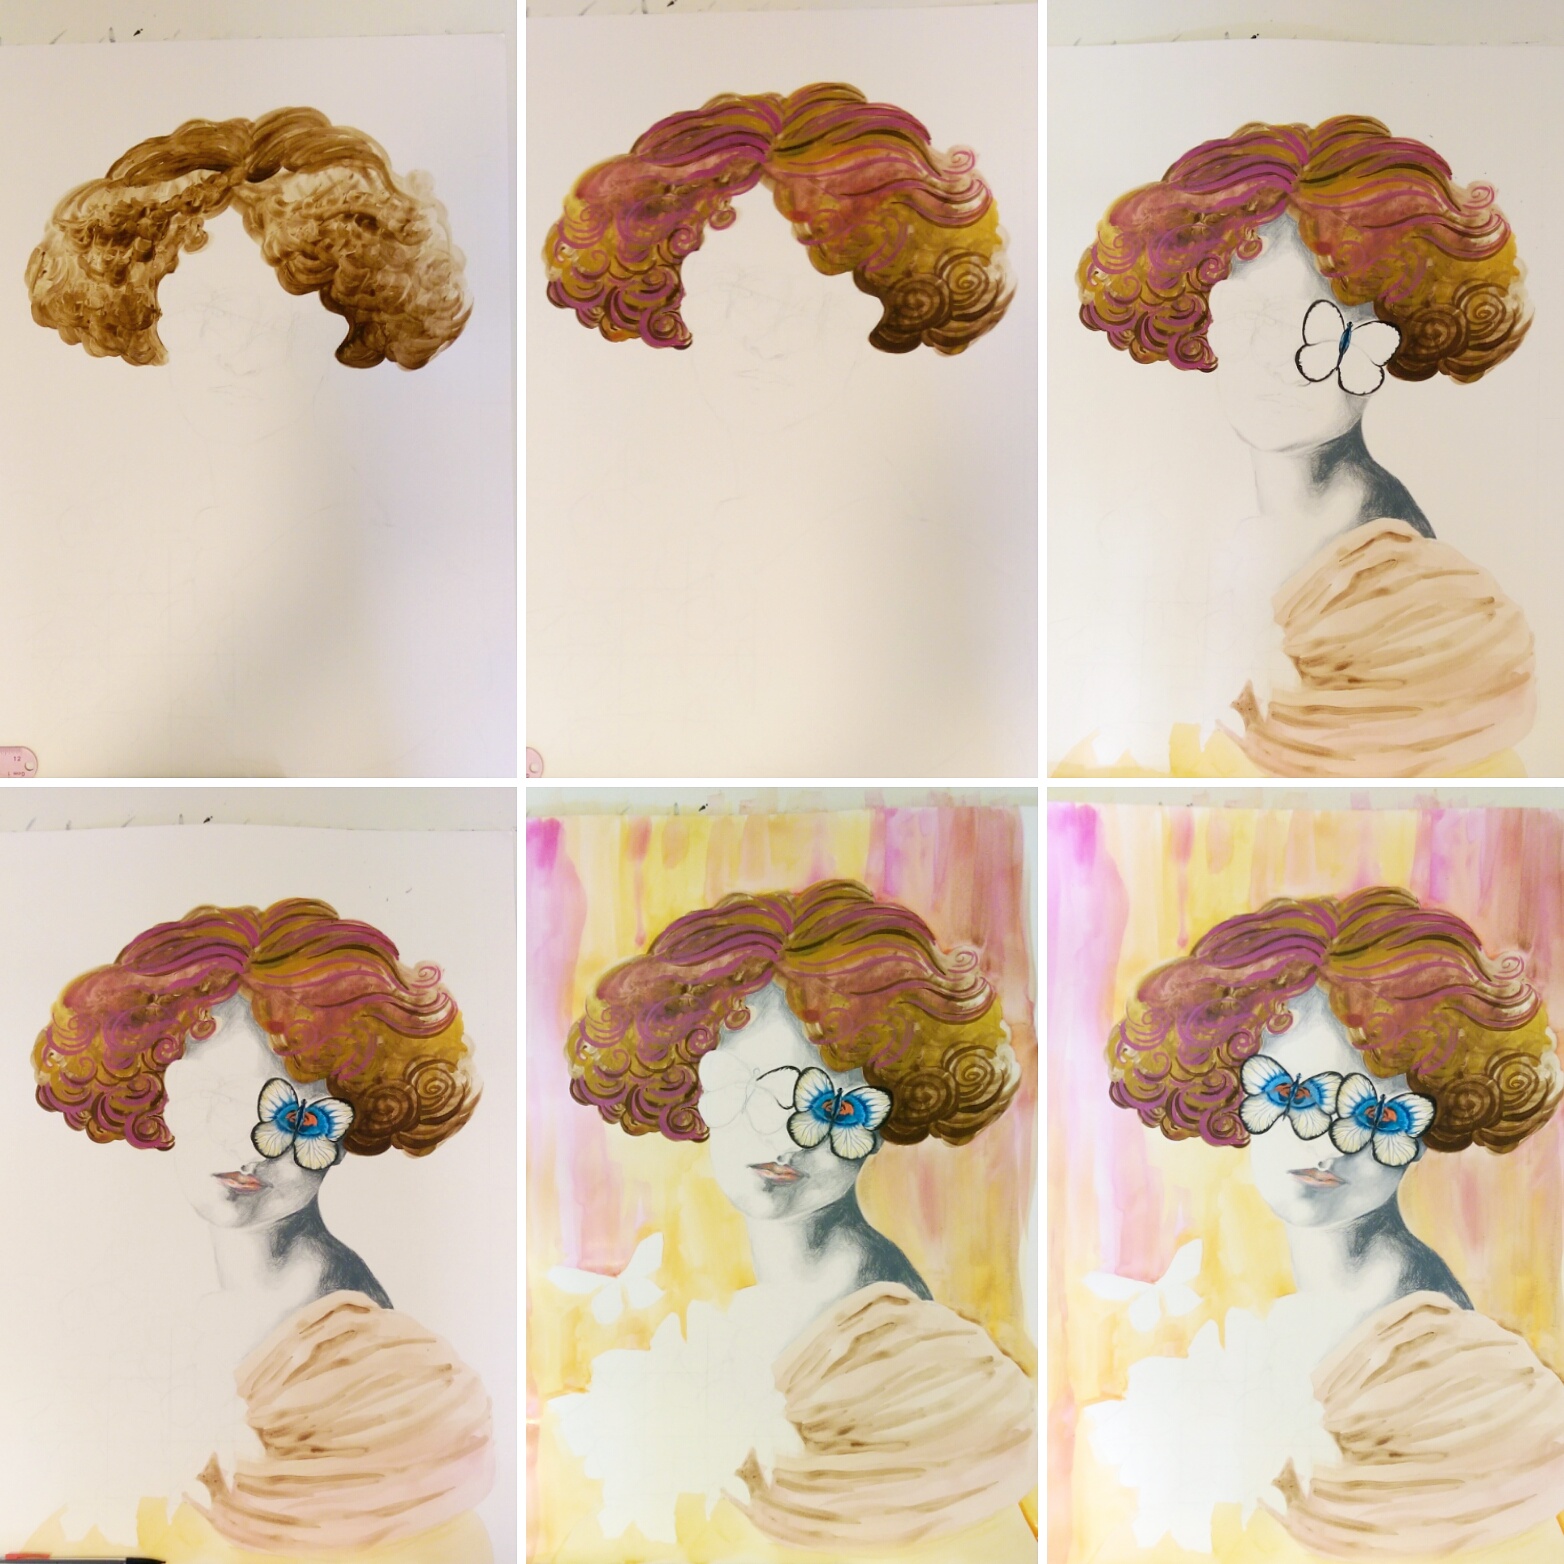
Art from different times and cultures.

Another simple way to add interest is to mix in some vintage here and there, and add elements inspired by cultures different from your own. The collection above are all pieces I have up in my apartment. I have always loved retro 1960s illustration and art nouveau, and have been interested in asian culture since junior high. Your inspiration may be different, but either way including vintage and multicultural design will make any space more intriguing and inspiring to live in.

Glam lamps.

Especially in an apartment, you don’t get to choose your major lighting fixtures, and the ones that are up are usually pretty bland and unassuming. So, you have to express yourself with your lamps. You can’t always have a chandelier or some other eye catching fixture on your ceiling, but you can have it on your end table :). I had to include that unicorn one on the end just for fun.

Fun rugs.

When you have a small space with an open floor plan, rugs are awesome for visually dividing your space into “rooms”, different areas of function so that your space doesn’t just look like a jumbled sea of furniture. They can also add a bold design element, like art on your floor!

Neutral Pattern.

For someone like me who likes to change things up every other month, it’s a good idea to keep your main staple pieces a neutral color. Plenty of fun contrasting patterns keeps it from being boring. My houndstooth and zebra print accented sofa purchased at an employee discount makes my full year of misery working in sales totally worth it.

Colorful Vintage Glassware.

a2a25c729228cf5010070f242e8fa7c0

I love vintage glassware. I’m an antique store addict, and swear I have accumulated enough retro goblets and wine glasses to open my own bar.Everyone needs a contingency plan, right? My favorite antique glass is LE Smith’s Moon and Stars design, shown above. Glass from the 20s through 80s comes in nearly every color under the rainbow so there’s something to match everyone’s favorite color.

Kids Stuff (Whether You Have Kids Or Not).

When we’re a kid, we dream about the day we will have our own place. We envision building a slide that takes us from one floor to the other, and an entire room that’s just a gigantic ball pit. Then we grow up and become boring. I am a big believer in injecting a bit of fun into the place you’re going to go to sleep in at night, and have no problem paying homage to a favorite cartoon character here or there. I have a spider-man plaque hung up in my bathroom, and for awhile even had his and hers matching spider-man loofahs (I was Spider-man, he was Venom.). Finally, he complained that they were too small and made for children and can he please have a normal cleaning apparatus for when he stays over! They shot water out of their mouths when you squeezed the vinyl character sitting atop the fluffy cleaning part, that is an important point to be made. His loss.

Attractive Storage.

I don’t know if these fun little patterned boxes have an official name, but all I know is they make having piles of crap look chic as hell – enough said.

What are some of your go-to’s for an intriguing living space?

Standard
Exhibitions and Other News

Exciting News From Midland Artists Guild Exhibition 2016

Time has been flying, and I can’t believe the Midland Artists Guild annual juried exhibition has already came and went as of last night. There was such a diverse collection of amazing work. I think the shows get better every year, and if you are in the Midland area it is worth stopping by the Grace A Dow Memorial Library mezzanine to check it out. I was beyond excited to find out my piece “On My Mind” won one of the Merit Awards!

IMG_0440r

spaceedit3


This art nouveau inspired mixed media was so much fun to work on, and you can visit one of my previous posts to view the  step by step process .

My two other pieces that made it into the show were “Wonderland” and “January: She Is Far Away“.

All of these designs are available as art and ACEO prints in my ebay store, and prints on mugs, bags, pillows, notebooks, and all kinds of fun stuff in my redbubble shop. Next up, the Express Yourself Artshop fundraiser show and the Saginaw Township annual juried exhibition! Of course there will be many, many pictures :). Follow to stay in the loop!

Enjoy the rest of your weekend. I know I will be enjoying the rest of mine by drinking copious amounts of tea and not leaving the house.It may be Spring everywhere else, but not in Michigan! In fact, we’ve had four snow days in the last two weeks :P. So long for now!

Standard
Project Ideas

Book Pages and Metallic Paint = Instant Classy.

Every so often I get bored and dissatisfied with the state of my walls and need a change. I’d had some Alice In Wonderland etching coloring book pages framed above my couch since I’d moved into the apartment. I’d filled them in with markers, giving Alice hot pink hair, and my boyfriend was even starting to comment, “So… are you ever going to take those down?” Apparently the appeal of pink haired punker Alice was lost on him, and he also couldn’t fathom why I would hang up coloring book pages when I have so much of my own art at my disposal. I do decorate my home with some of my own work obviously, but you have to understand, I get real tired of staring at my own art. I’m staring at it the whole time I’m working on it, and when it comes to my walls, I want to give my eyes something new to get excited over. The coloring pages had overstayed their welcome a bit, and the magic marker was getting ridiculously sun-faded. But, I didn’t want to spend the time making 3 new fine art pieces just to hang above my couch when I knew I had exhibits coming up to get ready for.

I don’t know if anyone uses those 12×12 paper flip calendars anymore … They are a bit of a relic nowadays, but I always insist on getting one from those giant kiosks in the middle of the mall set up around Christmas simply for the cool pictures. Art Deco is one of my absolute favorite design periods, so for the past 2 years I’ve gotten the Erte calendar. This fashion artist is responsible for the loveliness below – so yes, he completely rocks.

You can buy 12×12 scrapbook frames at any craft store and hang calendar page art as is (the cheapest prints you will ever find), but I decided to take it a step further to create the trio below.

trioThese pieces only took an afternoon to create. First off, a background made of book pages makes anything look instantly classy. If you are like me and love books, tearing one to pieces could take a lot of soul-searching. Therefore, I picked up the most dull, dry, uninspiring book I could possibly find from the red dot $1 bin at Barnes and Noble so that I wouldn’t feel I was doing any disservice. The opposite, I felt I was improving upon the provided material by turning it into art. I first tore out about 6 pages per picture, then adhered 3 pages layered on top and 3 on bottom to the cardboard backer that always comes with frames. I found brushing tacky glue onto the back with a combination of a cheap throwaway paintbrush and one’s finger worked best. I then flattened the bookpage-covered-cardboards under a pile of magazines to dry. While the glue was drying on those, I found 3 calendar pictures I liked and cut out the main subject from each page. You could do this with any calendar theme, cutting out a large central image be it a flower, an animal, a boat, your favorite entertainer, whatever makes you happy to look at. I then brushed tacky glue onto the back of each of my calendar cutouts. I pressed them on, smoothing them out with my fingers, making sure there were no bubbles, and then put the pieces back under the magazines to dry flat. Next, out comes the metallic paint! Metallic acrylic paints are just magic and make every single thing look way better. You don’t have to be an artist at all to accent your new decoupage calendar pictures with paint. The “distressed” look goes awesome with the torn out book pages, and for this technique the messier the better. Grab a large flat brush, and make sure you keep it dry – don’t dip it in water until you are finished. Dip some paint on your brush and simply swipe across your piece. The paint will naturally catch where the pages layer and overlap lending a cool texture. If you don’t feel intuitive with the paint, an easy out is to simply paint along the edge of the image you glued down to emphasize it, and also brush along the corners or all the edges of the actual rectangular piece to “frame” your collage. You’ll be surprised at how amazing these turn out. You’ll have people asking where you bought them, when all it was was less than $5 of supplies and a couple of hours.

Doing more rearranging later due to visiting the Midland Antique Festival and buying yet more wall art, I decided to make a wall collage above my dining table which is something I’ve always wanted to do. My framed original portrait drawing, collaborative mixed media canvas piece I’d made with my boyfriend, and my crazy little 60s-big-eyed-circus-child all had a vintage, weathered look to them with lots of beige and ivory amongst the pops of color. I needed some super small pieces to tuck in between the gaps in the arrangement, but 5×7-8×10 frames are usually meant for table tops and just don’t look right on the wall, and the frames’ heavy, dark edges were taking away from my more focal pieces. I needed something on a small canvas, but once again, was pressed for time. Though I wanted my collage to look good, I did not want to make 2 miniature acrylic paintings with all the other projects I had going. I had a value pack of 8×10 canvases I’d gotten at Michaels that calculated out to $1 per frame at the end, and decided, what the heck? When in doubt, cover them in book pages. Once I had the entire front and sides of the canvases covered in tacky-glued pages, I went to Staples and got 2 of my original works printed small on standard printer paper, tore the edges to make them uneven, and glued them to the relative center of my canvas. If you don’t make art yourself, you could still do the same thing with magazine pictures, digital photos you’ve taken, or works by famous artists copied from art history books. Antique or vintage-inspired images look best with the book page background. Of course, I had to metallic up the edges with some gold paint, and once again I had put in an hour or two of work for a really cool end product.

I fell off a chair and dented the entire right half of myself trying to hang this up, so it better look kickass!

I fell off a chair and dented the entire right half of my body trying to hang this up, so it better look damn good!

I hope some of you will try this out. Even not-so-great looking decor can be super expensive, and these projects are FUN even for non-artists (promise!) and will add a ton of personality to your abode. Collaging is even suggested as a relaxation technique when under extreme stress, so this project could be just what your day off needs. I’ll be taking a break from art and heading off to Ludington tomorrow for a mid-week weekend of hiking, swimming, and generally being outdoors from morning till the wee hours of the night. Hopefully I come back refreshed and inspired ^_^.

21

Standard