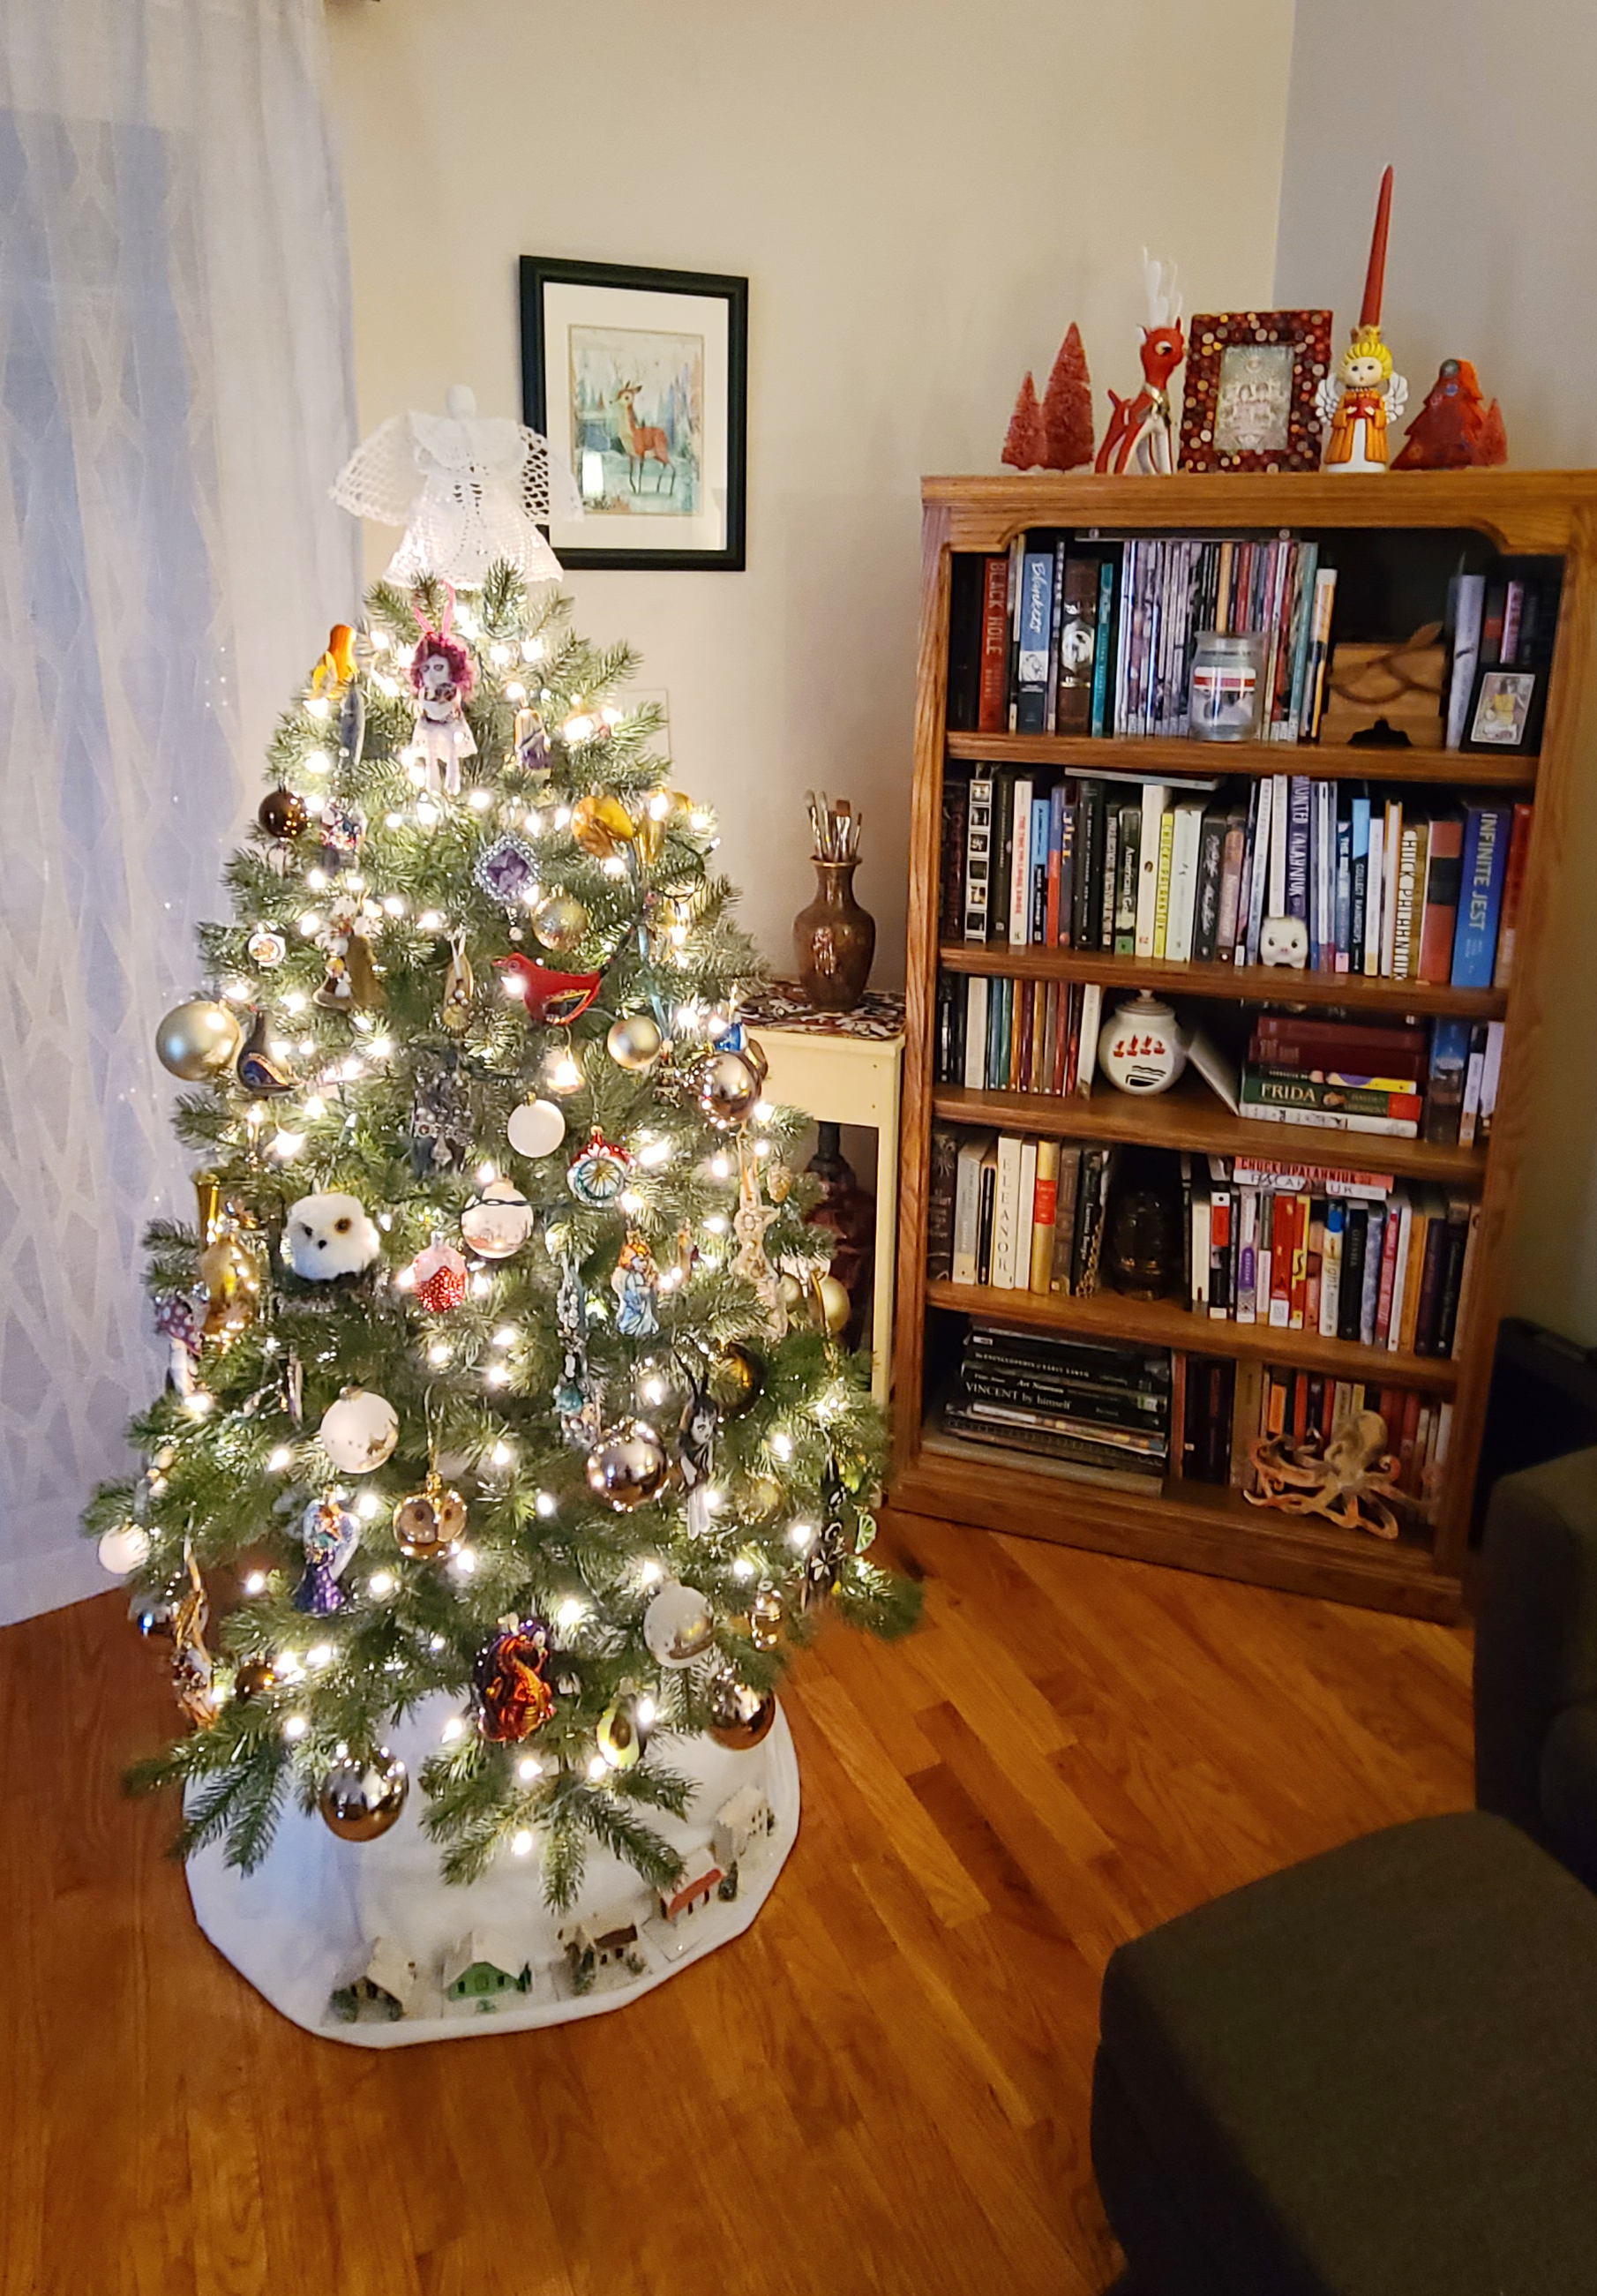
I do wait until Halloween is done at least, but once November hits I feel myself sliding into holly jolly mode and the older I get, the more I enjoy seasonal crafts :P. This year I played around with some fun clay ornaments and even taught a couple of workshops already! I also wanted to take the opportunity to share some other fun holiday demos I’ve done over the years. All of these projects I’ve used to decorate my own house, and have also been successful selling at art fairs and online.
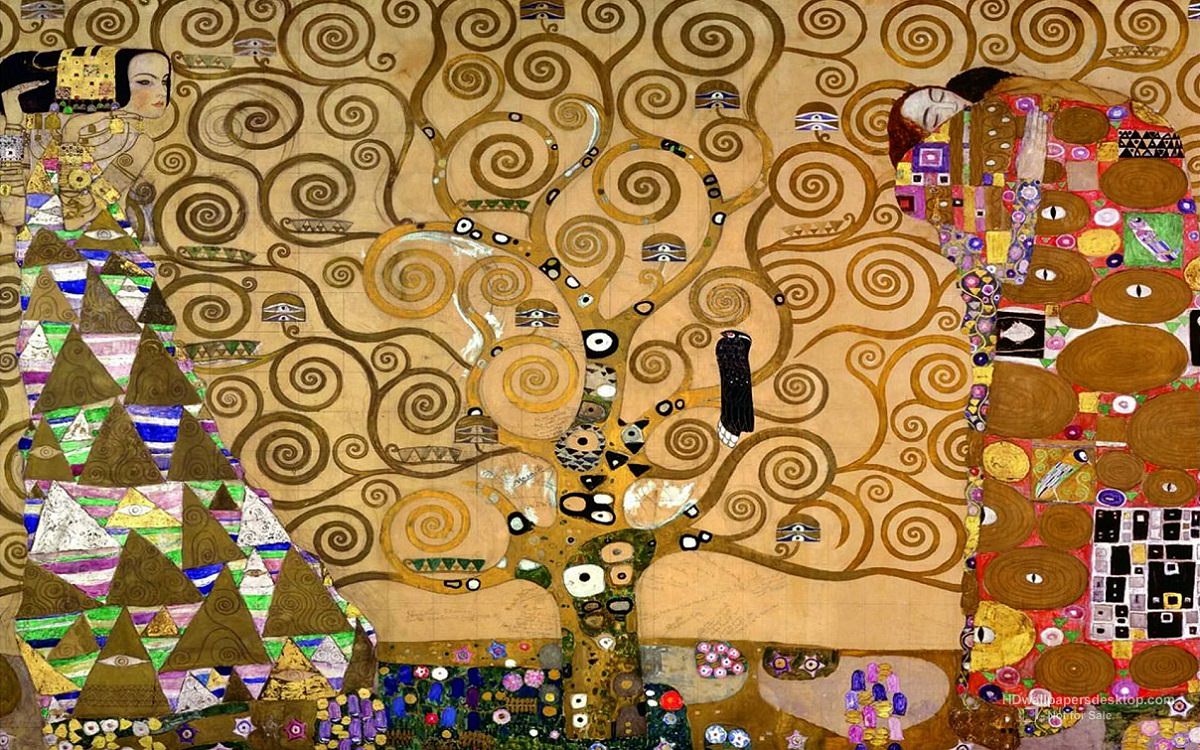
I was always enamored by these jewelry trees when I’d see them at antique stores, and once you get the hang of how to lay them out they are relatively simple to create at home. It’s even more fun when you get to choose meaningful collected bits and pieces, or create your own “theme” or color scheme. I have made these in so many different styles – each one really is one of a kind!
Inspired after trying the trees, I decided to go to work on my old, mangled dollar store chip brushes. I have done an entire tree with these and it is so striking! Some people who have bought these from me have even hung them on their wall as a point of interest amongst a collage of framed photos.
How fun would it be to do a “family tree” with old photos using this style of ornament? Van Gogh is still my only version of these, but I really need to set aside the time to make more as I still have a bunch of sparkly pipe cleaners!
Resilient and cute is always a winning combination. These plush ornaments are kid, cat, and oopsie proof!
It’s almost December! I know this time of year can get so busy and stressful, but trust me taking even 5 minutes a day doing something creative will make all the difference in your mental health. I hope these demos inspire you, and feel free to reach out if you hit any snafus or have questions!


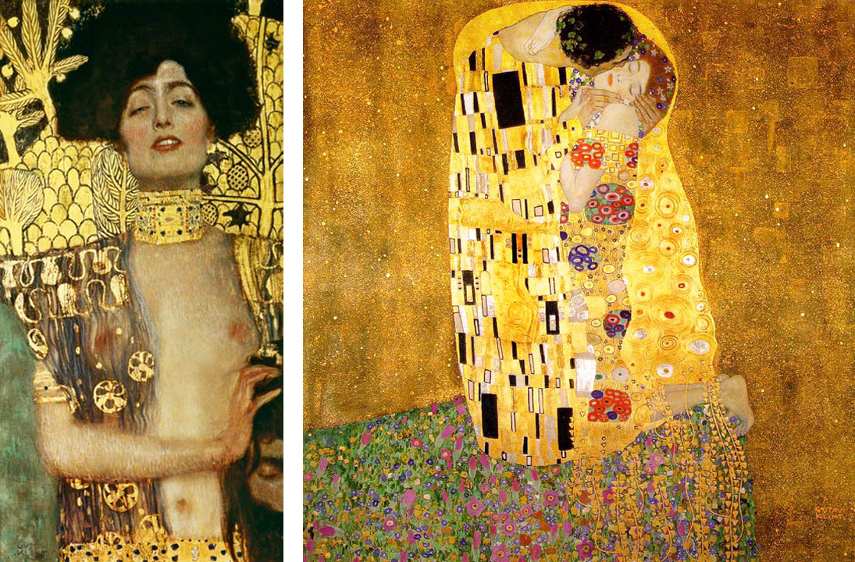
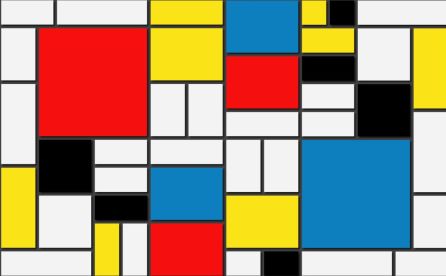 I promised I’d catch up in posting all my Creative Minds art history projects from the Fall and Winter semesters!


 I’m a bit behind on sharing my art history projects from