Throwback Art

Throwback Chapter 3 : Fashion Victim

Welcome to the next part in my series using the past to delve into why I create what I do… I hope others find this interesting and entertaining, and I hope it helps readers reconnect with their past selves and realize how all of those different “us-es” had a part in creating who we are today, even those versions of us we don’t like to spend too much time with.

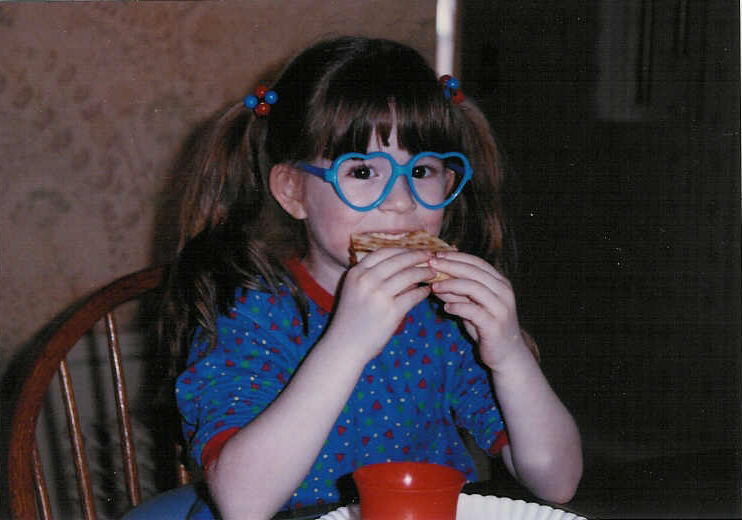
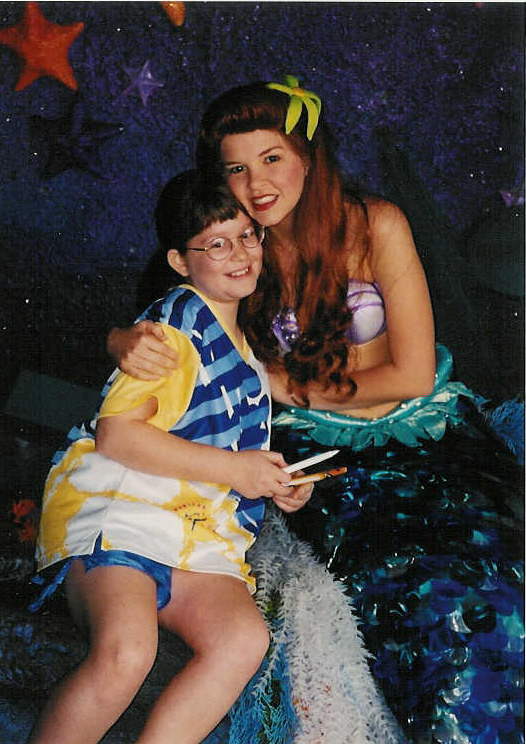
Though you wouldn’t know it from my own childhood attire, fashion was always a large part of my artwork and I loved imagining my own clothing designs (Note me designing Barbie clothes in our home office on Windows95. Note also, I was wearing unnecessary glasses with the lenses popped out for fashion far before mid-2000s hipsters existed.) I adored designing extravagant imaginary partywear, but was also awkward and uncomfortable in my own skin. It took me awhile to ever give a thought to actually trying to look cool myself ;). Once I got into upper elementary school, I idolized the girls in Disney channel movies who rode dirt bikes and skateboards and never seemed to be afraid of what other people thought of them. I really just wanted to be a cool tomboy but I had no athletic ability whatsoever, and I did actually care a lot at that time about what other people were thinking about me, so … I wasn’t too sure what to do with that. It didn’t stop me from rocking a soccer uniform at Disney despite the fact I’d never touched a soccer ball in my life.

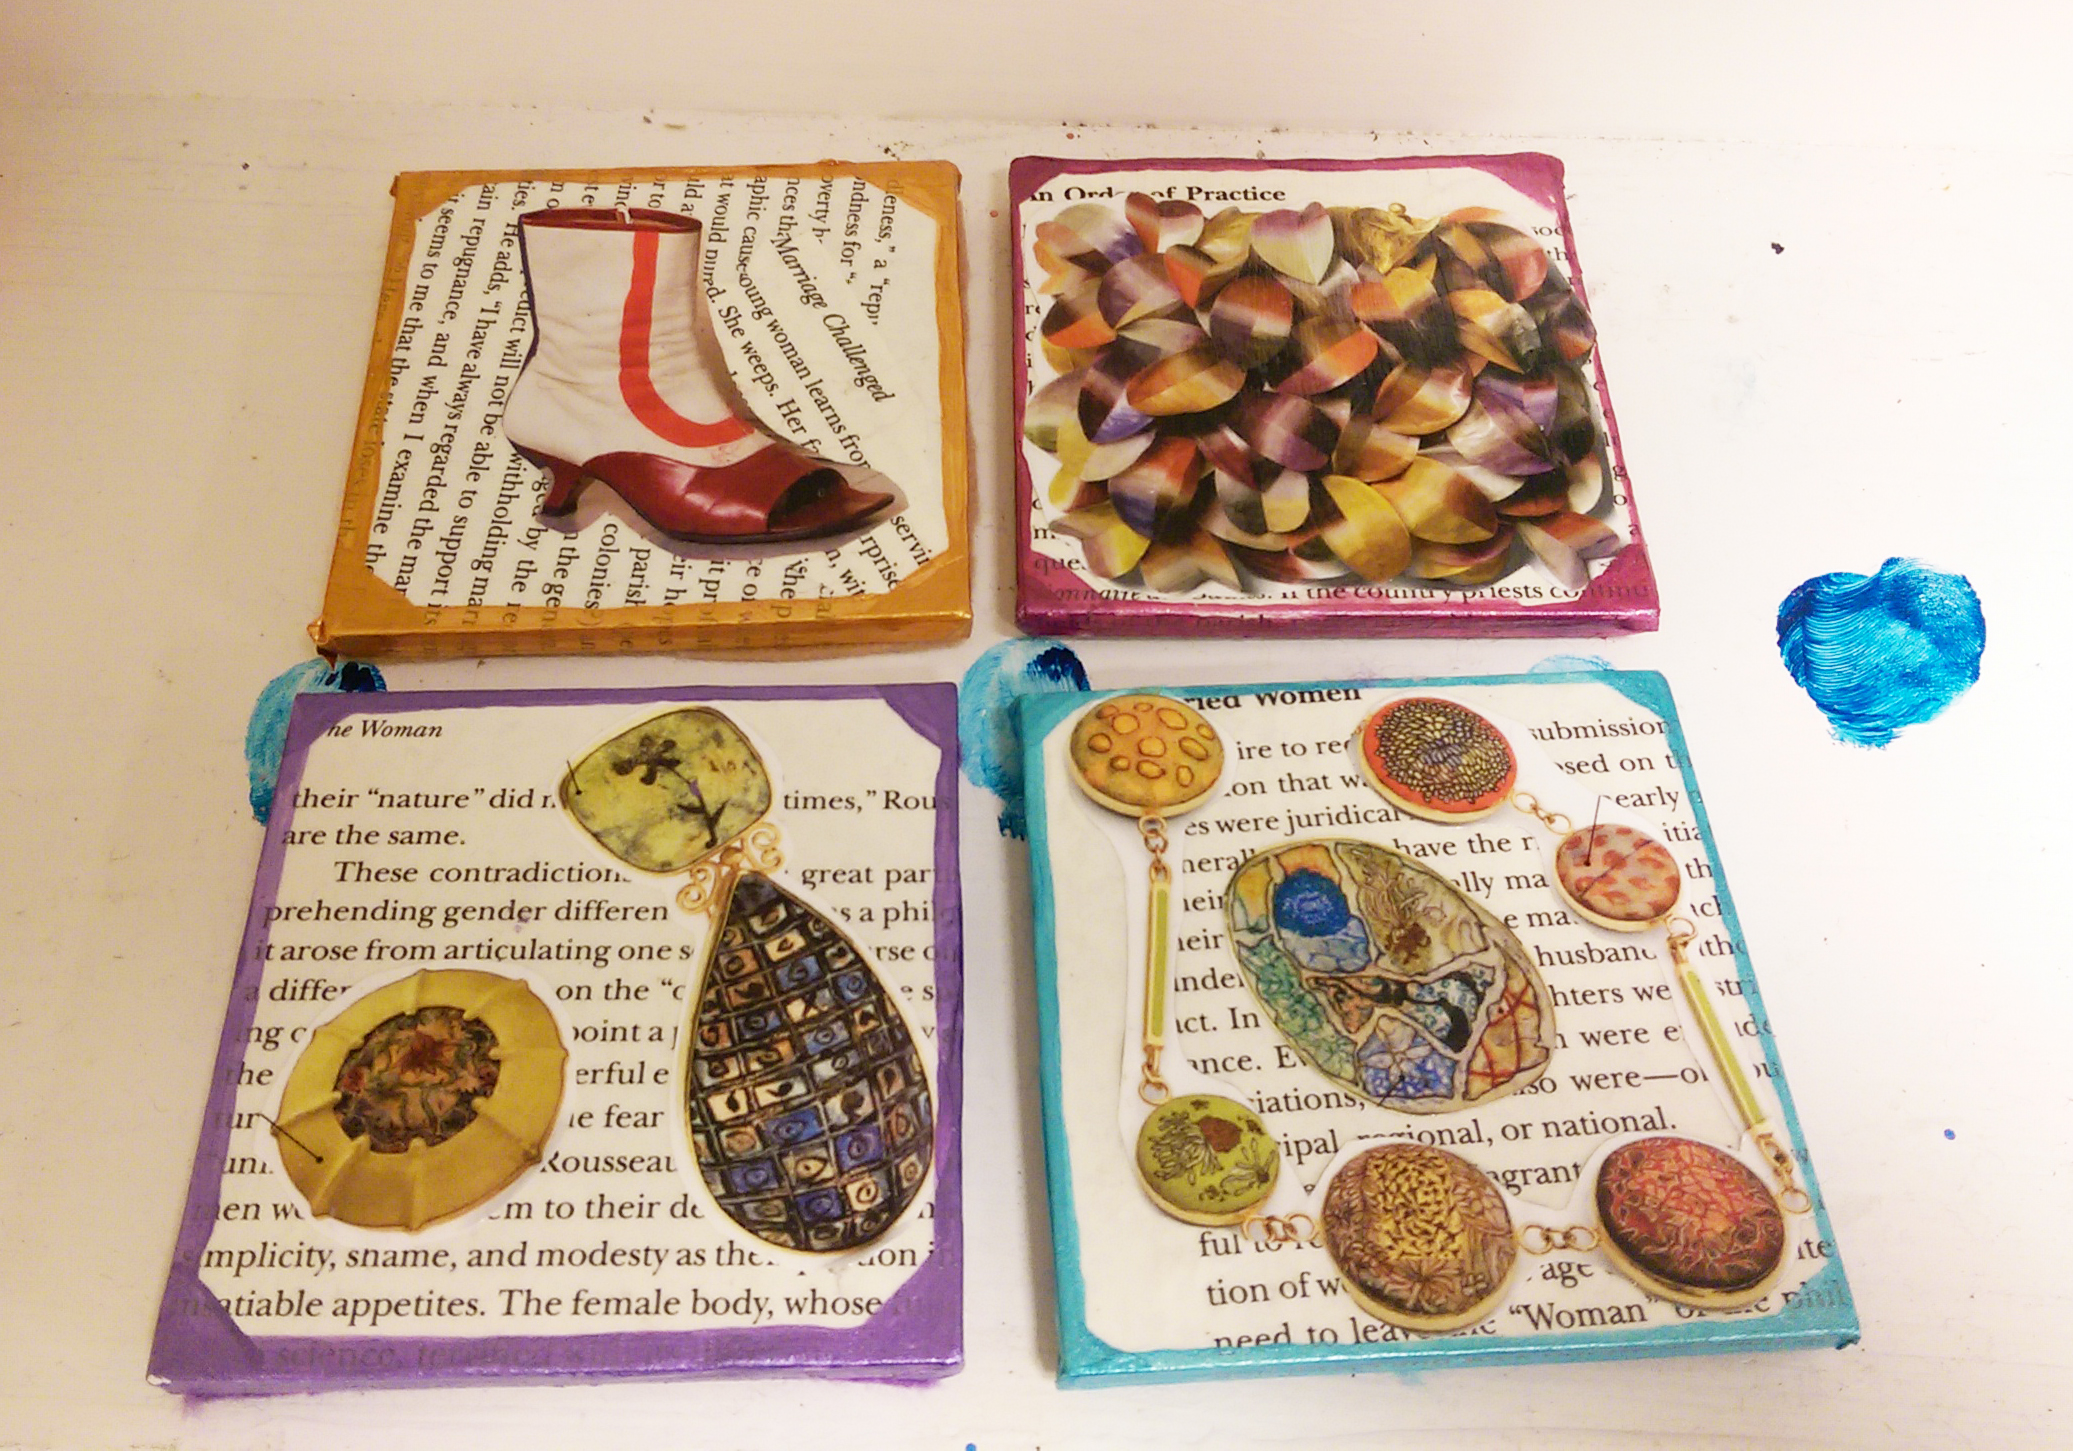
My parents always encouraged art and creativity, and come to find I created my first “mixed media” project with my mom, using cutouts from scrap fabric for dresses at age 4. As I got older, my designs became a bit more sophisticated and I even began naming the pieces in my collection with such enticing titles as “Wide Country Gown”, among others.

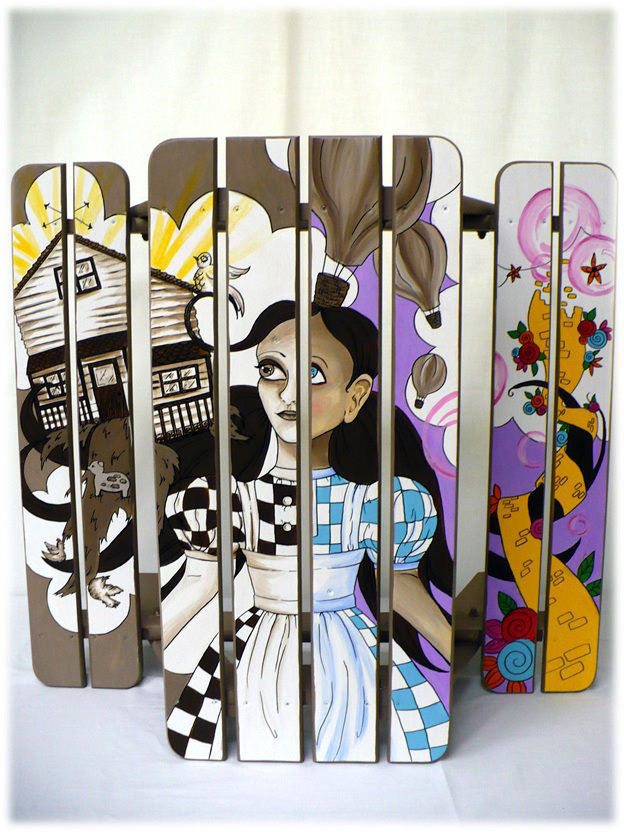
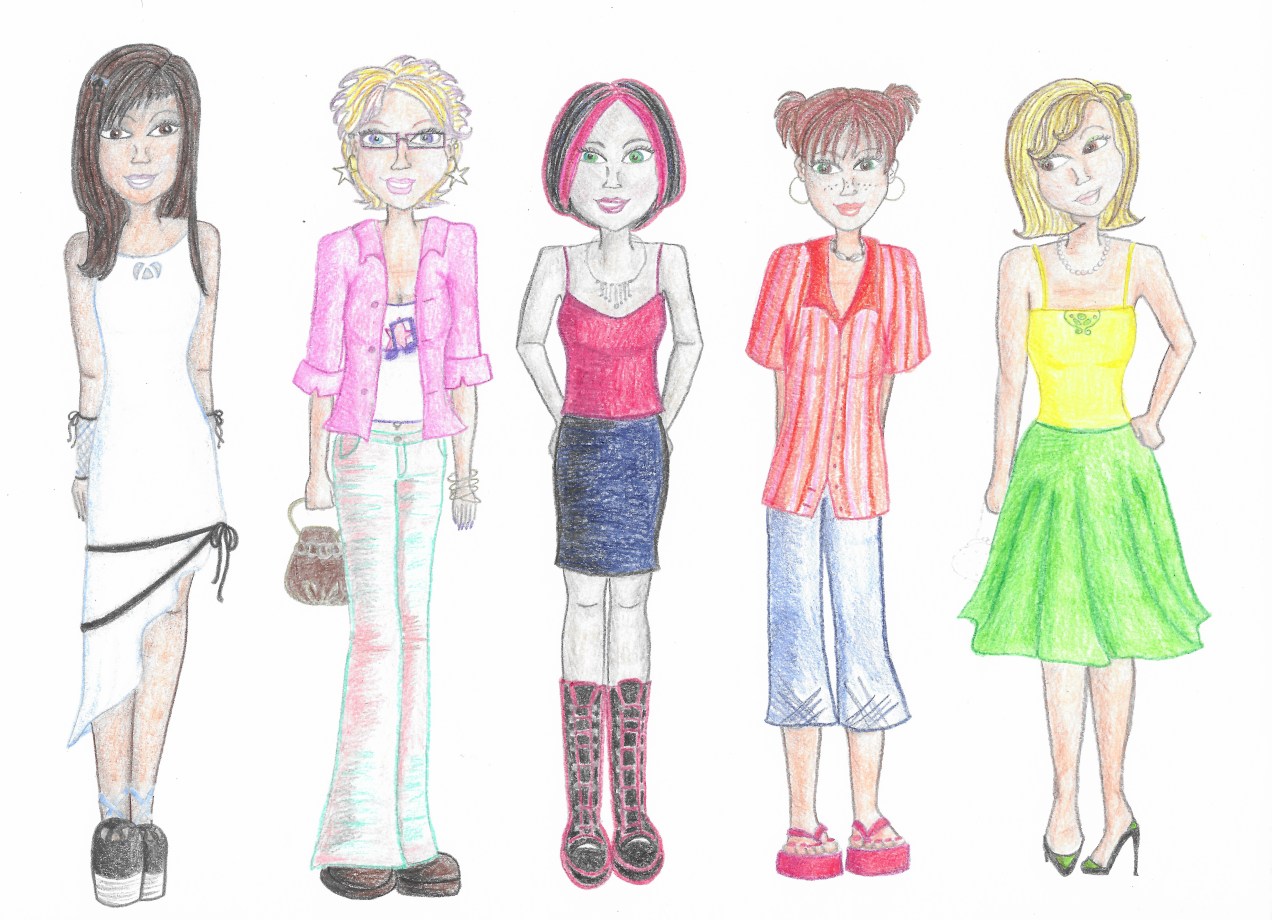
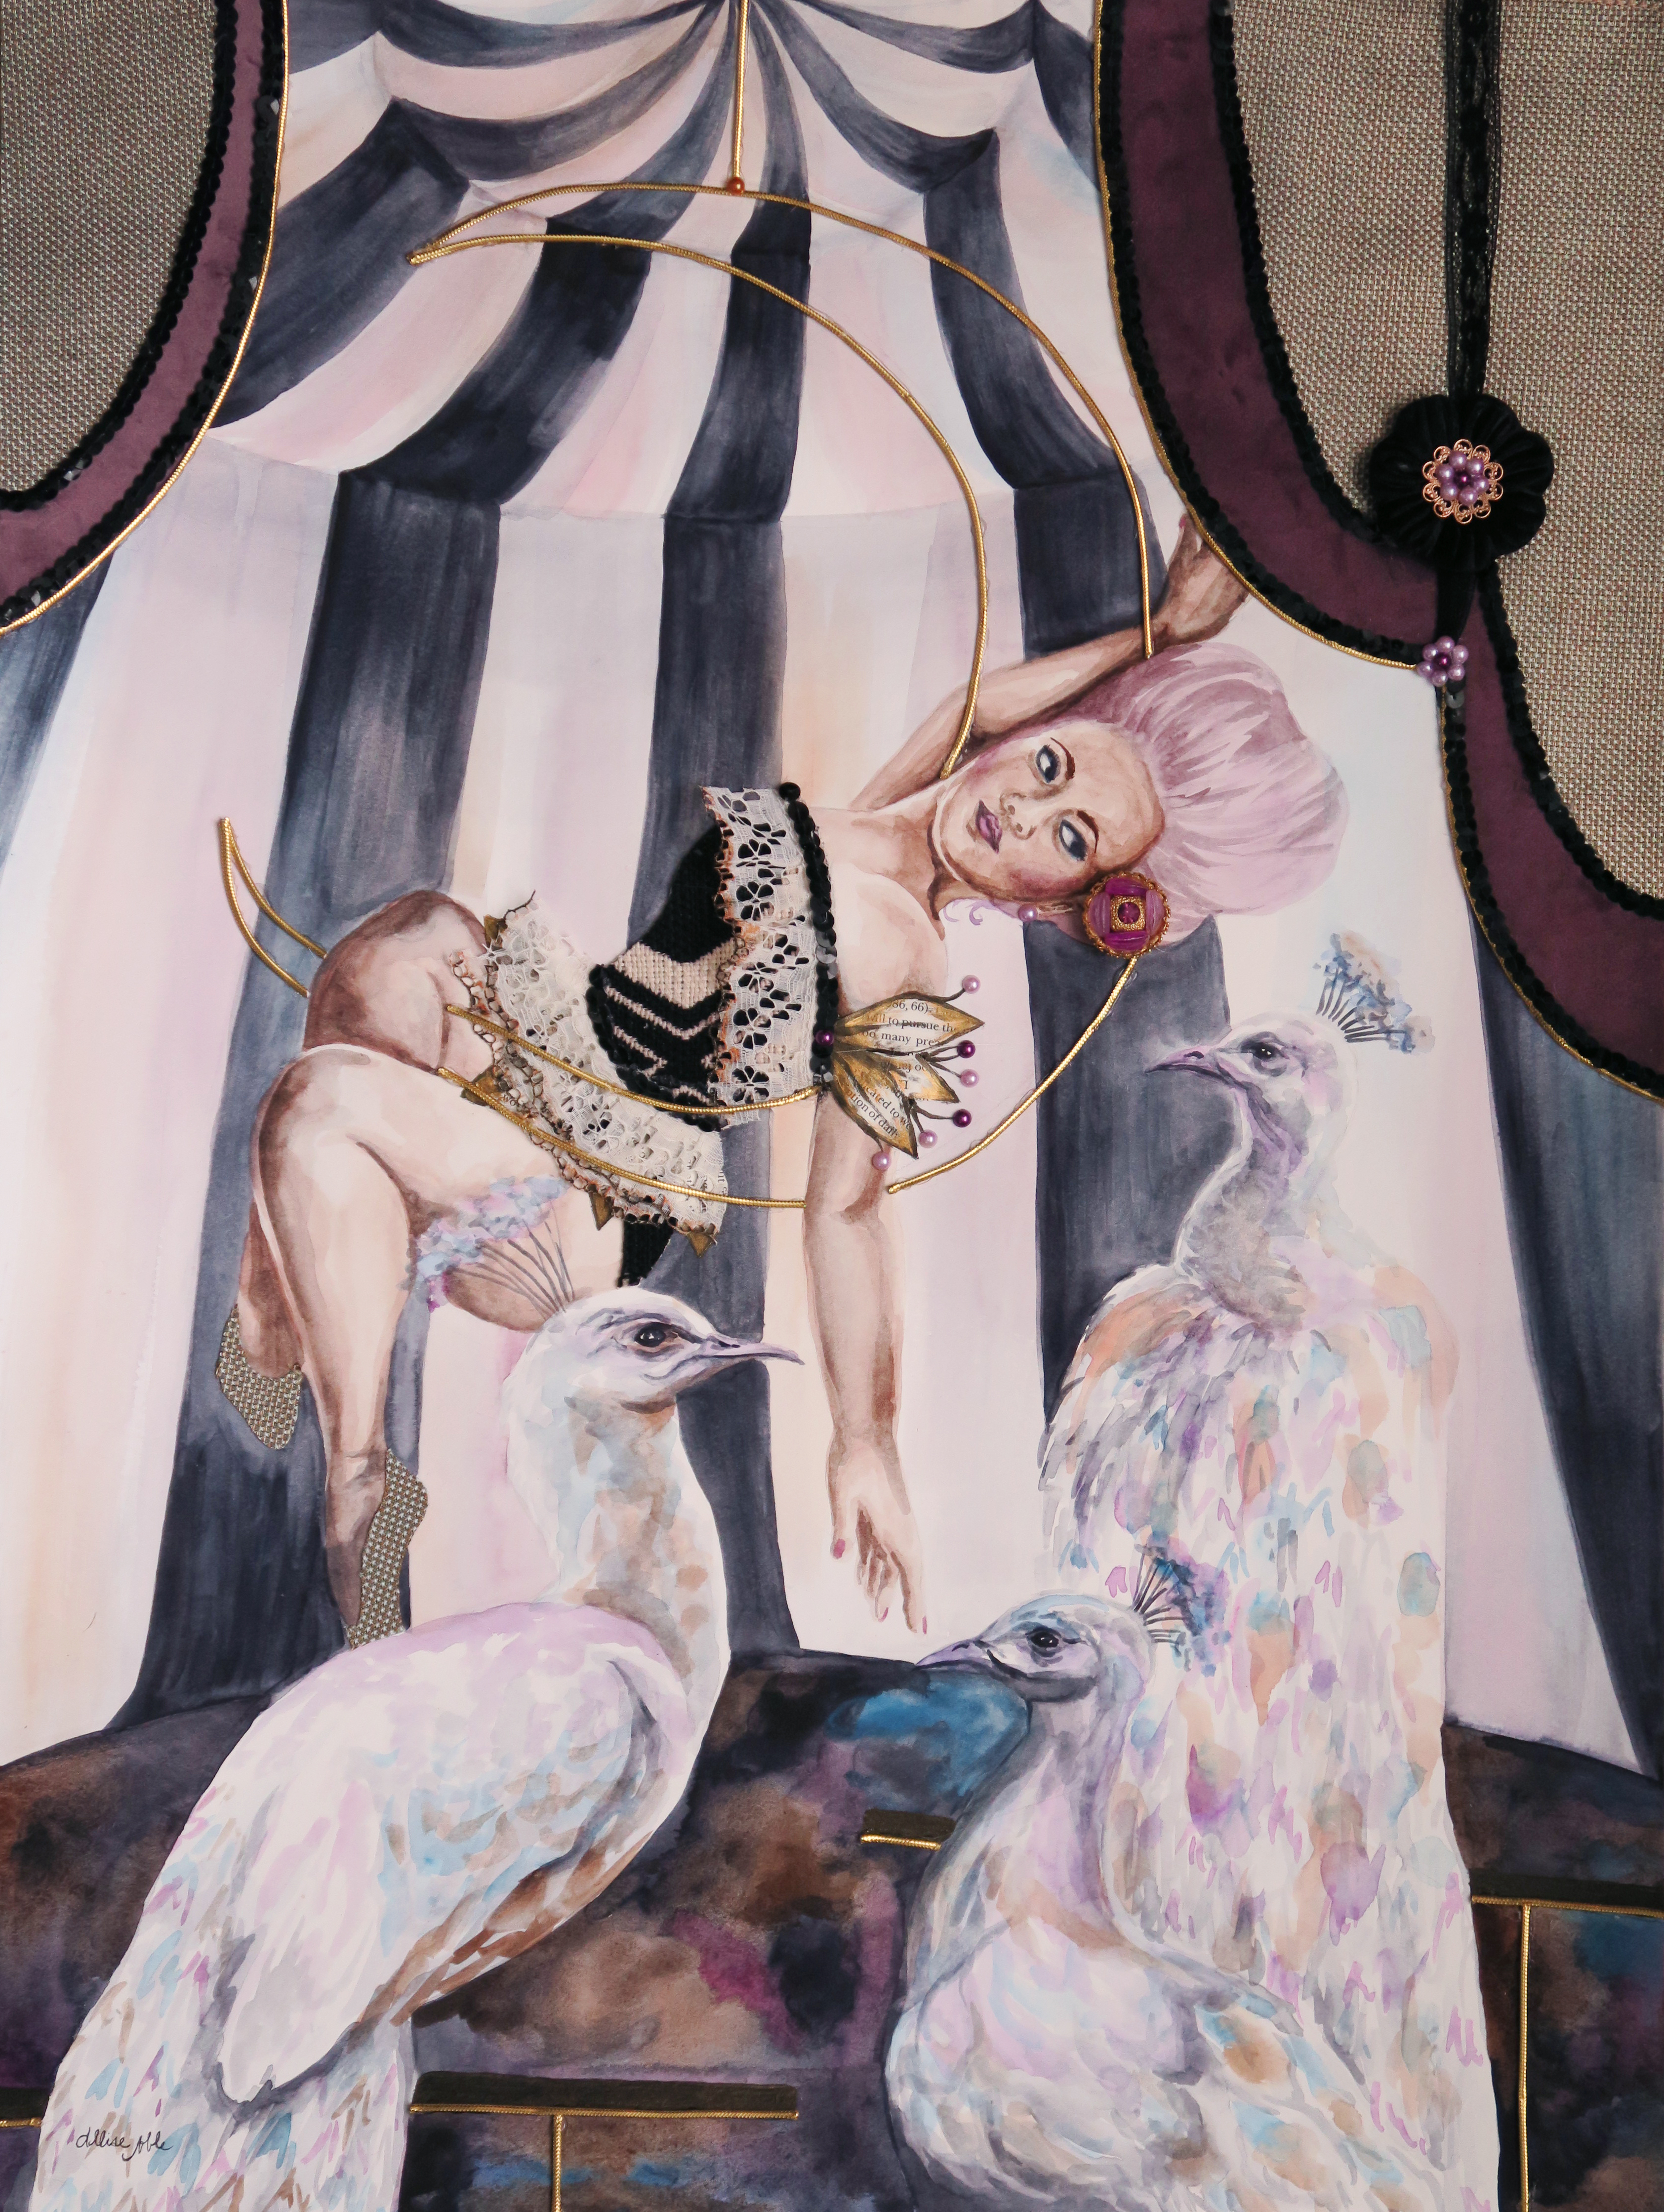
Around 15, I finally got a clue and started developing my own personal style which also filtered its way into my artwork. I got hooked on loud, unique, alternative fashion that had a retro flair, and even became a bit interested in the whole club kid aesthetic though by happenstance of my birth year I kind of missed the whole raver trend. Below on the left is what I imagined it was probably like.

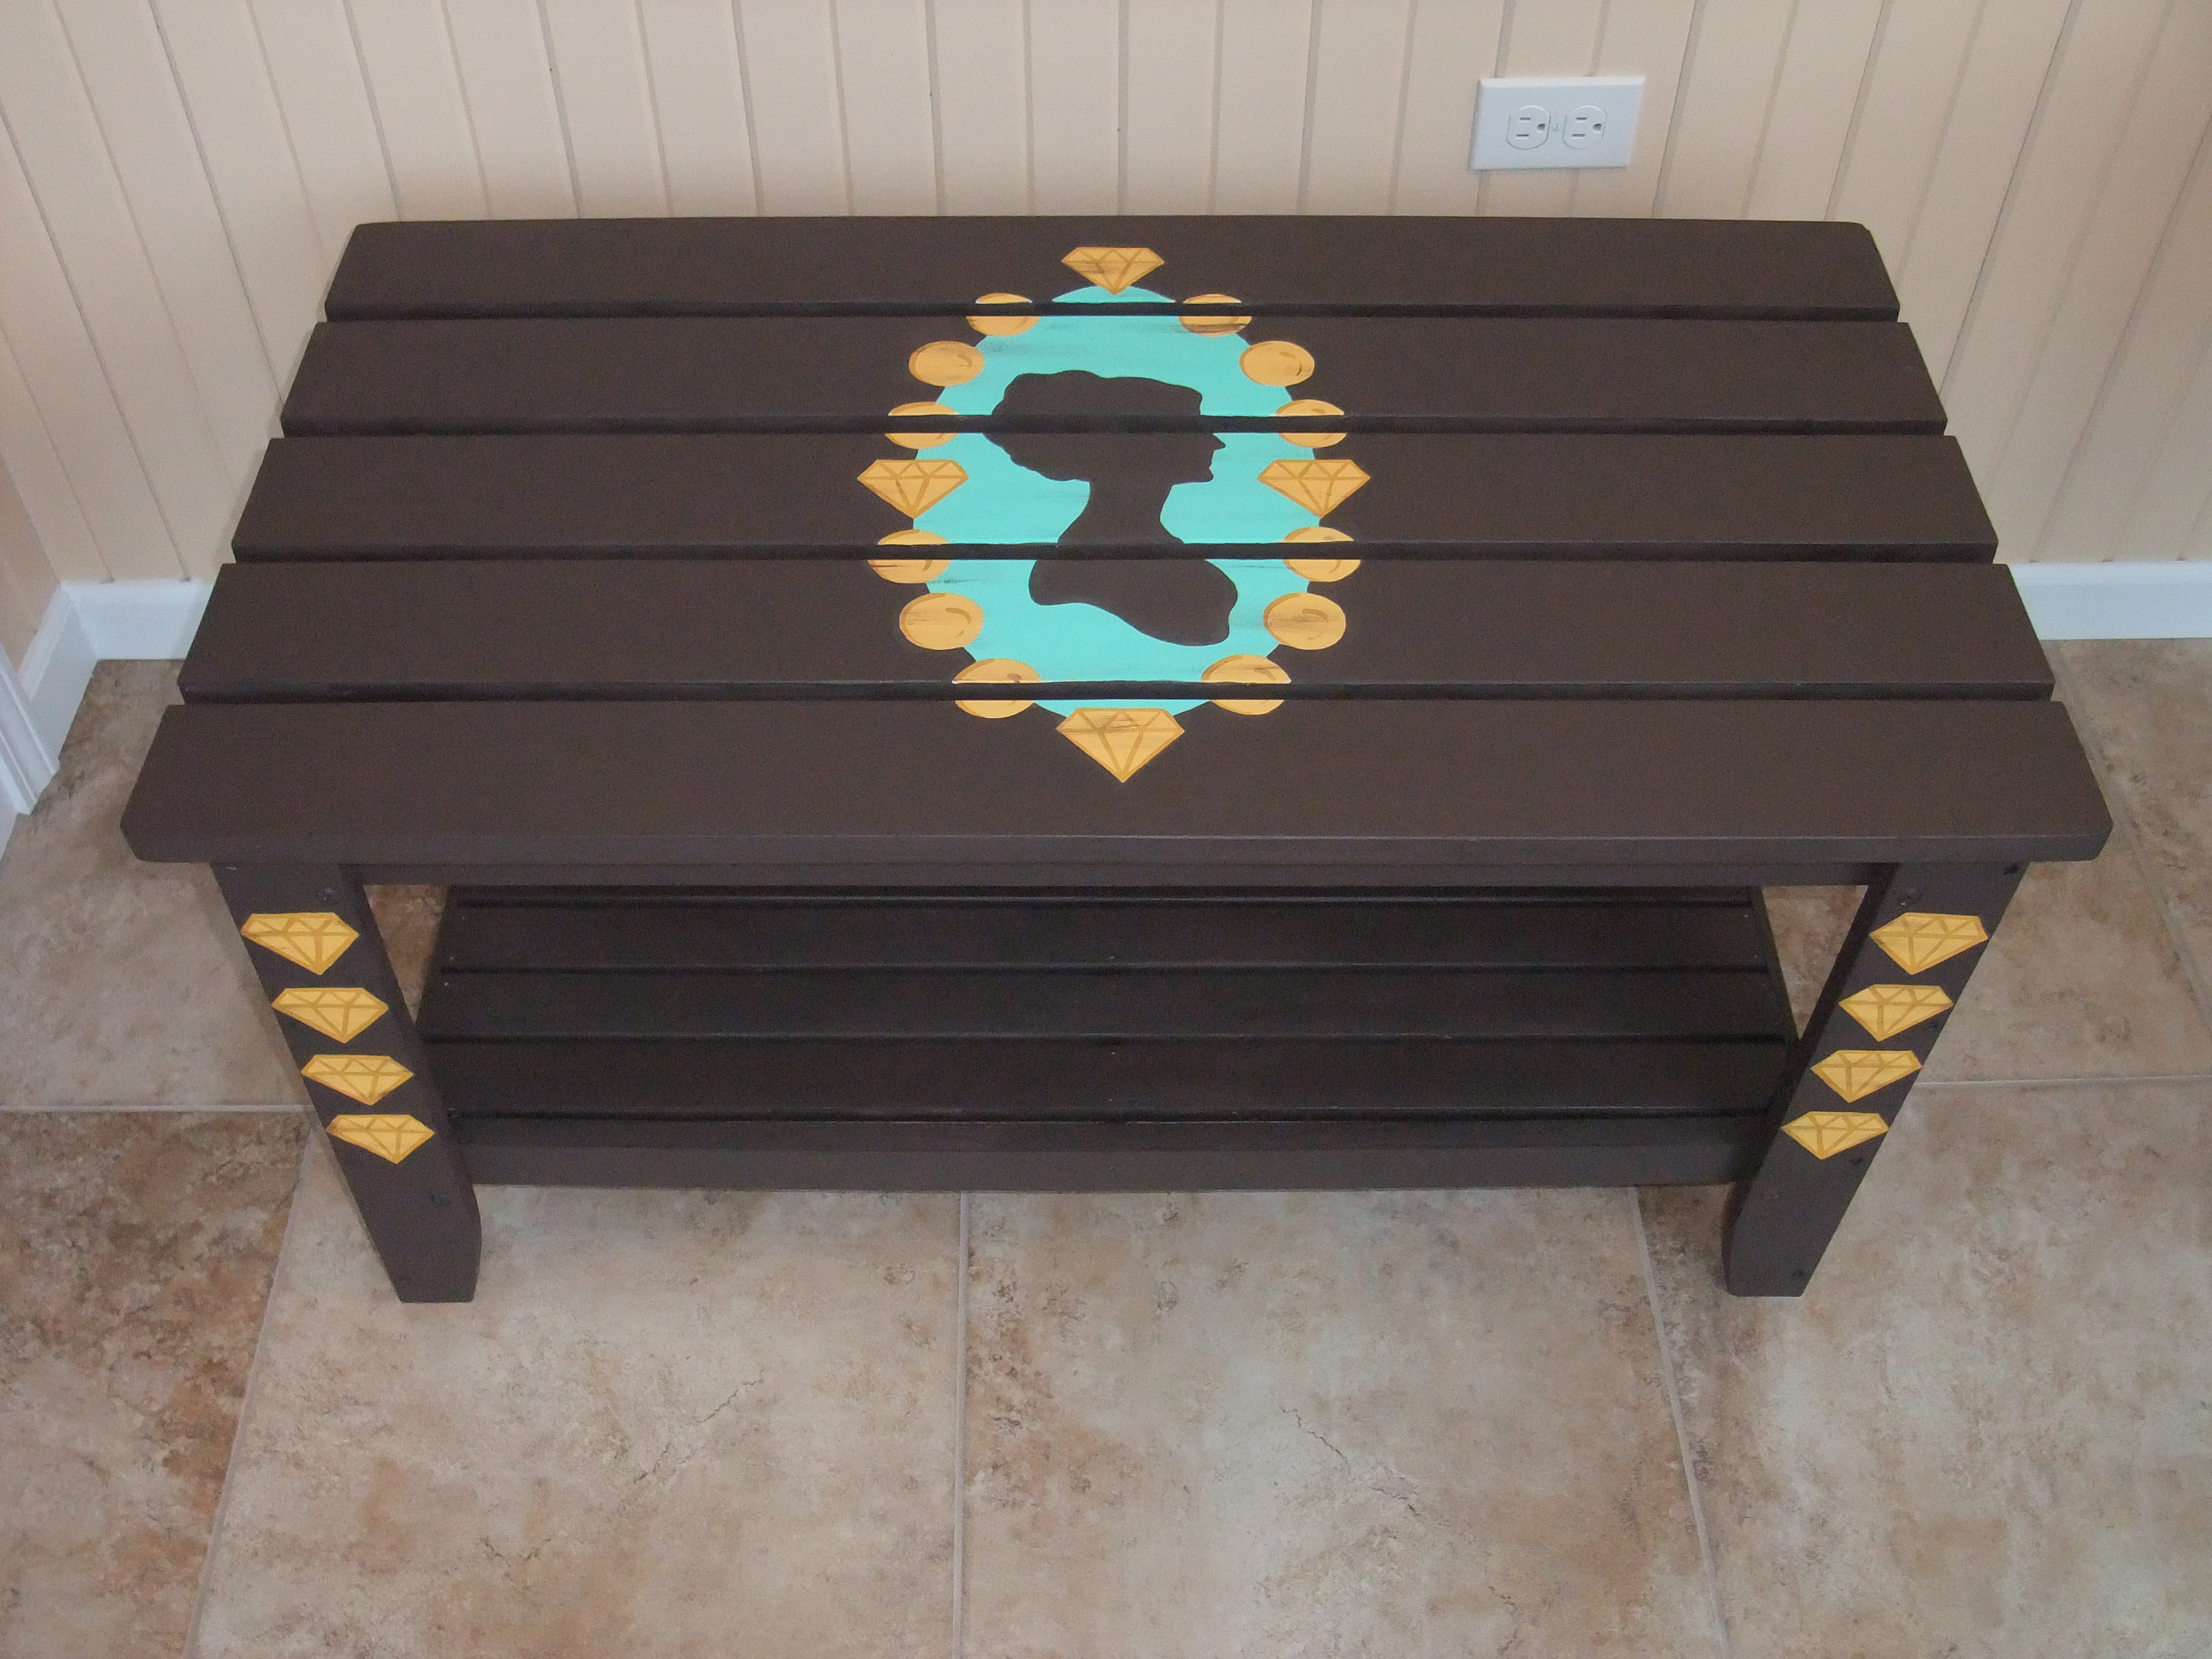
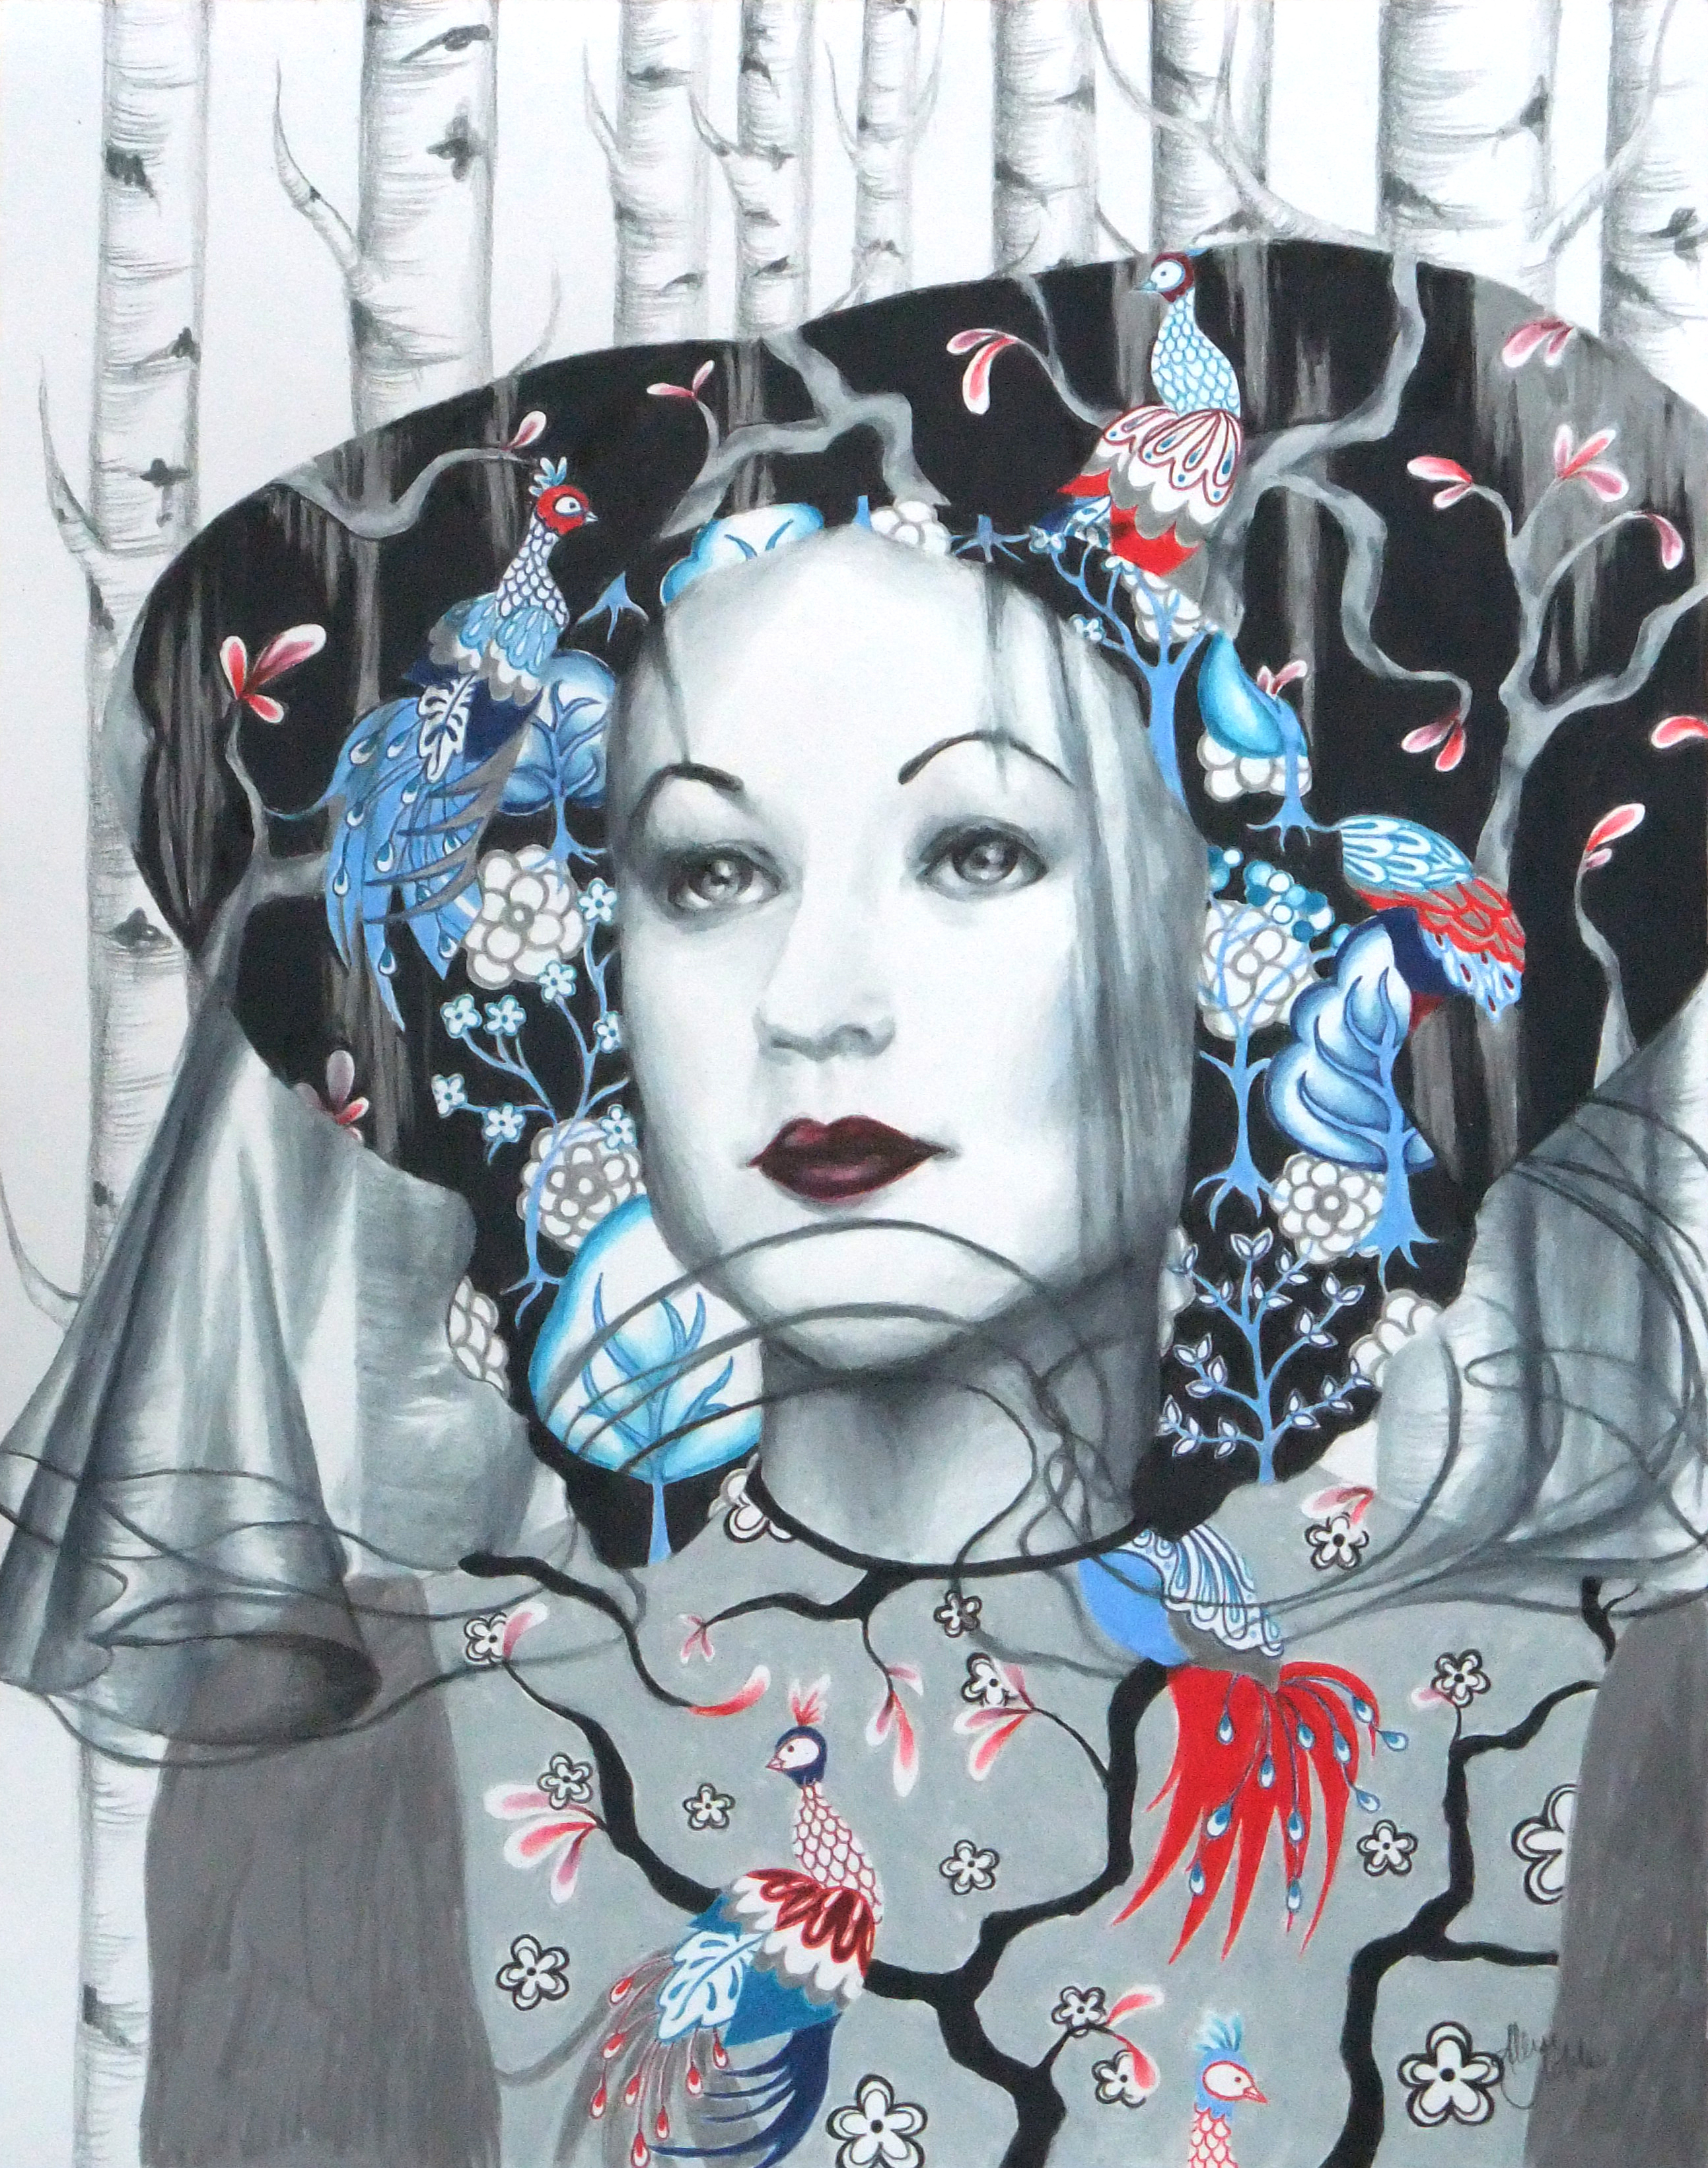
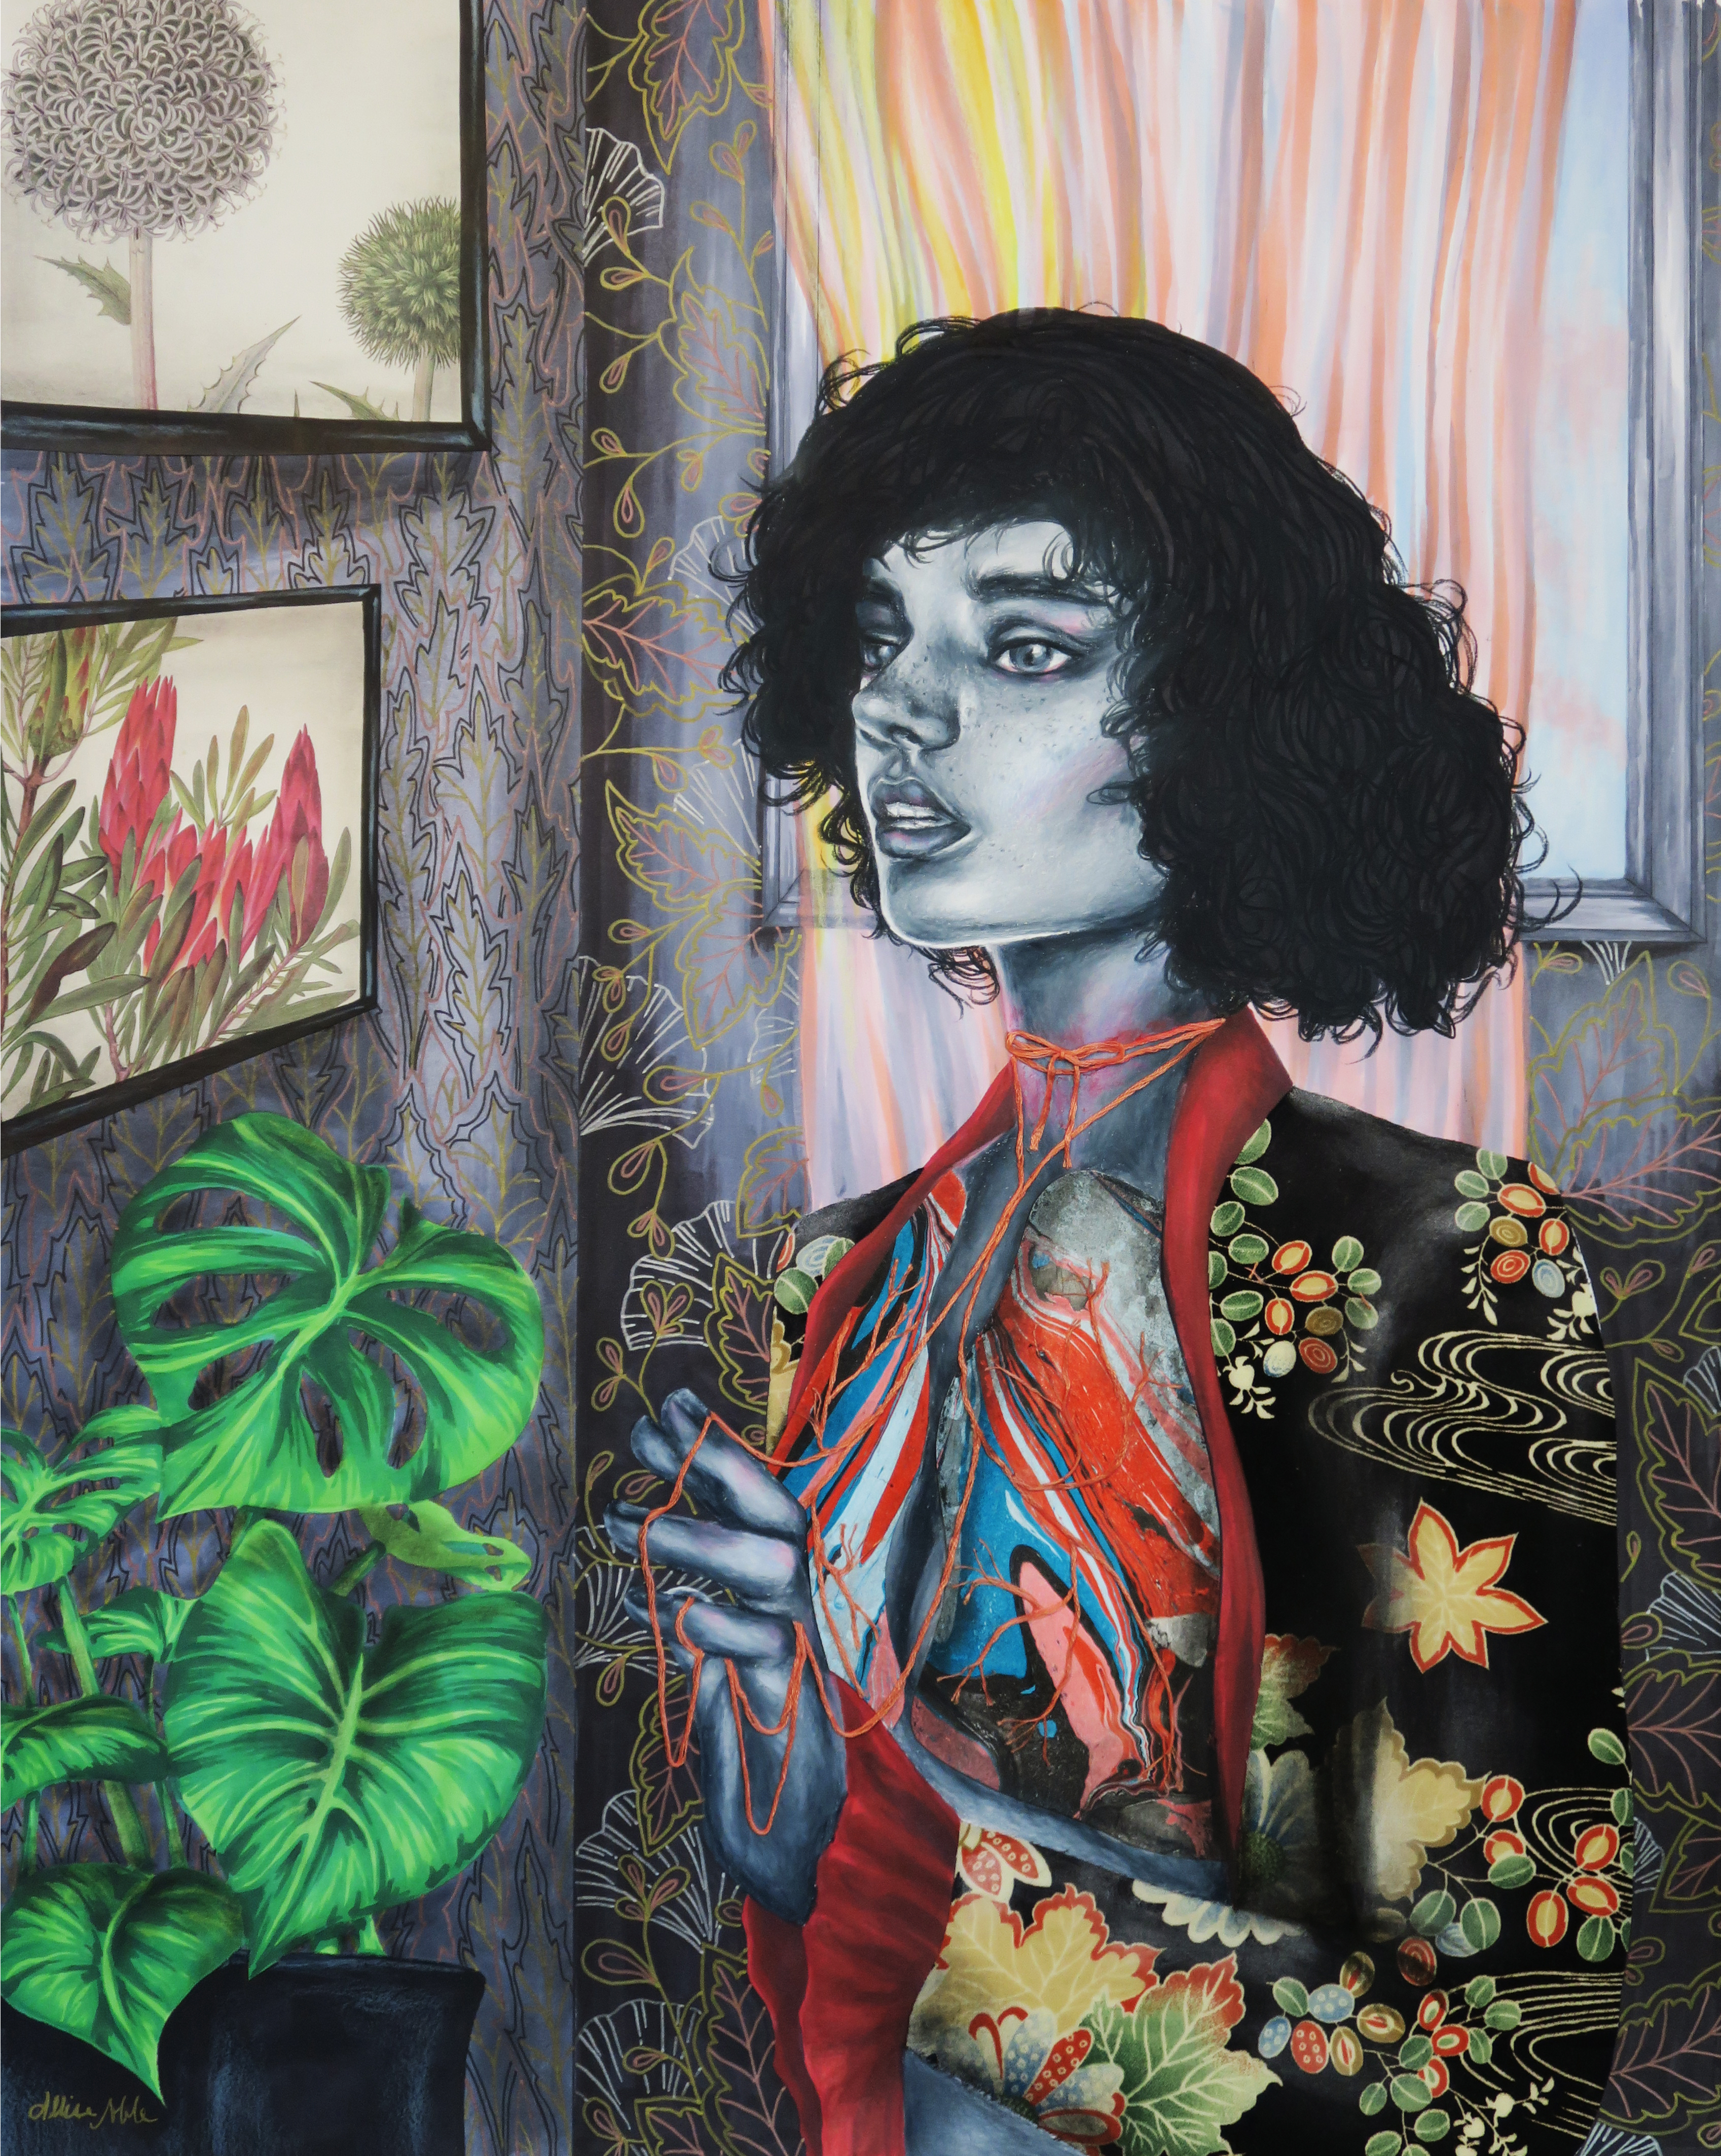
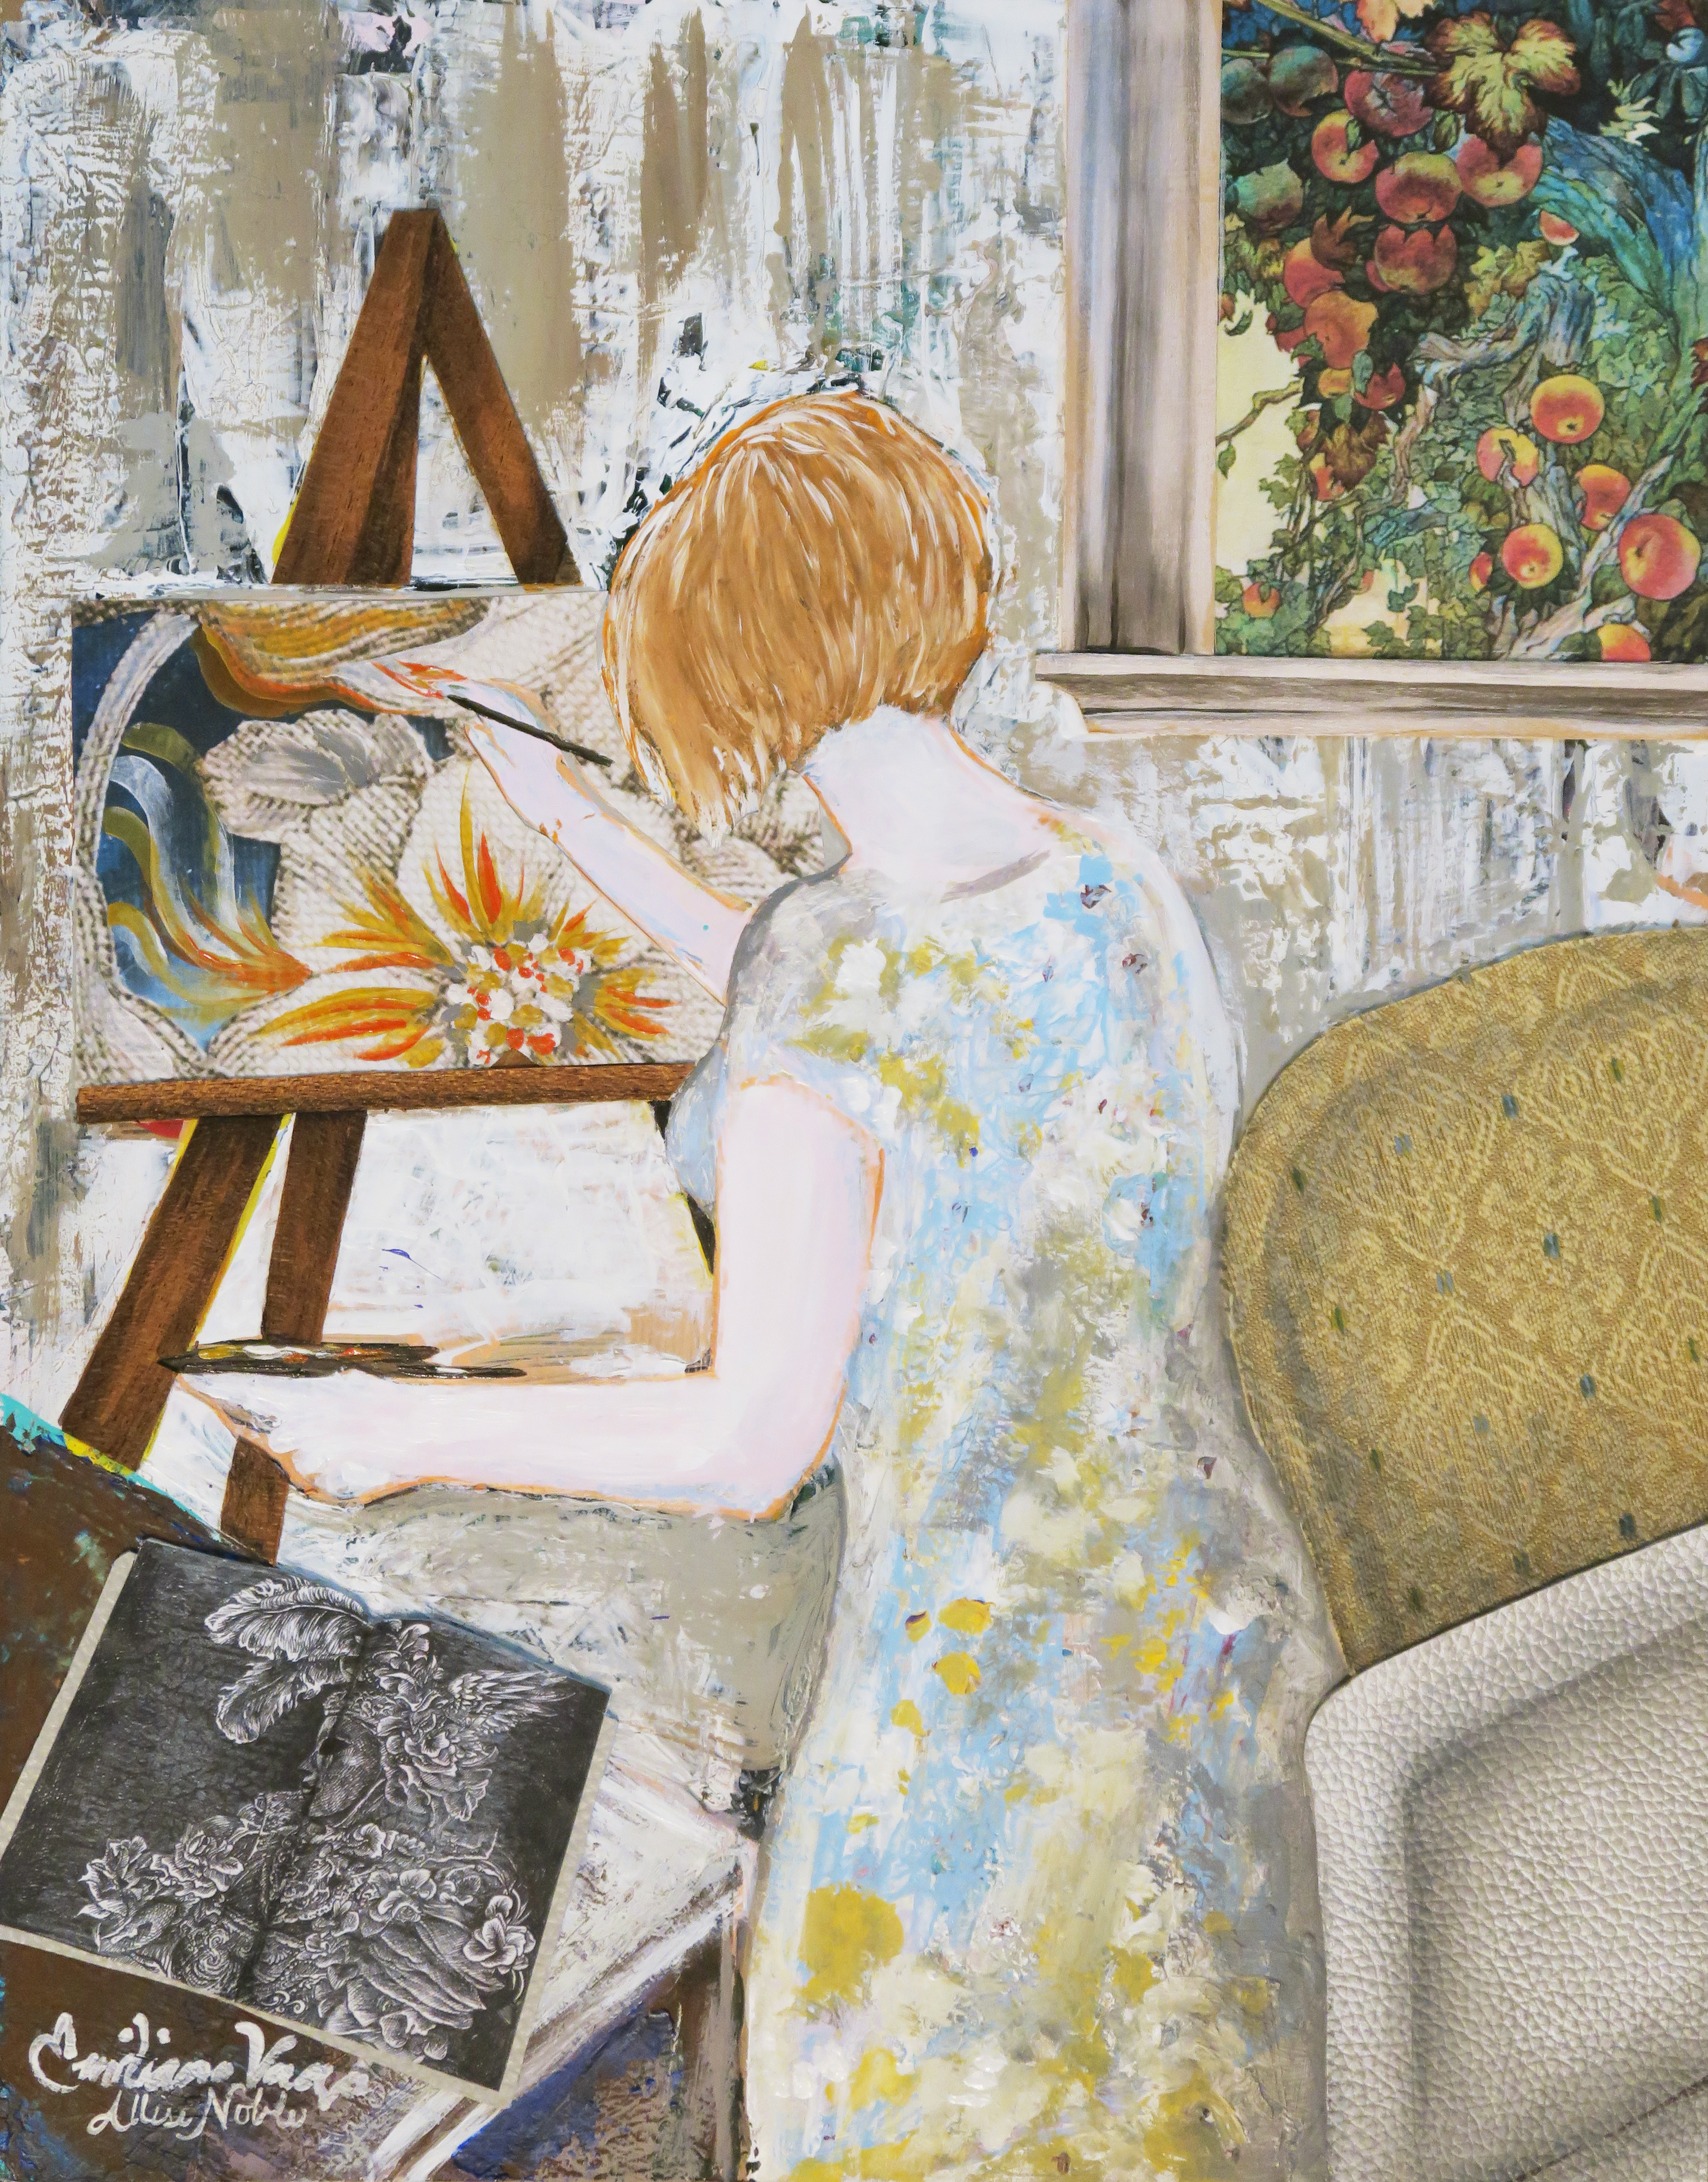
I’ve been told my interest in both fashion and interior design stand out in my work, and as I mentioned in my first throwback post people have always played a central role in my art. The way individuals choose to decorate both themselves and their external environment are central to telling part of the story of who they are.

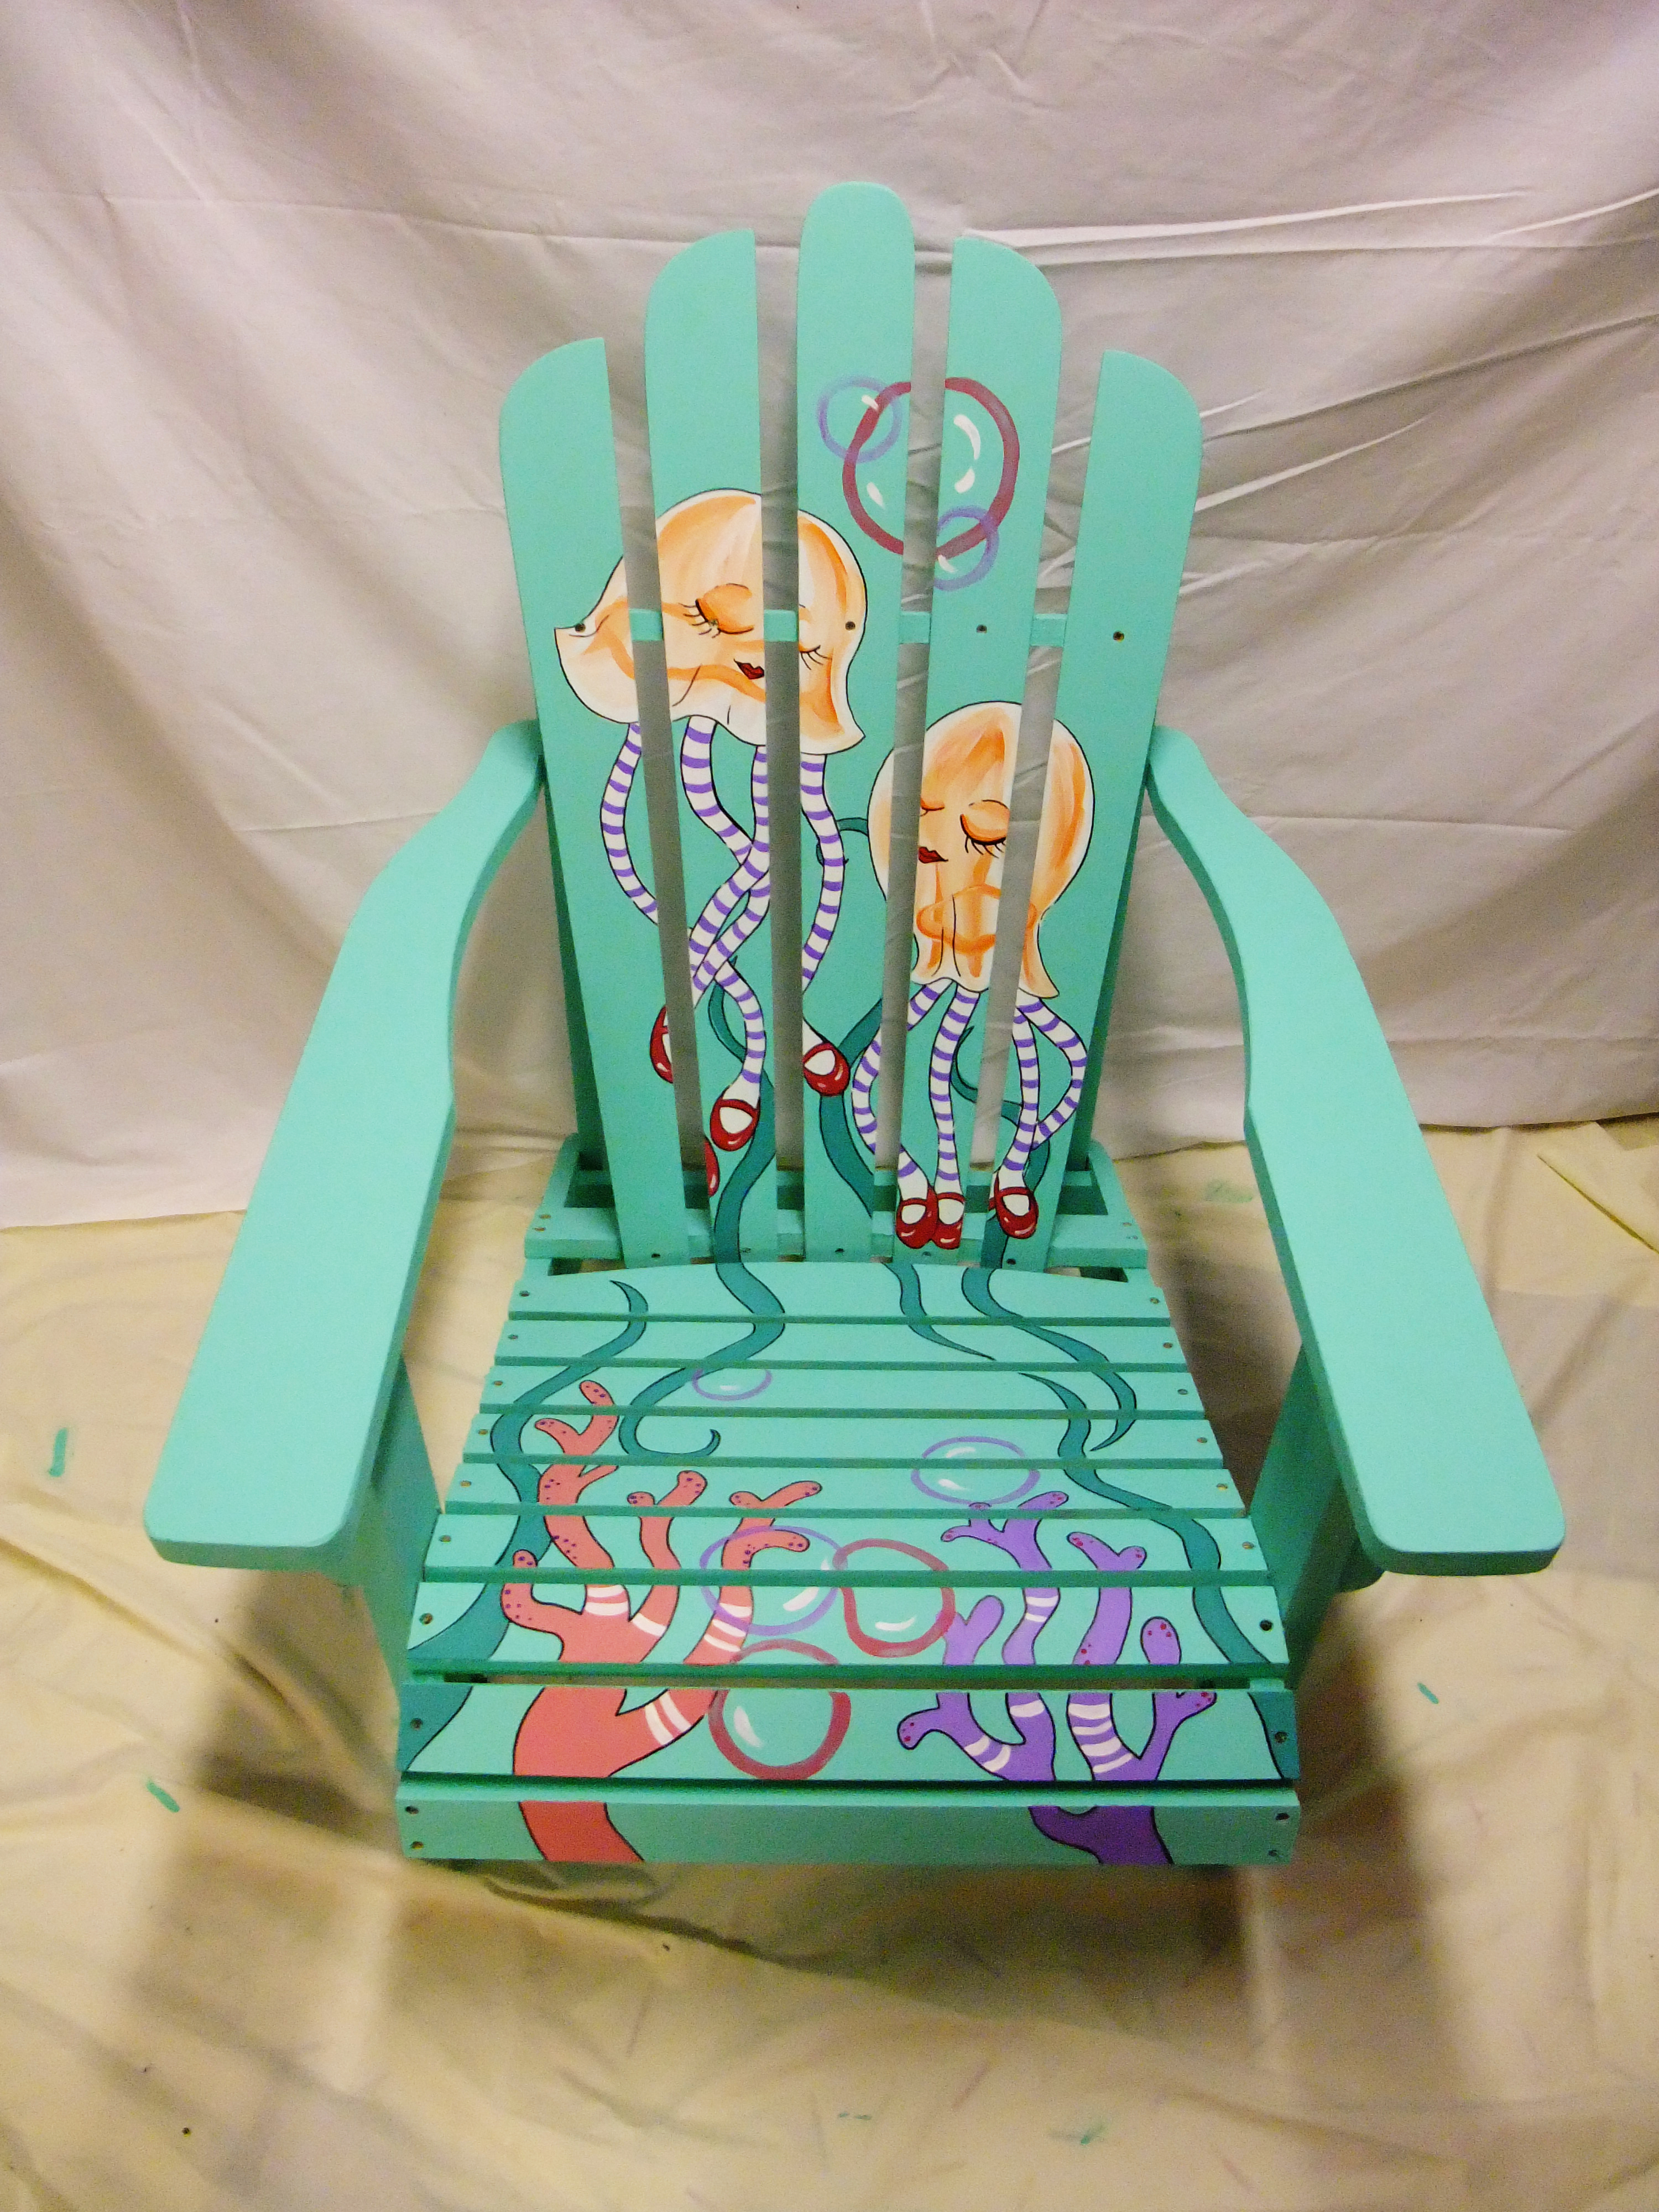
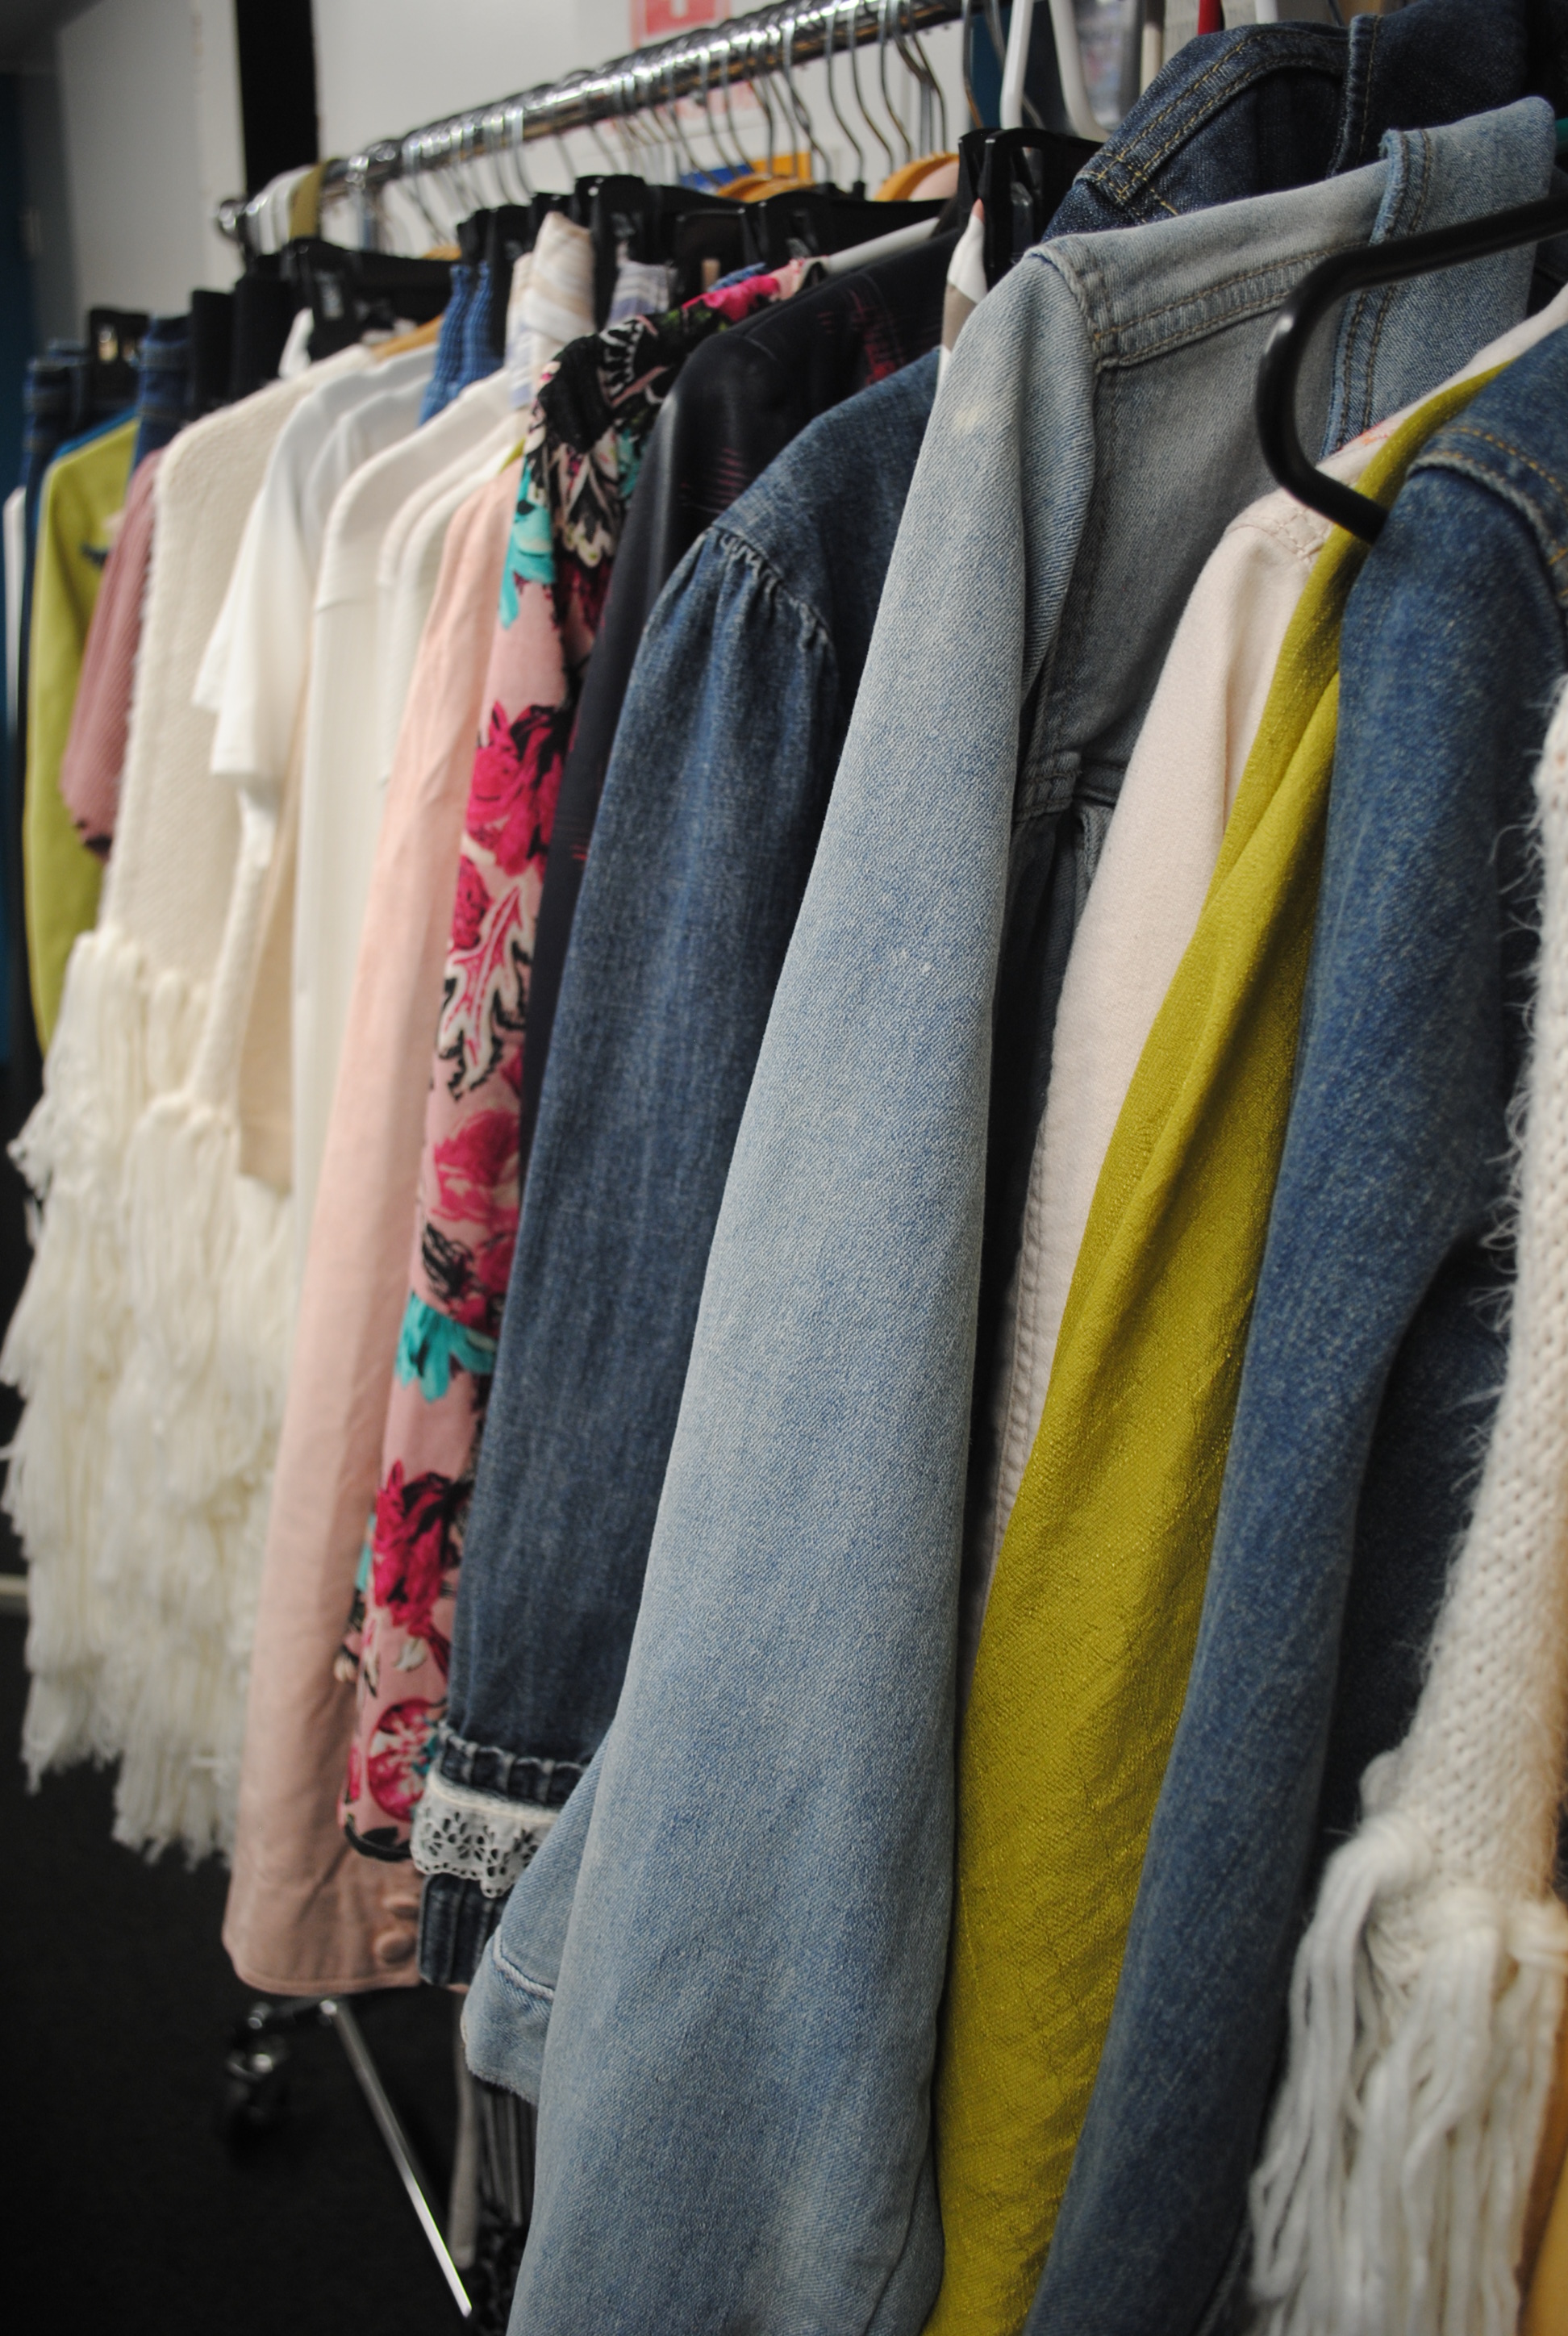
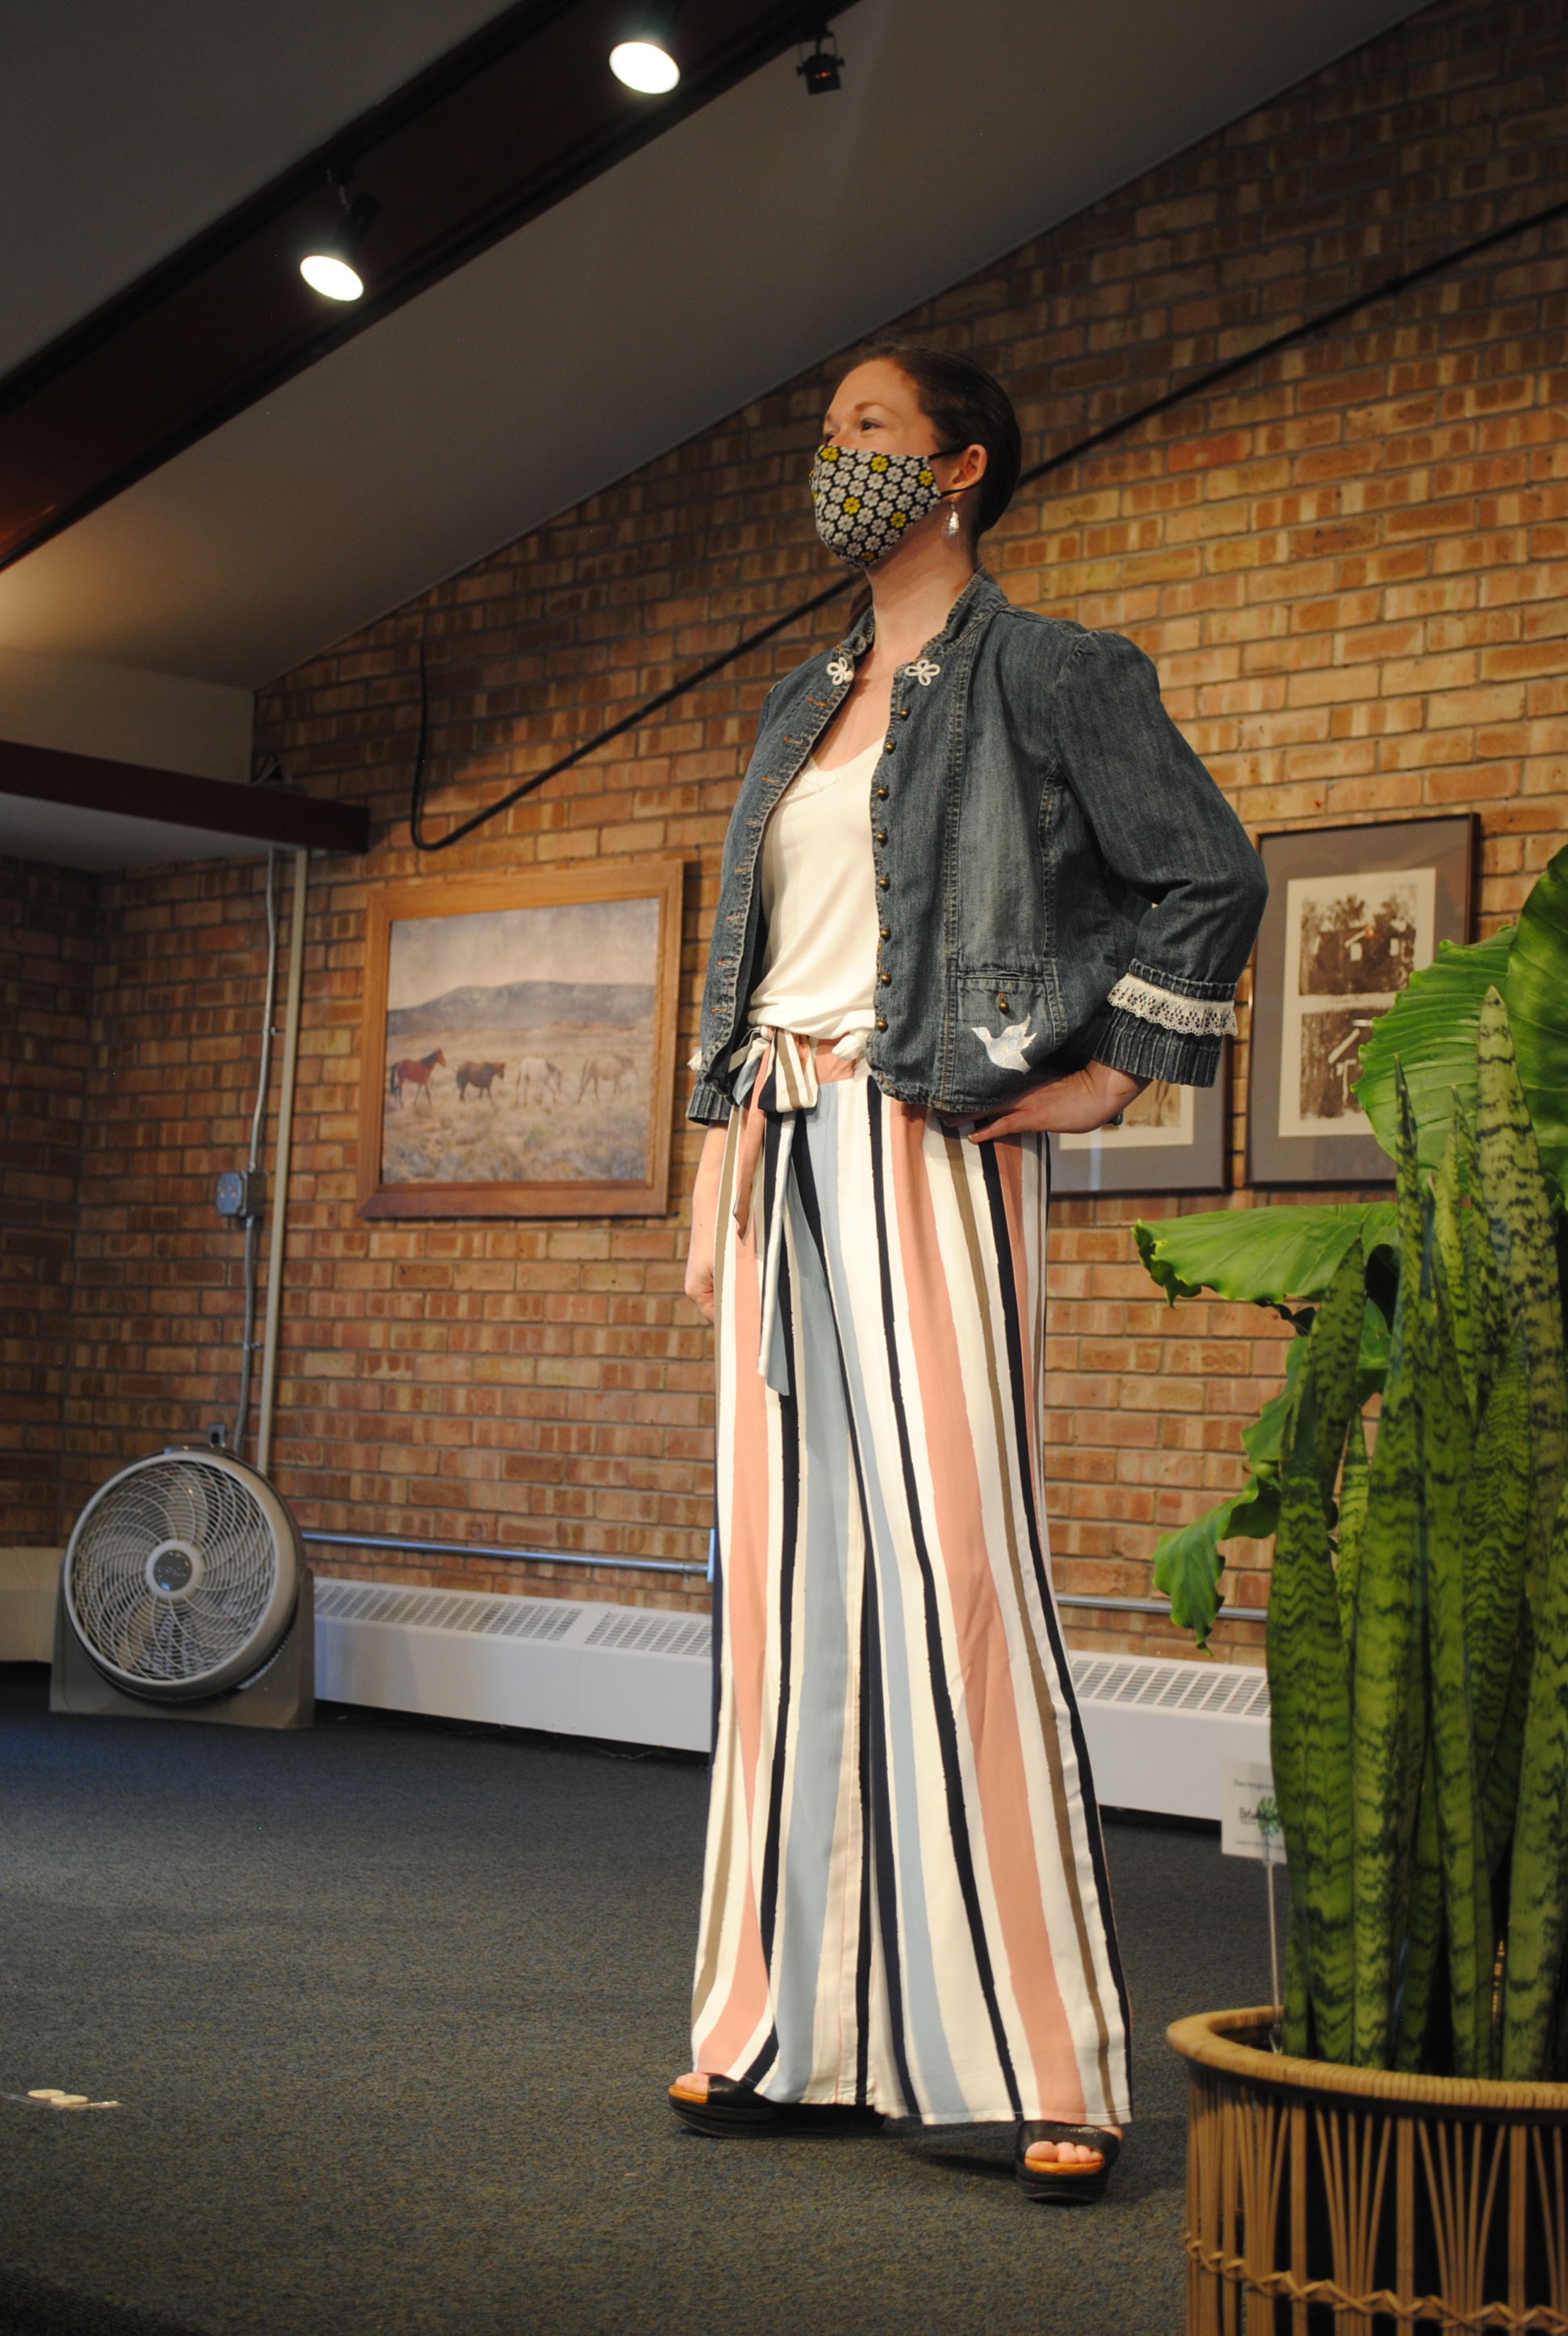
Over this year, my passion for wearable art has jumped off the page and into reality as I began designing my own upcycled clothing. This was at first dove into as a project to help my art students with disabilities lead their own fashion show, and then for myself as I realized this is something I really enjoy.

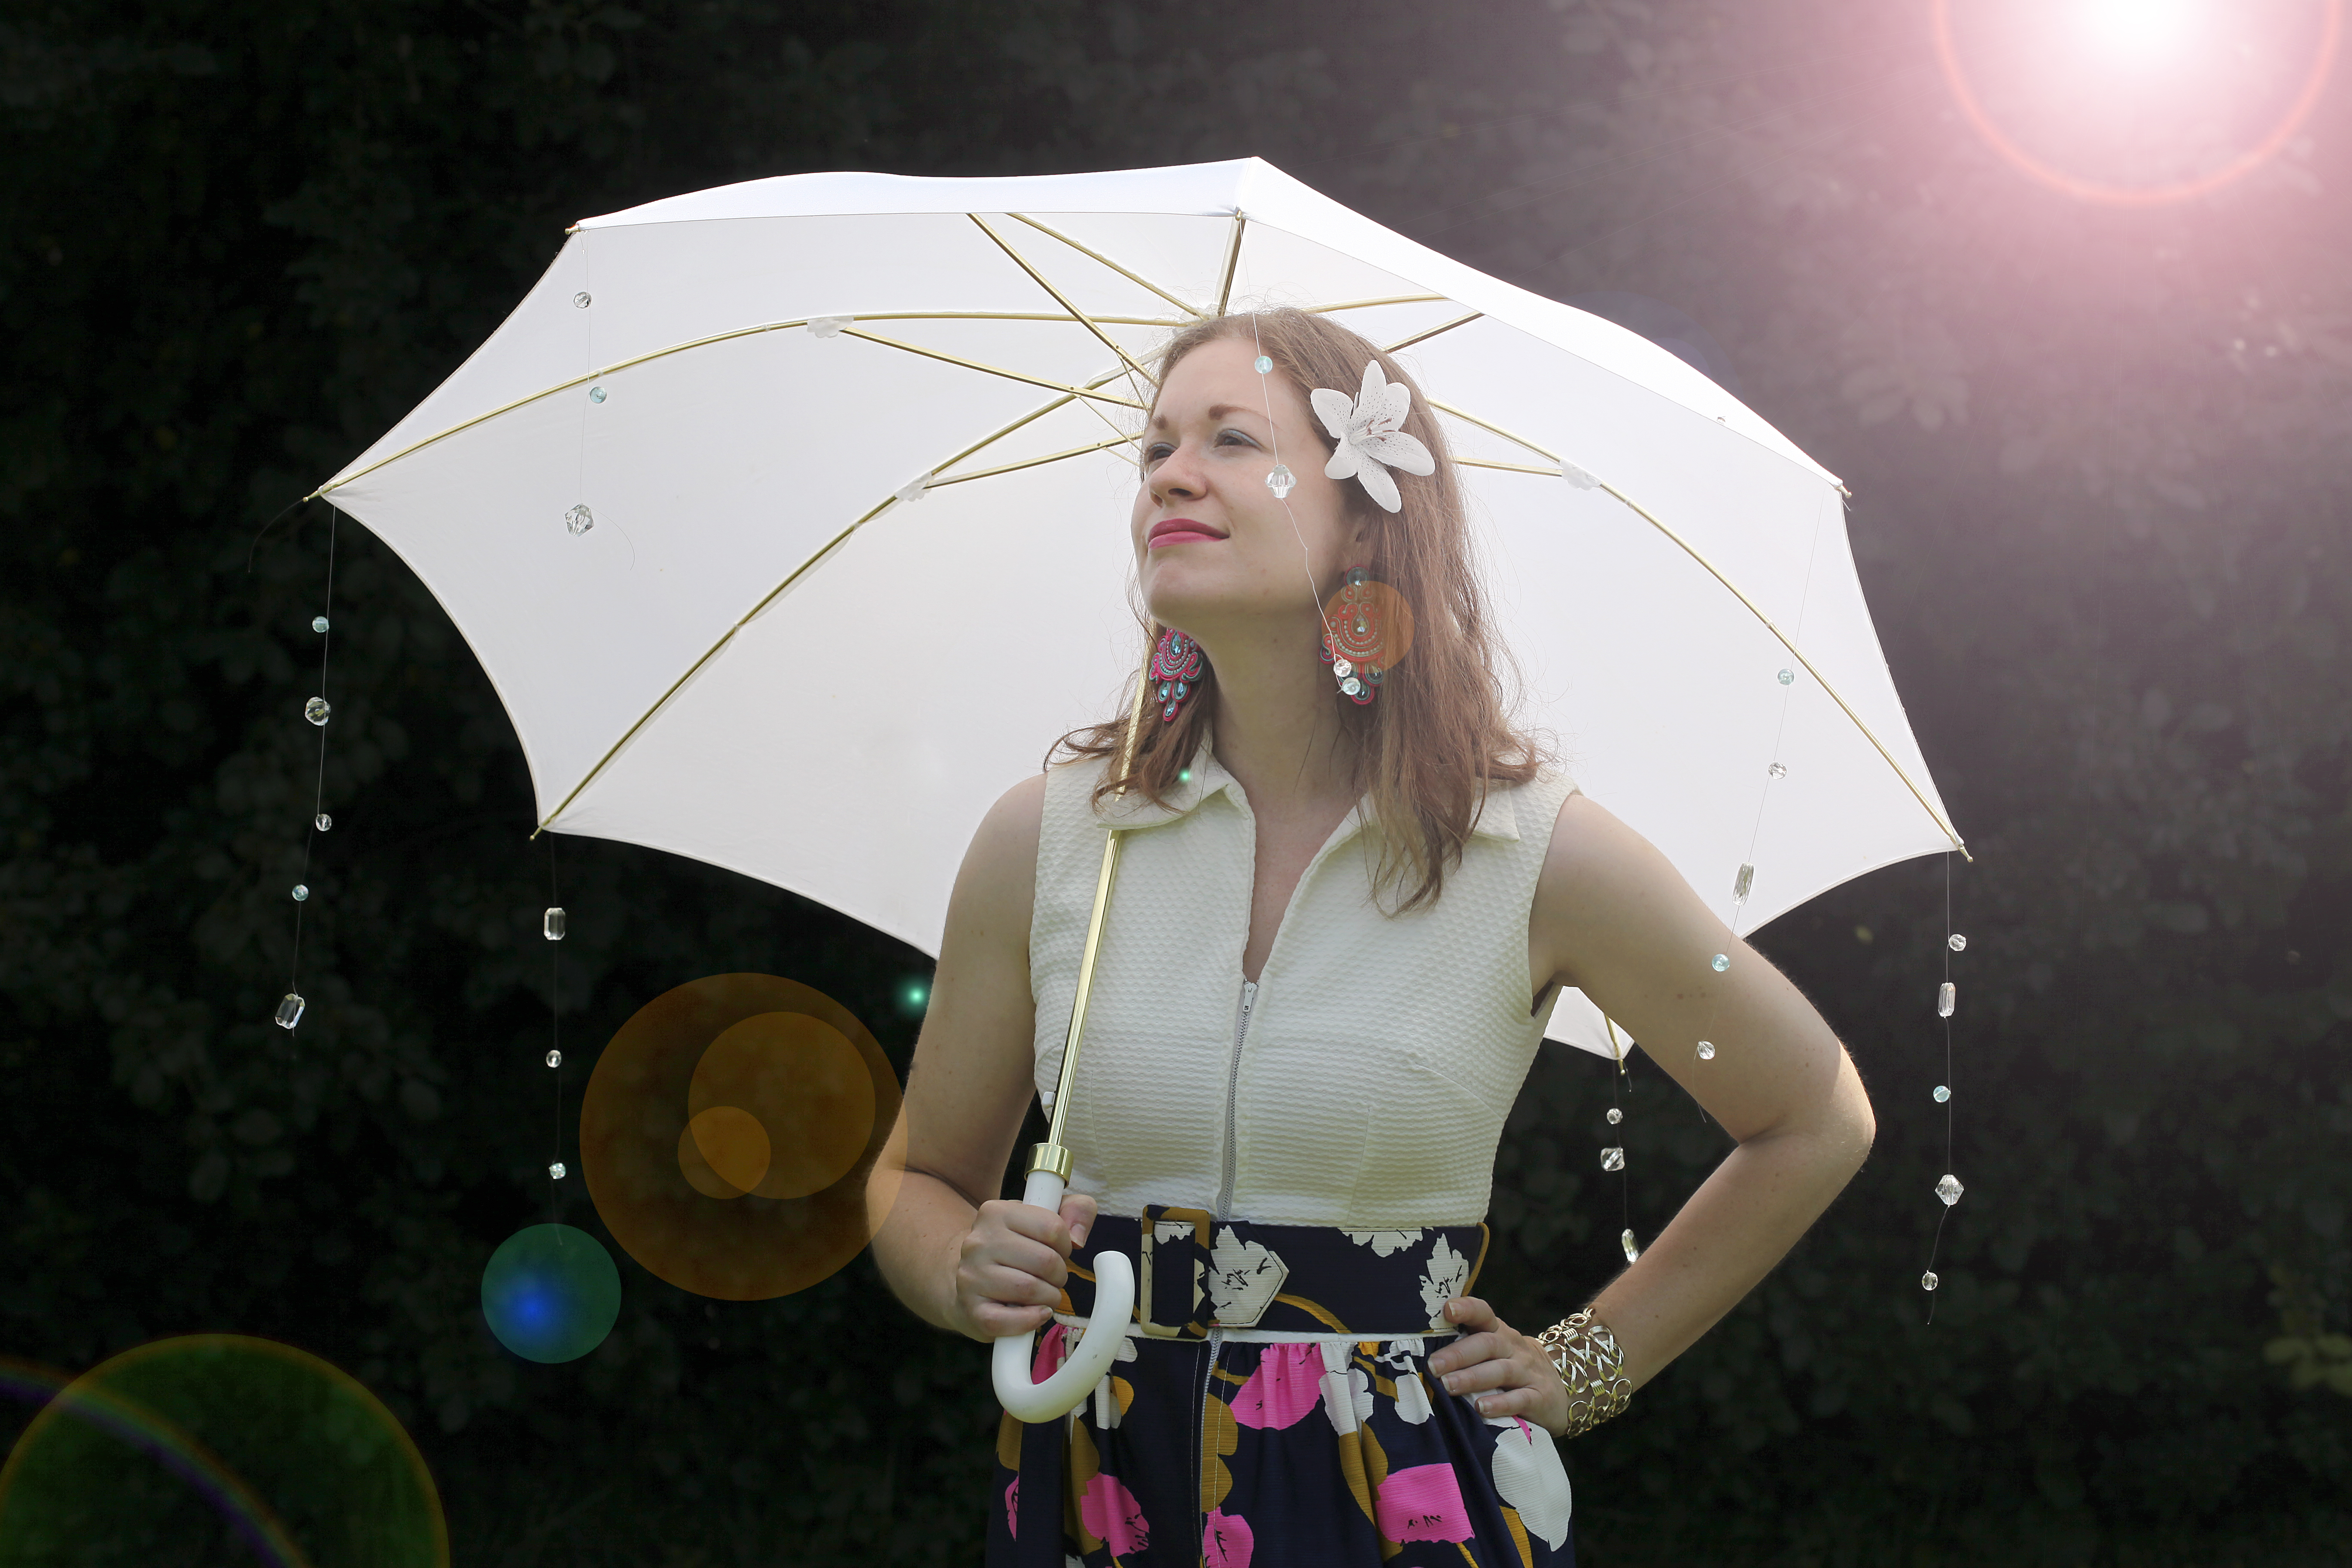
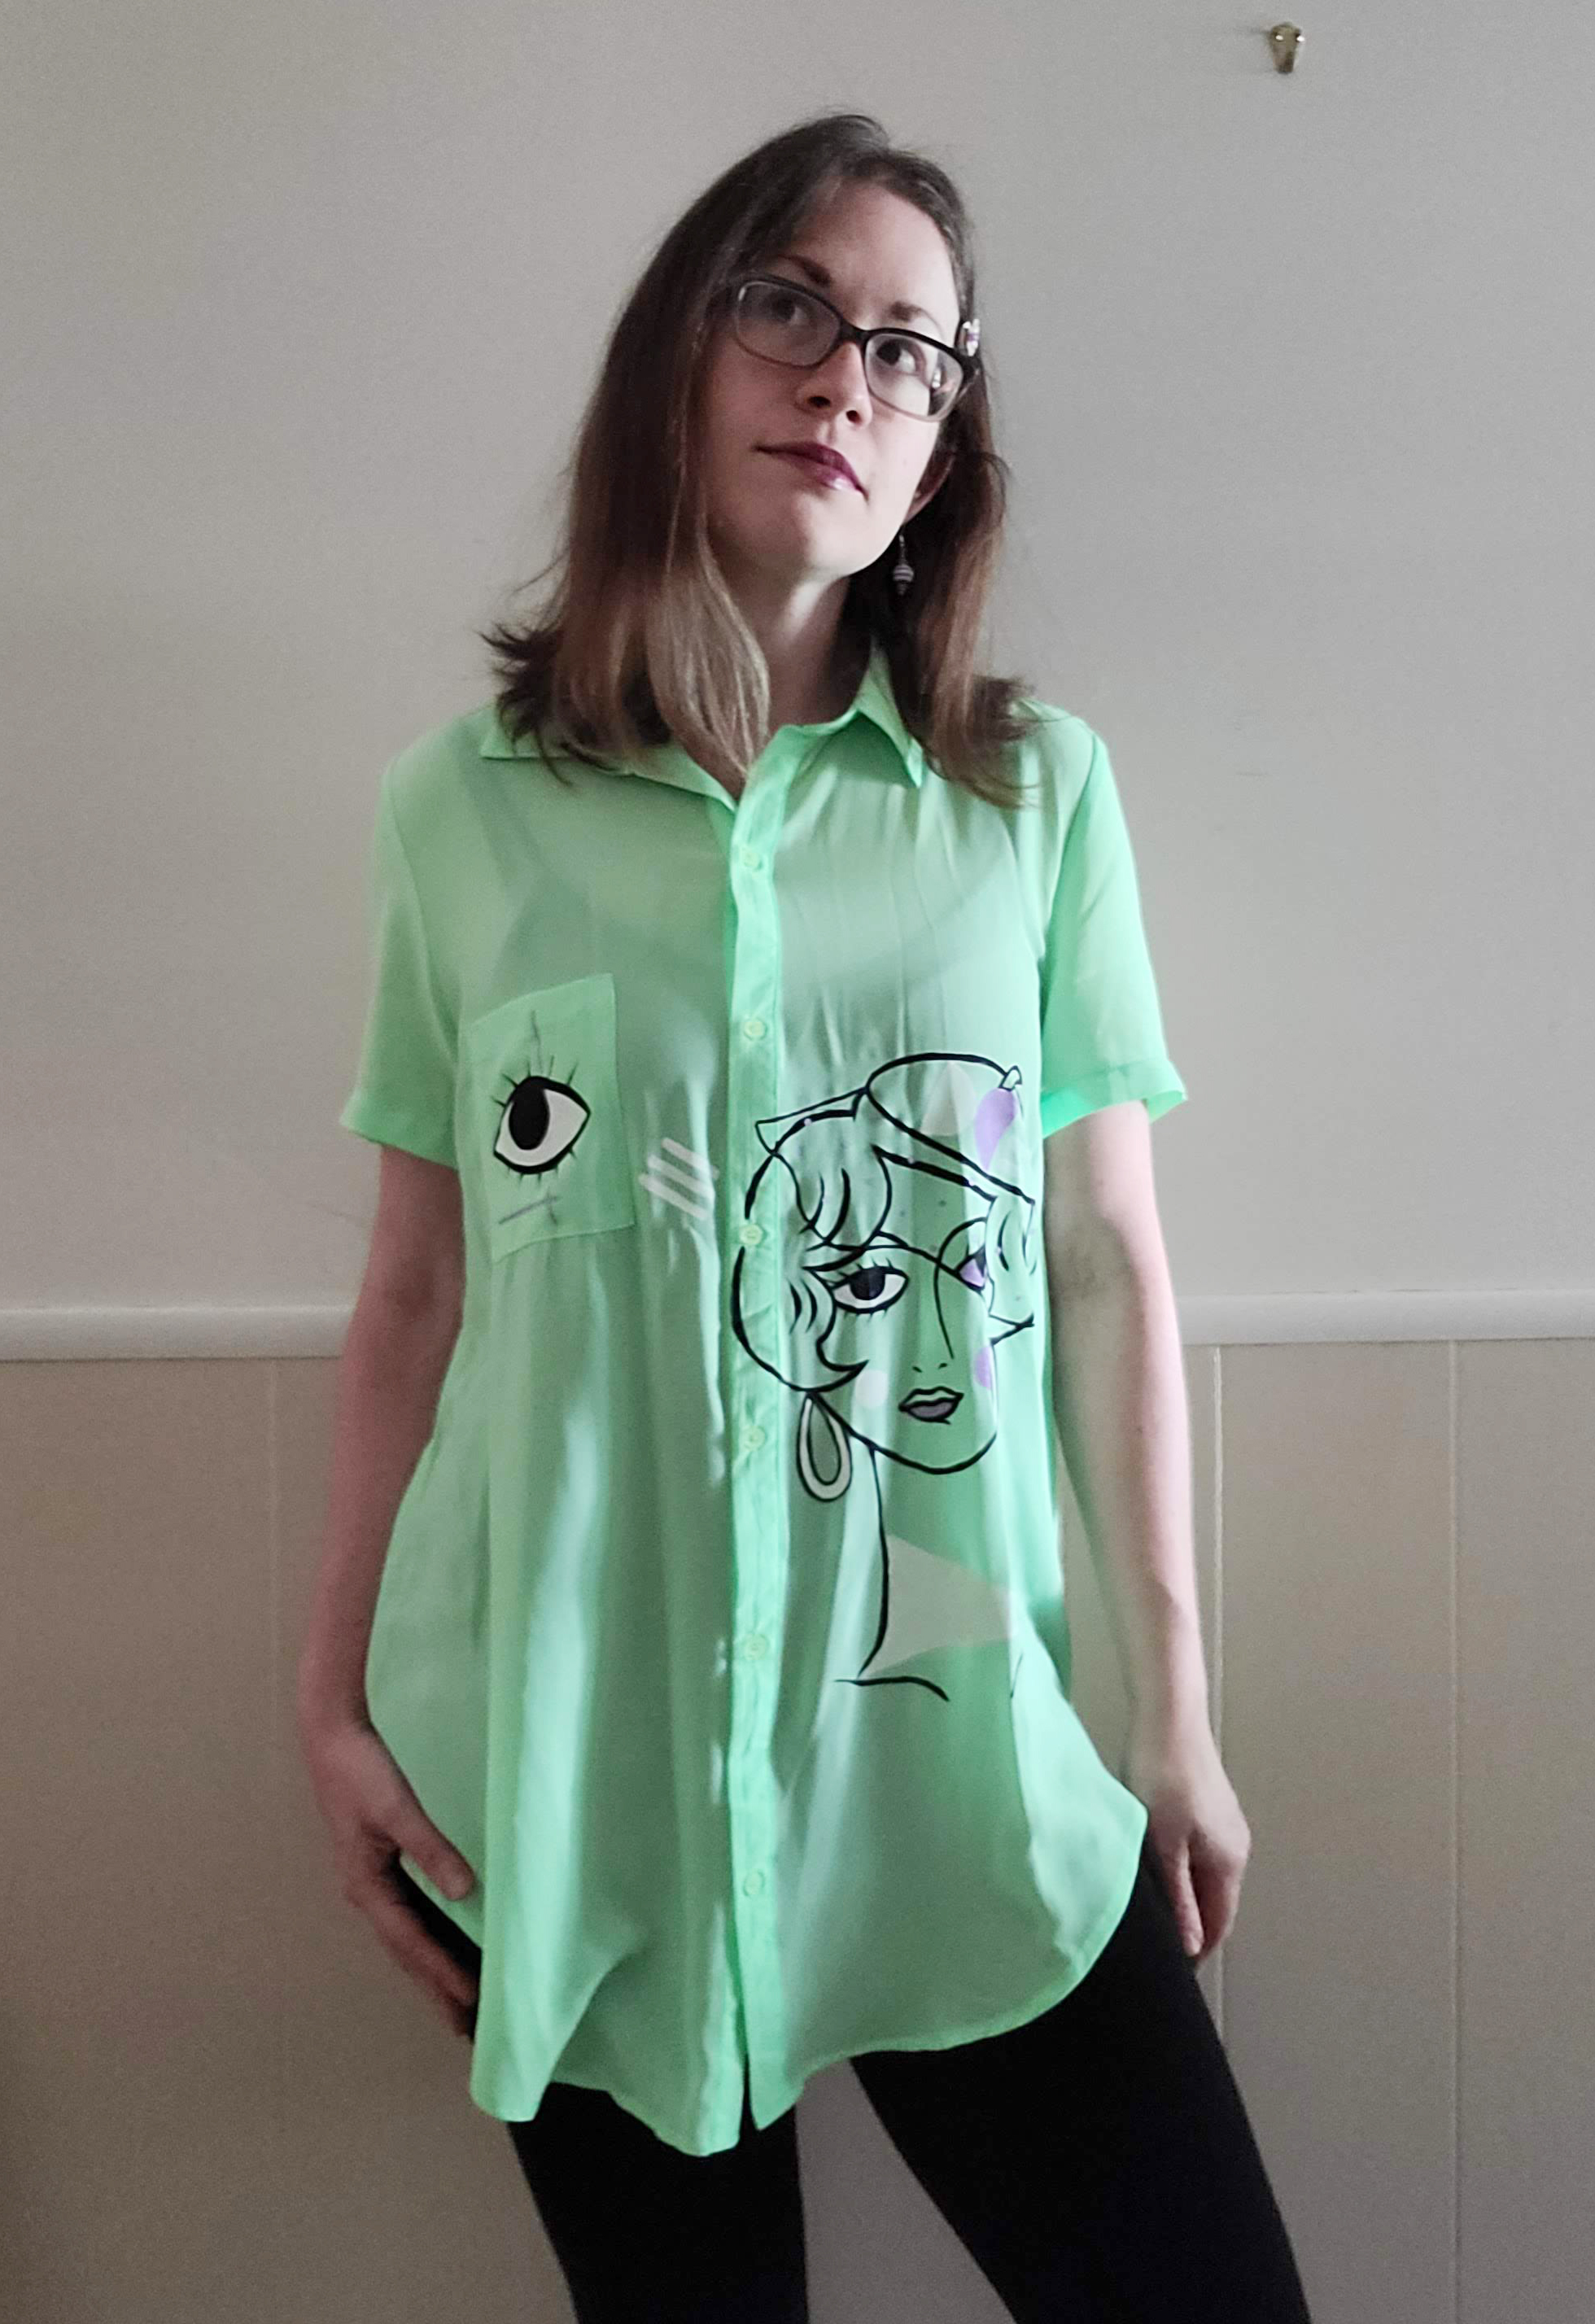
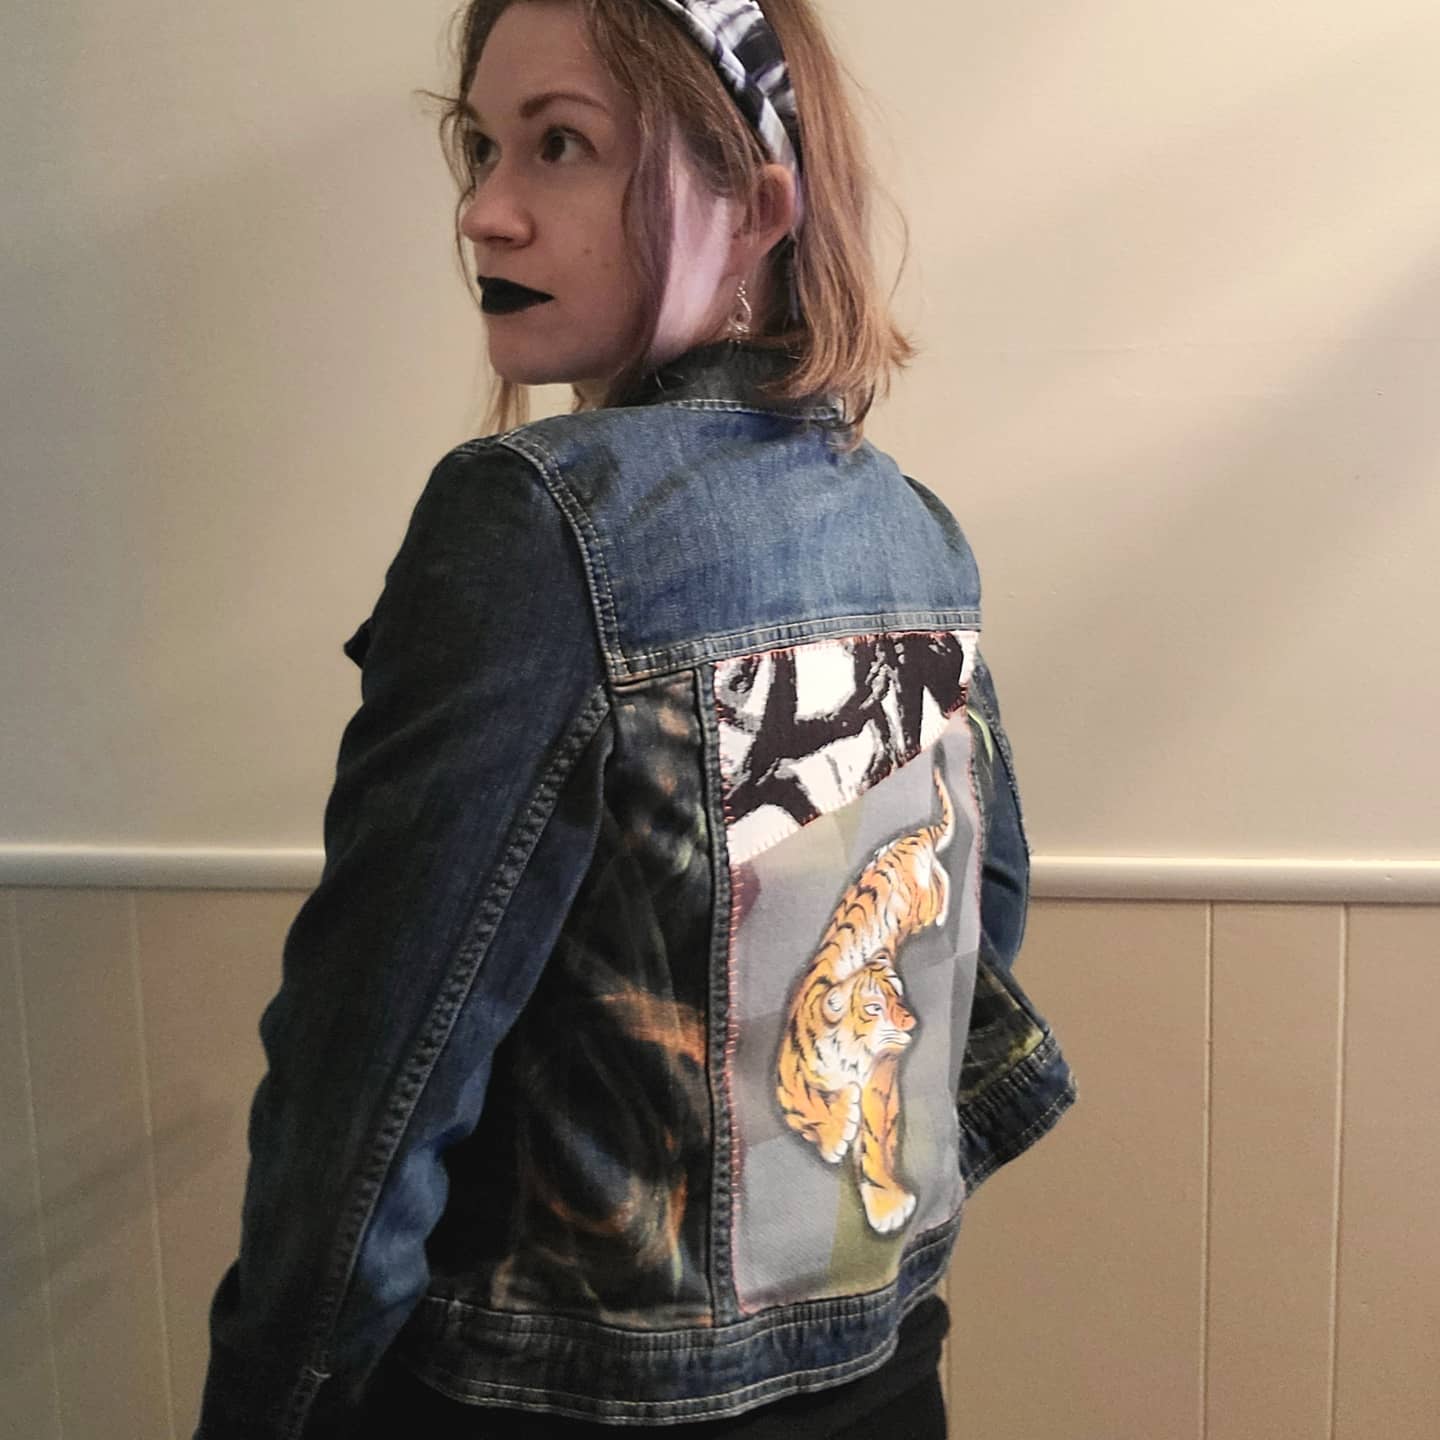
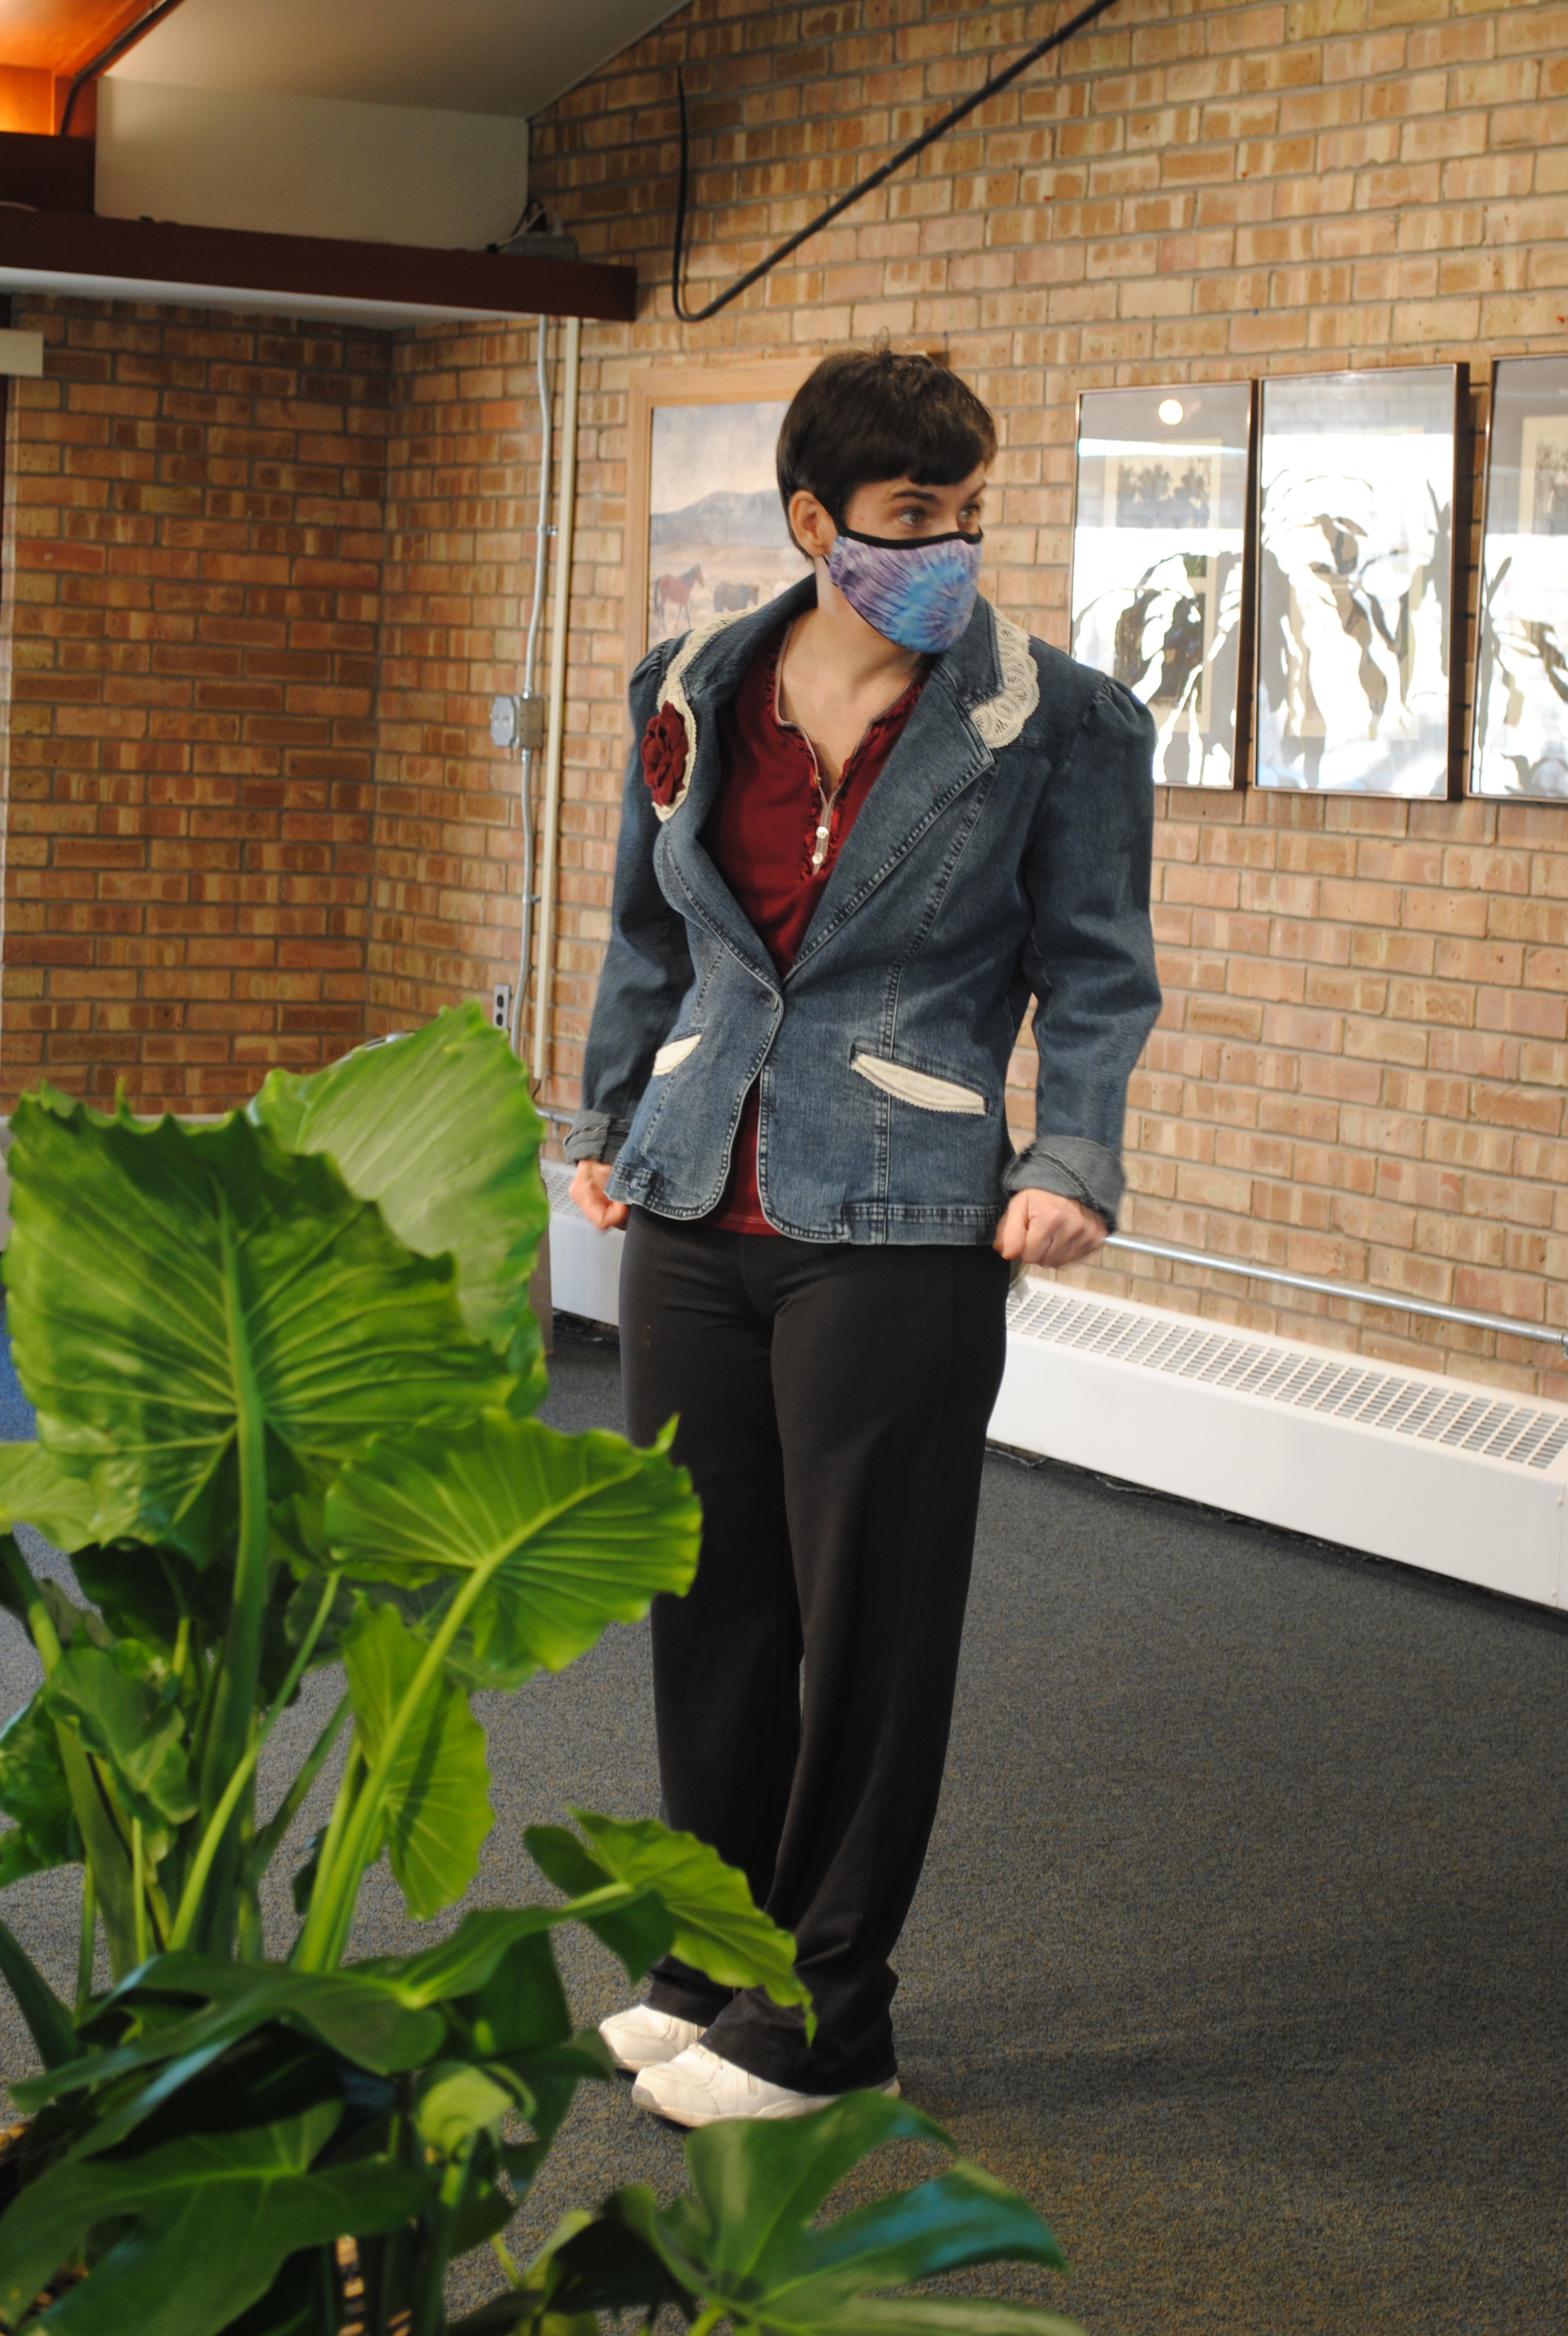
This is also the first year I had the confidence to participate in some local modeling projects for art friends, and it was an absolute blast. Expression via how I visually adorn myself has been another way I have used art as a tool for communication over the years as someone who is an unwilling introvert due to social anxiety. People are all living sculptures, for the most part wonderful and fascinating (and yes, also challenging at times), and the ability to use how we visually present ourselves to show who we are to others before even speaking is an intriguing tool.

Like with my other art, with my wearables I hope to inspire, make people smile, and help them feel confident and comfortable in who they are. My pieces are available for purchase via ebay, etsy, and facebook so pick your poison ;). Let me know what types of colors, patterns, or images make you feel the most inspired and powerful!

Advertisement
Standard
Artist Bio, New Work

Art And Outreach

I know I’ve lapsed lately on my writing … since Mother’s Day actually, and I only realized how long it has been when I was preparing a Father’s Day project post for Sunday ;). I’ve been continuing to spend a lot more time teaching and working on some unique commissions, but I certainly haven’t been sacrificing my own creative spirit for “work” as some might assume. I have enjoyed the shift as a way to recharge and do some new and different things, and stretch my own personal style into new avenues.

The bulk of the first quarter of this year was spent preparing for a Fashion Show with my Express Yourself Artshop Program. The theme was upcycling thrift store clothing, perfect for the big reveal on Earth Day. The majority of my students are adults with disabilities, and I was amazed to see how they took to this project. Some who struggled to create imagery on canvas or paper created breathtaking designs when given a piece of suede to paint on or a pair of jeans. Fashion shows and pageants for people with physical and intellectual disabilities have definitely come into the spotlight more as our society has begun to demand more diversity in the bodies we see in fashion, film, and advertising. What I especially loved about our show is the fact that the focus was on what our students made, not just “looking pretty” (although our students did look fabulous showing off the clothing they created!). It was very ‘come as you are’, models didn’t have to wear makeup or fancy shoes if they didn’t want to, or do their hair a certain way. Everyone was invited to show up as their authentic selves and just have fun. This was a huge leap of confidence for our student ladies that participated along with our staff and some models from the community, and I could not be more proud and impressed.

The second big workplace project that is still in progess was planning a community mural incorporating themes from the students’ artwork. It was difficult for super detail oriented me to put together a design that would be accessible enough for community members of all ages and abilities with little to no art experience to come and paint and not have it look crazy ;). I payed homage to my love of retro illustration to come up with a design that was very simplistic, but still had an artsy vibe.

My life has been filled with color lately as I also progress on a very unique commission, a cosplay sword and shield accented in PINK leather! Just a teaser for now, I will share the finished products soon!

Though art is an intrinsic expression of the artist who creates it, oftentimes it is about so much more than the individual artist. We all have preferences for how and what we prefer to create, but sometimes art is about lifting others up into the spotlight. Sometimes art is about using our skills to help someone else’s talent and creativity grow. Sometimes art is about helping someone else’s vision come true that may be creative, but doesn’t have the tools to make their idea a reality. Sometimes art is about creating in isolation and baring your own unique soul, but sometimes art is also about outreach. As one who has often been the former, I’m enjoying this exciting new chapter.

Standard
Project Ideas, Techniques and Tutorials

Charley Harper: Creative Minds Art History Project

I was first drawn to Charley Harper‘s work in the gift shop of a local museum. One of my dad’s main hobbies is birding and wildlife photography, and Harper’s Mid-Century-Modern style illustrations just screamed the perfect birthday gift.

Harper grew up on a farm in the Midwest, and was inspired by the wildlife he experienced around him. He called his style “minimal realism”, taking in the world around him and distilling the imagery he observed down to the most essential details. He said, “When I look at a wildlife or nature subject, I don’t see the feathers in the wings, I just count the wings. I see exciting shapes, color combinations, patterns, textures, fascinating behavior and endless possibilities for making interesting pictures. I regard the picture as an ecosystem in which all the elements are interrelated, interdependent, perfectly balanced, without trimming or unutilized parts; and herein lies the lure of painting; in a world of chaos, the picture is one small rectangle in which the artist can create an ordered universe.”

Inspired by images from Harper’s body of work that capture his signature style, I encouraged my students this week to create their own minimal realist birds. Though Harper’s works were painted, they bare quite the resemblance to modern day digital art and graphic design. Instead of painting, we used a collage format to create our Charley Harper Birds. We used paint chip samples for our vibrantly colored creatures, colored cardstock for the background, and paint markers to add the linework details. From working on repainting the interior and exterior of a house over the last couple years, I had an accumulation of samples but never felt right throwing away even the colors I ended up not using. Upcycling to the rescue! At an arts non-profit, we love free materials ;). We outlined our geometric shapes onto the samples with a pencil, then cut them out and adhered them to a foam core board base (any heavier paper would work as well) with a standard glue stick. I’d suggest laying out the entire design before gluing in case you want to make some changes before the final masterpiece.

I teach adults with varying physical, psychological, and intellectual disabilities but this project is perfect for all ages and abilities. It is all inspired by simple geometric shapes and blocks of color, and can be done as simple or with as much detail as the artist desires. We created our works in an easy-to-frame 5×7″ size.

I hope you are inspired to try this at home (This would also be a fun project for bored kids, hint hint 😉 )! This is a simple, whimsical project that you don’t have to be an “artist” to enjoy. Unwind after work and get crafty with some basic, easy to access materials. As always, if you end up making one of these yourself I’d love to see pictures!

Standard
Techniques and Tutorials

Make A DIY Bib Necklace

I’ve shared my fun mixed media necklaces I’ve been creating in the past, inspired by a class project the week my Creative Minds students learned about artist Sonia Dealunay. Today I wanted to show you the creative process firsthand!

I use a lot of castoffs and odds and ends like scraps of jewelry chain and fabric, discontinued upholstery samples, and pieces from broken jewelry. Antique stores, thrift shops, garage sales, and ebay are all great resources!

I love how fun and unique you can make these necklaces, collaging in any shape you want though I’ve stuck with the classic bib collar design for now. Most of mine are very nature inspired but again, you could take something like this in a whole different direction. The possibilities are endless! I hope some of you are inspired to play around, but for those who’d rather just buy one I do sell the necklaces I make in my ebay shop.

As always, if you have any questions shoot them my way. Happy creating!

Standard
Techniques and Tutorials

Mixed Media In Fine Art

Mixed media has become very popular in art over the last couple of years, and there is no question as to why … It is wonderful to be able to sit down and work on a project and not be limited to only one or two materials despite what may convey your idea best.  It is also a way to make 2D art more tactile, introducing elements of 3D art and design onto a 2D surface.

I’ve found that introducing mixed media to my drawings has given my pieces a new life. There is nothing at all wrong with using one material, and I enjoy a lot of artists’ work that create art that is all ink, or all watercolor, or all acrylic. However, for my own art working with multiple mediums has enabled me to break through the possibility of my work becoming repetitive or stagnant, and has helped me develop my own unique style.

It’s easy to be intimidated by mixed media art because it involves a lot of choices, but using multiple mediums can actually make the artistic process easier by removing the limitations of using one material at a time so that for each part of our piece we can use the medium that will lend itself best to creating the visual effect we desire. It can also allow us to be more efficient with our work; for example, yes I could find a fabric I like and copy it by hand onto the dress of a figure in my drawing, or I could add something tactile and interesting and adhere the actual fabric to my drawing as the figure’s dress.

Wondering how to incorporate mixed media into your drawings or paintings?

  • Start with what you know. Create a base drawing or painting first, and then assess where you could add some 3-dimensional or tactile elements. In the image below titled “Artist At Work”, fellow artist and art friend Emiliano Vega painted the scene first with acrylics and a palette knife, and then I applied mixed media accents evenly dispersed throughout the scene to finish it off. Think about what the objects depicted in your drawing or painting are actually made of be it wood, metal, fabric, leather … and try to incorporate those materials. I used thin cutouts from sheets of wood samples for the wood of the window frame and easel. Real fabric and leather samples were used for the furniture, with paint applied overtop for shading. Prints of an actual sketchbook were used for the book on the table, as well as a a closeup section of an actual painting for the work on the canvas. the artist at work
  • Go gathering and narrow down your choices! Look for materials with a similar color scheme, pattern, style, or period look to the 2D image you are creating. Once you’ve accumulated a store of like elements, it will be a lot easier to decide what you want to place where to add to your piece. For “Lunar Fantasy”, I painted everything in watercolor first and then determined what to accent in mixed materials. I gathered fabrics in dusty, muted tones of black, ivory, gray, blue, and violet. I also collected some gold metal/metallic pieces that reinforced the vintage style. Everything I collected was pretty and feminine with a definite older feel to it (think Grandma’s craft drawer) but with a whimsical, luxe element to it as well. I gave myself a couple fabric choices, a couple edging choices, and a couple metal choices and narrowed it down from there. I used actual fabric and ribbon for the top curtain and her outfit, and accented any of the metal with gold cord. I also reinforced the vintage circus look by using scavenged vintage jewelry for decoration.

lunar fantasy

  • Maintain your original style. There are literally no rules to mixed media art. When you google “mixed media art” or even watch youtube tutorials, a lot of what comes up are mixed media styles that are very “on trend” with a heavy art journaling influence. Much of it is very busy and colorful with all-over pattern and texture, visible paint strokes, and super stylized figures, flowers, or animals with a lot of elements of paper crafting and collage. If you’re a fine artist who likes sharp detail and realism you may feel like this is an area you aren’t able to dabble in but that isn’t true at all. I integrate mixed media into my pieces as an accent and an enhancement to the work I am already doing in either paint or pencil. The piece on the left is all colored pencil, and on the right colored pencil with the introduction of mixed media, both other 2D mediums as well as some 3D objects. In this piece on the right, I was able to use prismacolor pencil for the figure to achieve the sharp detail and realism that was desired, and watercolor for the background to create a softness and “fog” to the view through the window. I used prismacolor markers for the eye pattern undulating out from her line of vision because I wanted that to have a more hard-edged graphic print look with no visible pencil or paint strokes. I used actual fiber materials for the gold edging on her outfit and her dress as well as actual decorative gems for her jewelry because yes, you could imitate it by drawing, but using the real thing adds a surprise 3D element that makes viewers look twice and gives the piece depth. That is part of the fun of mixed media art – it draws viewers in encouraging them to investigate further, because it’s not just a painting or just a drawing – they are invited to try to figure out the artist’s process, and what they used for different parts of the piece. There are new discoveries the longer they take the piece in.

  • Start small. Try out different techniques and materials on a small surface. Bulk value packs of 8×10″ canvases or mixed media paper sketchbooks are great! Get out your paints, pencils, fabric, beads, odds and ends and play!

With many things being cancelled right now resulting in a lot of downtime, it’s not a bad idea to get creative and try something new! Fine art and crafting materials CAN coexist!


Standard
Art Education, Project Ideas

Kintsugi – Creative Minds Art History Project

I’ve always loved Kintsugi pottery not just for its striking visual interest but also for the symbolism behind it. Kintsugi means “golden joinery”, and is a practice that started as early as the 15th century in Japan. With Kintsugi, artists fix broken pottery by using a special lacquer mixed with powdered metals to join the pieces back together. Influenced by the Japanese philosophies of wabi-sabi (seeing beauty in imperfection), mottainai (the regret of wasting), and mushin (the acceptance of change), Kintsugi pottery highlights flaws rather than hiding them, showing each piece’s unique history and turning brokenness into beauty. Our experiences, mistakes, scars, and the things that make us different are what build us into who we are, and beauty can be found in all of these things as we move forward.

I knew I wanted to incorporate learning about Kintsugi into my Artshop class, but the question was how? In this class, we typically do different small projects each week, so it would need to be something that could be completed in an hour and a half. Additionally, I have no background in pottery or sculpting (100% 2D artist over here!) and wanted to use supplies our studio already had on hand without depleting our clay class’s supply. A couple of months ago, a group of friends I do crafty girls nights with and I found an idea to make small, marbled ring dishes out of polymer clay on Pinterest. This craft got me thinking … why not make sculpey pottery?

It took some trial and error, but I ended up coming up with something that works using sculpey, a cool whip container and some 4″ diameter and 3-3.5″ diameter oven safe glass storage containers, hot glue, and broken teacups.

The first step was to roll out a sheet of clay to the desired size. Students mashed, twisted, and striped their different colors together and then rolled them out to about 1/2 cm thick. We happened to have acrylic polymer clay rollers, but a rolling pin would work just as well – Just make sure to put a piece of foil or parchment paper over the clay so it doesn’t actually make contact with the rolling pin if you ever want to use it for food again. Next, they cut out a circle by tracing around a template using an xacto knife. We used an empty cool whip container as a template for students who wanted a 4″ diameter bowl, and a 4″ glass container as a template for students who in the end wanted a smaller 3.5″ bowl.

IMG_20190528_150010
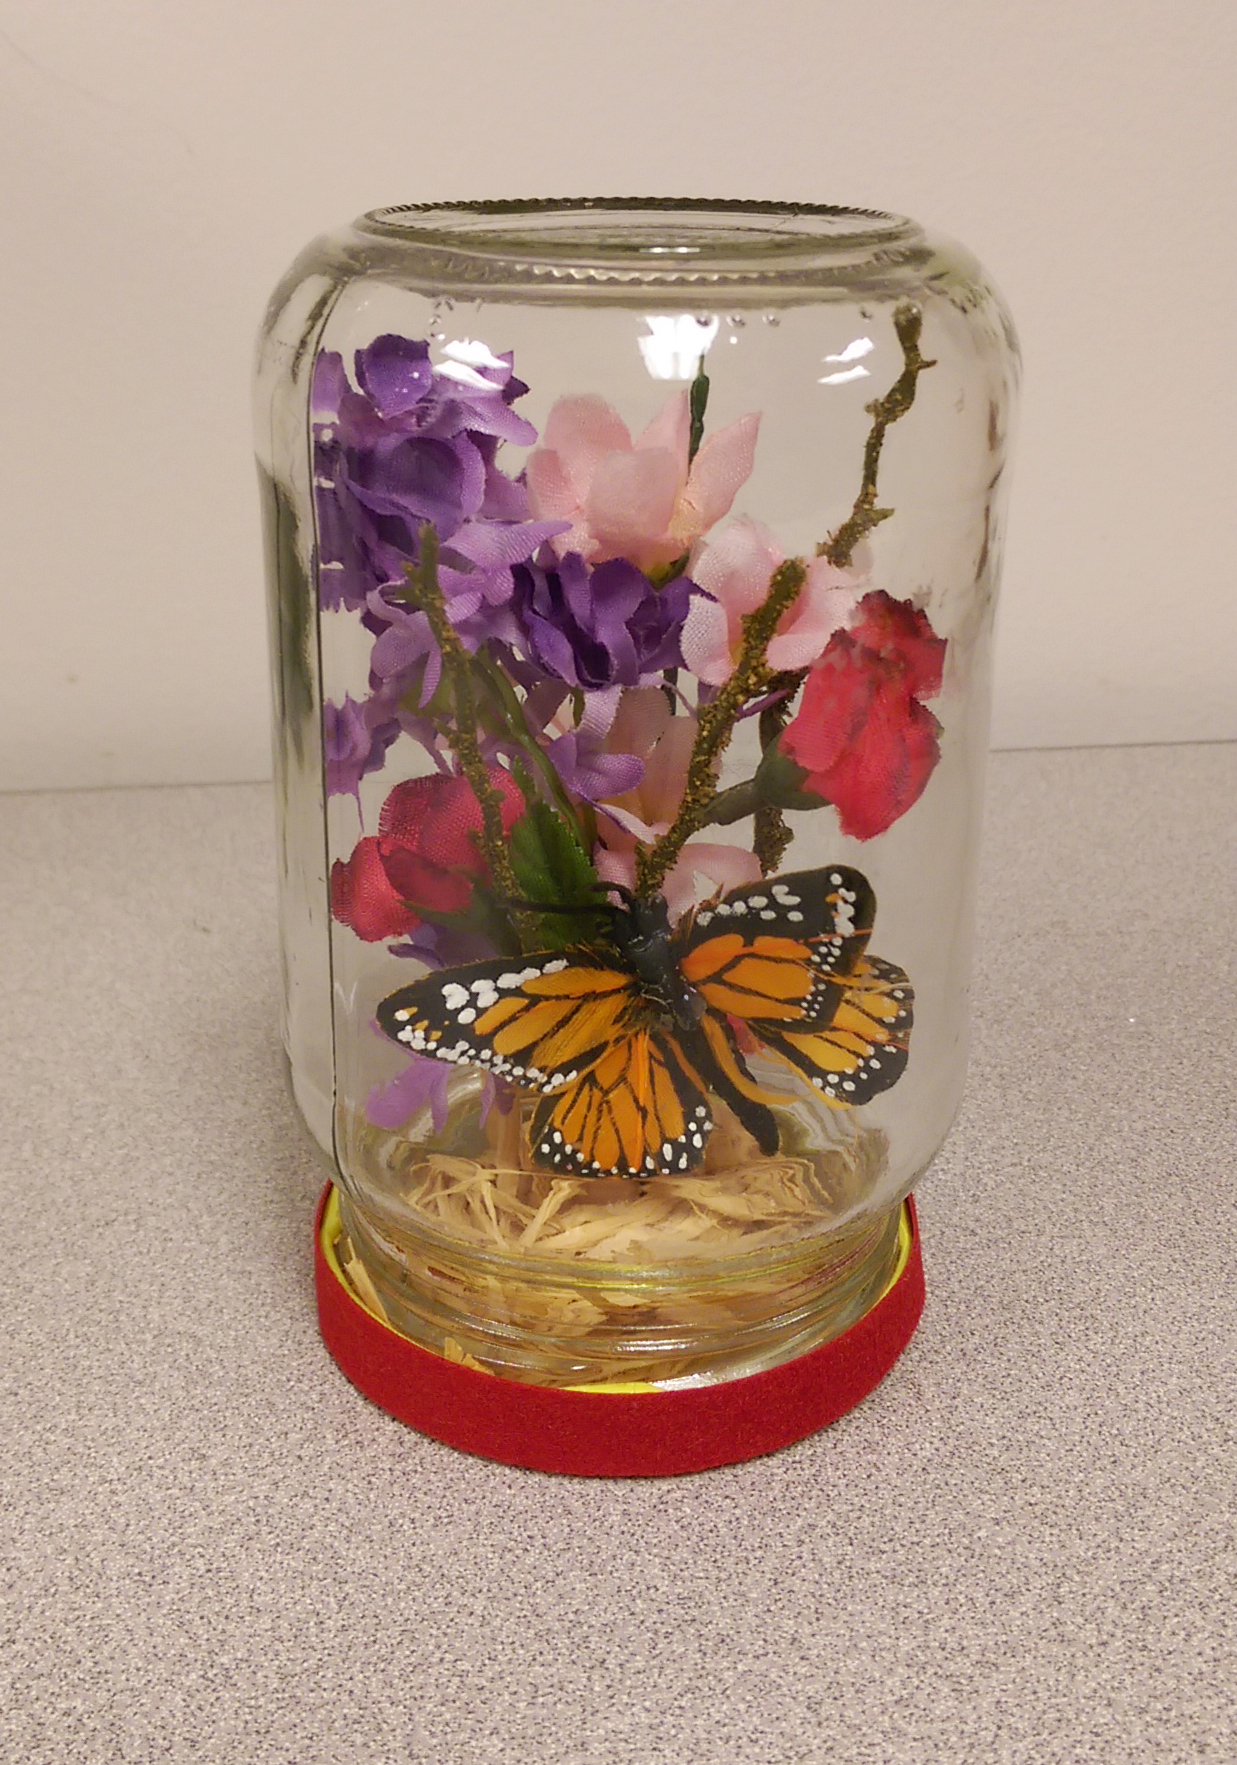
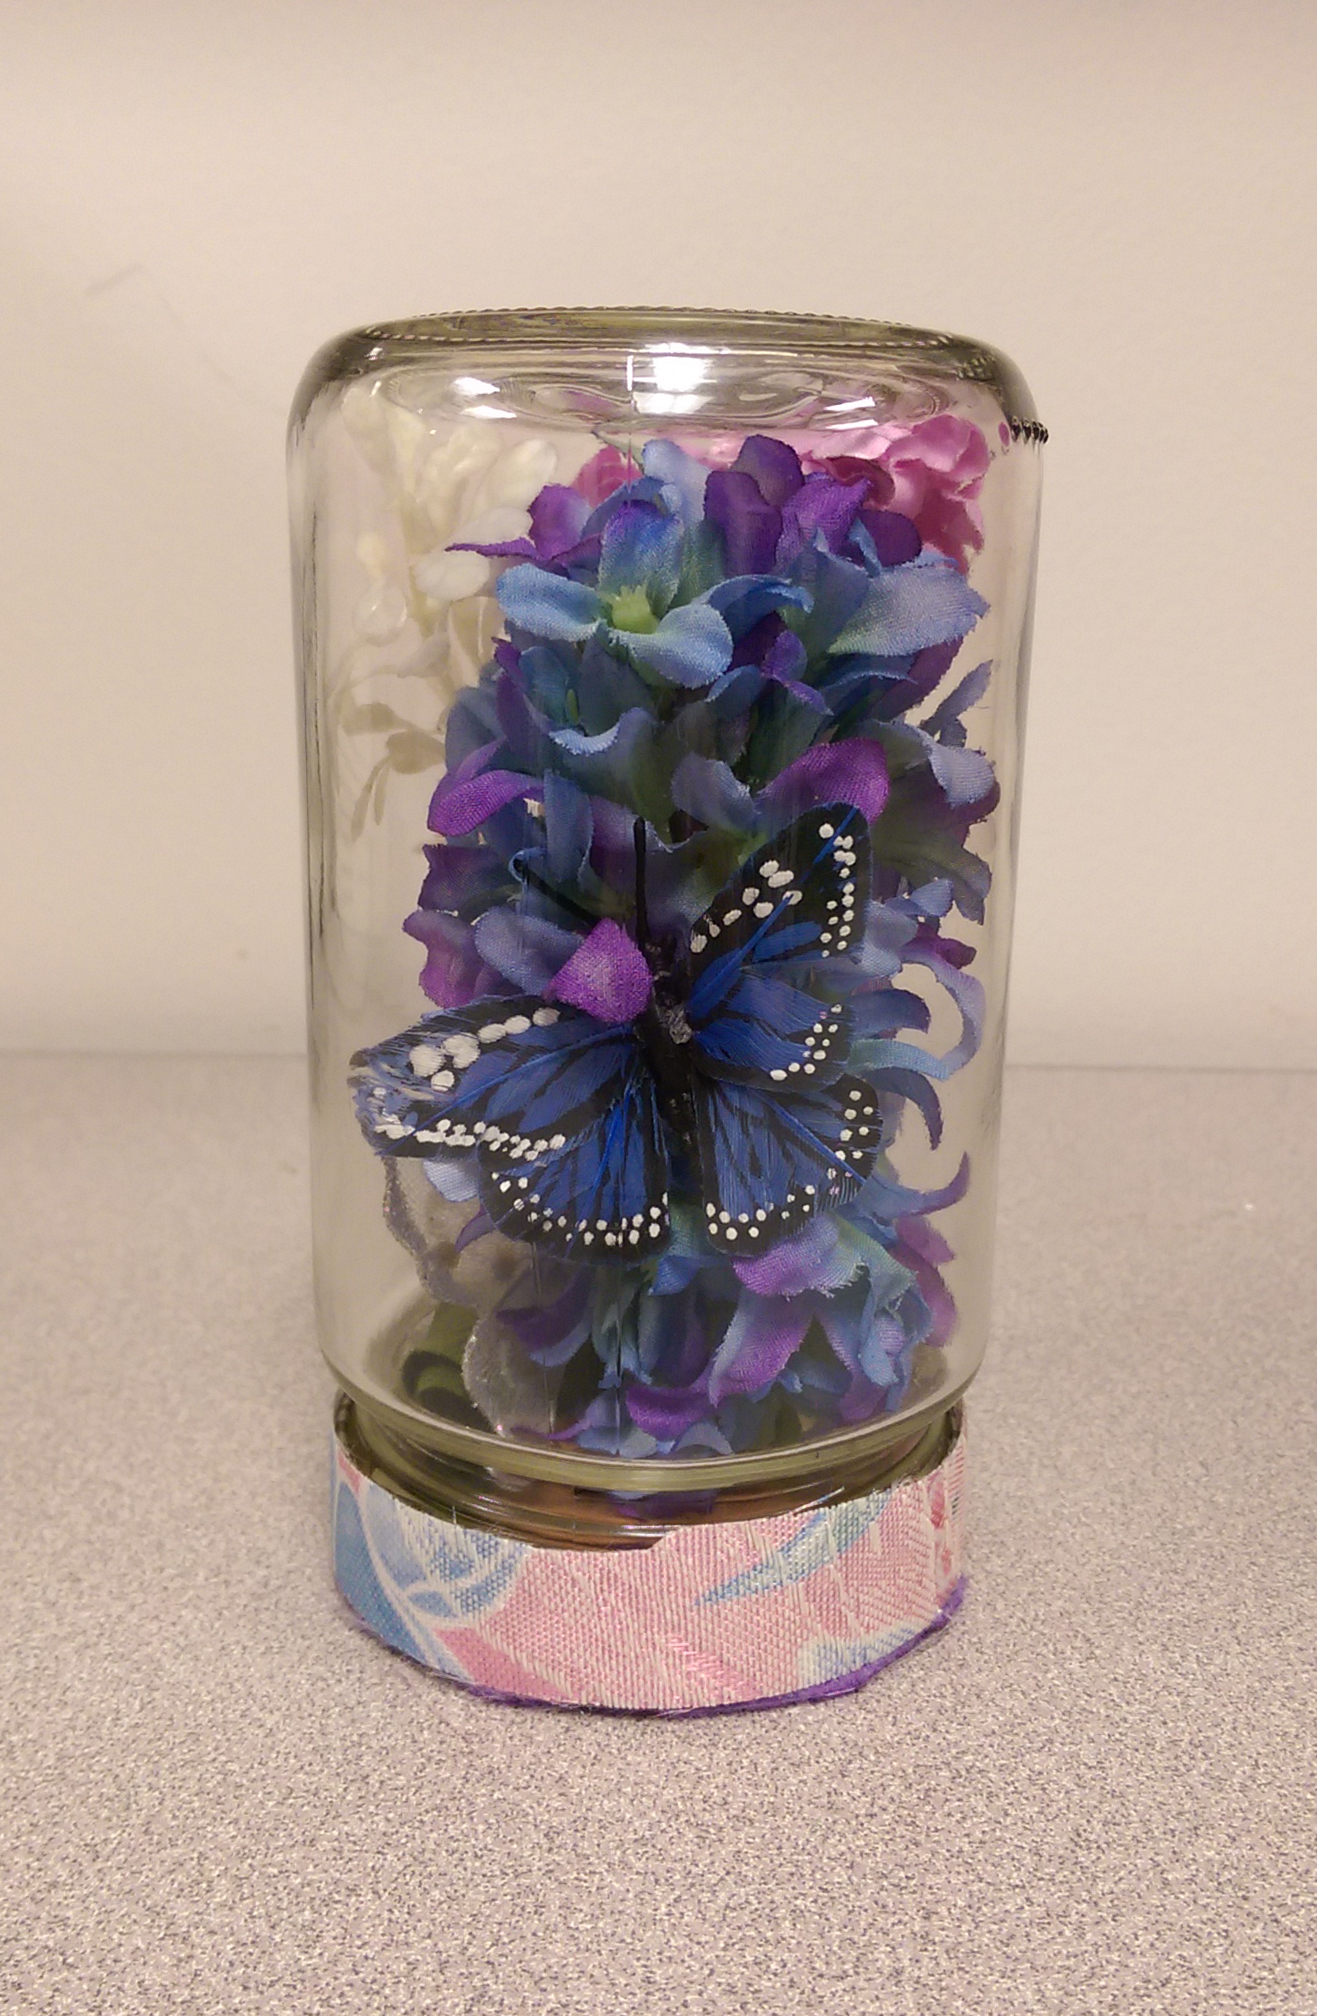
Once everyone had their flat circle, we placed our chosen glass containers open side down and centered the circle of clay on the base of the container. We then gently guided the sides of the circle  down to form a bowl shape, being careful not to press the clay down too tight (This makes it easier to remove later!), and not to press hard enough to leave fingerprints.

After this, we made a selection of teacup fragments from our stash. We then laid them where we wanted on the surface of our clay bowl shape, and traced around the fragments with an xacto knife, cutting out an empty space into which we could glue the piece once the clay was baked. Some pieces were more curved than others, so this also influenced placement. The holes can be a bit bigger than the piece, because we can fill any gaps with hot glue – You just definitely don’t want the hole to be smaller.

Once the spaces were cut we baked the clay on the oven safe glass containers, still open side down, in the oven per the instructions on the sculpey package (275 degrees for 15 minutes). After letting the hardened clay cool, we were able to use hot glue to fill in our bowl with the teacup pieces. Once the glue has hardened and is painted with metallic gold acrylic, it looks just like the fusing used in traditional pottery!

These make for interesting decorative bowls or catch-alls, and though our process and materials were quite different, it was a fun way to reinforce the history lesson. My hope is that these tiny vessels will sit out somewhere as a reminder for people to love themselves, cracks and all, and remember that no one is ever broken beyond repair.


Standard
Project Ideas

Alexander Calder – Creative Minds Art History Project

09e5c065d1594c85473cc0f55bc4e082I’m a bit behind on sharing my art history projects from Express Yourself Artshop … This one is from the first 5 weeks of the Fall semester! But, never fear, they will all be posted in due time! I am not really a 3D art person (love looking at it, hate creating it!) but even I enjoyed coming up with this upcycling activity based on Alexander Calder, the inventor of mobiles.

The great thing about this project is you can use scraps of literal junk that you have just sitting around the house (or if you are super cleanly and don’t let junk collect, start saving with this idea in mind 😉 ). We used primarily painted embroidery hoops, shower curtain rings, hardware odds and ends, painted toilet paper rolls, and the cardboard part that is left when you’ve finished a roll of colored duck tape!

Students were instructed to pick out a variety of small, medium, and large items that struck their fancy from the pile of supplies, and then start laying them out flat in front of them on the table so that they could plan the basic composition they wanted. Calder’s big focus was kinetic sculptures, which led to his eventual mobiles. These babies are meant to shift and move as they hang (part of why I couldn’t get very clear pictures … That and the fact that there is NO dead space to use as a backdrop in our art studio!). Once they had a layout they liked, they could start tying their most prominent “anchor” pieces together using fishing line with a dot of hot glue on the knot to secure it. After the main components were attached, they could focus on adding smaller pieces both to achieve the balance and/or movement they wanted and add visual interest.

If you have a spare hanger or anything else that you can hang your mobile on to step back and look at how it’s hanging while you create, this helps a lot. As they held it up, it bobbed and shifted and was a great opportunity to play around with some simple physics, adding different smaller weighted objects to either balance or cause purposeful imbalance to their growing mobile. Glass beads attached by making eye-hooks through them with jewelry wire made great counterweights if a student didn’t want to add anymore major elements to their design, but wanted to adjust how the mobile hung.

I work with adults with disabilities and some have dexterity issues and needed a bit of help from time to time with the knots, but this project is for the most part something that all ages can do relatively independently.  When you are done, you will have a dynamic piece of modern art that you’d never guess was made out of castaways!

Standard
New Work

Doll Repaints – My Addictive New Hobby!

I first heard of the art of doll repainting when I came upon an article about Tree Change Dolls. An Australian mother, doll lover, and recycling enthusiast had begun repainting discarded dolls found at secondhand shops and giving them a new life. Word got out, and her hobby took off in a bigger way than she ever expected. She primarily works with Bratz dolls, giving them her signature make-unders to make the dolls bare a closer resemblance to the kids that likely play with them.

By the time Bratz dolls came out I was already in 7th grade and getting out of playing with fashion dolls, though I did still covet the collectible, for-display Barbies with elaborate costumes and often retro styling. Still, I always thought Bratz dolls’ over-the-top iridescent makeup and decidedly not vanilla clothing was a lot of fun. These girls were definitely not going to a yacht club or garden party. Dolls for girls do tend to either look like either teens/young adults or babies, with a curious lack of dolls that resemble the age girls that play with fashion dolls usually are, so I can definitely still get behind what this mom is doing. Also, watch the video – she is just having a blast, hoping to make people happy along the way, and her enthusiasm for her craft is contagious :).

I very recently was commissioned by a regular ebay customer and art doll collector to draw an ACEO illustration of one of her Monster High Doll repaints she purchased from another artist. Monster High Dolls by Mattel are another line that came after my childhood, but that I always wished I had been young enough to play with. Their colorful, surreal appearance coupled with the fact that they use a wide variety of facial sculpts (i.e. not just offering the same basic mold in different skin tones and eye colors) attracted me right away. The more I looked up other repaints on ebay and etsy, the more I was convinced I absolutely had to try this myself. I bought a lot of 4 previously loved dolls, and stayed up until after midnight working on the bulk of my first doll, originally a MH Operetta model, completely lost to time.

I used nail polish remover to clear off all the factory paint, and gave her hair a good brushing and a new ponytail. I used a translucent metallic copper paint first to add shading and give her the look of a fantastical creature made of a merging of metal and skin.  I dry brushed more heavily over the side of her body covered in the embossed swirls to emphasize this unique design feature, using a clear matte medium along the edges of the wet paint to blend. I mixed a peachy acrylic with matte medium to add blush to her cheeks, and then used acrylic on her eyes and lips, covering both with a gloss medium to give them a moist, realistic appearance. I used a detail brush to paint her teeny tiny fingernails and toenails. I too love recycling, and used a variety of lace, ribbon, and cotton fabric scraps to craft her gown. The velvety strawberries and leaves are from a lot of vintage millinery florals I’ve acquired, some from ebay, some from antique sales. And thus, The Princess of Strawberries was born!

My style definitely leans more towards the fantasy couture, and this doll is a display-only unlike the creations of the fun mom above. Maybe for one of my others I will make a more every-day version for play, who knows!

My princess is for sale, and you can see her in more detail here.

Standard
Exhibitions and Other News

New Job + Adventures In Upcycling

Many of you who have read my blog before have probably heard me talk about Express Yourself Artshop, an art and wellness program open for adult students of varying abilities, especially those with disabilities. Artshop is one of the programs I have taught with since its beginning a little over 2 years ago. Our Program Coordinator moved out of town last month, and being that Artshop has always been my favorite out of all the programs I teach with, I applied for the position. This week it is official, from now on I will be with Artshop full time. I have a lot of ideas, a ton of brilliant people helping me, and I cannot wait to see how the program grows and evolves. I dare you to watch the video below and be in a bad mood.

Life is funny, and I never ended up actually working “officially” in the field that I went to college for, but am now doing something I never would have imagined. I’m not one for cliches but the old saying “Knowledge is never wasted” certainly rings true, and I see my interior design background creeping in in little ways throughout my current work. In my new DIY Decor class this semester, I’ve been exploring creating classy, elegant and beautiful decorations for the home using cheap, everyday materials. My students and I have combined my two loves; stylish and artistic decor, and recycling, or up-cycling in this case (basically never wasting anything). They have blown me away with their fantastic vision and their own unique style that they bring to the projects. There is a lot going on, and I’m excited to share more with you in the coming weeks and months.

Coasters by Lori : Wood Samples (It pays to have a boyfriend who works at a furniture store ;)) covered in book pages and magazine cutouts accented in metallic acrylic. Felt is applied to the bottom to prevent scratching. Sealed with mod podge aka my lifeblood.

Coasters by Lori : Wood Samples (It pays to have a boyfriend who works at a furniture store ;)) covered in book pages and magazine cutouts, accented in metallic acrylic. Felt is applied to the bottom to prevent scratching. Sealed with mod podge aka my lifeblood.

Salt and Pepper Shakers by Amber : Empty glass spice jars with holes punched in the lids. The tops are painted with enamel and the jars are wrapped with fabric and ribbon accent, sealed, again, with mod podge.

Salt and Pepper Shakers by Amber : Empty glass spice jars with holes punched in the lids. The tops are painted with enamel and the jars are wrapped with fabric and a ribbon accent, sealed, again, with mod podge.

Abstract Wall Art by Lori : Modern art using Sharpie pens and cutouts from transparent file folders

Abstract Wall Art by Lori : Modern art using Sharpie pens and cutouts from transparent file folders

Decorative Terrarium by Colleen : It's amazing what you can do with some fake plants , ribbon, and raffia.

Decorative Terrarium by Colleen : It’s amazing what you can do with an olive jar, some fake plants , ribbon, and raffia.

Decorative Terrarium by Michelle : All you need is an empty salsa jar, some fabric flowers on stems, ribbon to wrap around the lid base, and a little bit of creativity.

Decorative Terrarium by Michelle : All you need is an empty salsa jar, some fabric flowers on stems, ribbon to wrap around the lid base, and a little bit of creativity.

Standard
Interior Design

Art and Furniture … It’s That Time of Year Again!

Since I first learned about the opportunity back in 2012, I’ve looked forward to participating in the Midland Area Homes furniture art auction every year. The organization assists in finding safe and affordable housing for low-income families, or those currently at-risk for homelessness or already homeless. I am not the richest person in the world, and I know many people who think if they don’t have dollar bills bulging out of their pockets like Mr. Monopoly, they can’t do anything to help. Anyone can give, because there are more things to donate besides just money. For me, it happens to be time (which I happen to also greatly enjoy spending – bonus!) and some of the extra paint I have lying around from previous projects. For you, it may be something else. Yes, we all have our own problems to deal with, but if we think we have to wait around until our own life is perfect before we are willing reach out and offer help, I have a sinking suspicion that we never will.

This year I’m working on upcycling a donated sofa table that used to have that horrible, 1980s bright orange oak stain. It is now covered in lovely gold, white, and grey retro flowers and since I can’t keep it, I am most definitely planning to smooth talk my boyfriend into letting me refinish his/our? coffee table like this. I really don’t have a definitively “feminine” decor style AT ALL, yet he is still always accusing me of trying to make his stuff *foofy*. I am literally staring at a t-rex skeleton home decor accessory as I type this right now. I am so not foofy.

I adore any opportunity to combine my two deepest loves of art and interior design, and I hope you’ve enjoyed seeing my pieces over the years! Hint hint, if you are desiring a cool design over any boring old piece of furniture you own that’s seen better days, I’m your girl.

2012 Wizard of Oz children's picnic table

2012 Wizard of Oz children’s picnic table

2013 Whimsical Under The Sea  Adirondack chair

2013 Whimsical Under The Sea Adirondack chair

2014 outdoor coffee table accented in graphic diamonds and cameo decoration

2014 outdoor coffee table accented in graphic diamonds and cameo decoration

Upcycled sofa table for this year in golds and greys and retro-fantastic flowers!

Upcycled sofa table for this year in golds and greys and retro-fantastic flowers!

Standard