
My spirituality and faith resonate with me the most when I think of God as an artist. I don’t feel closest to God in the practices of church, though I do pop in occasionally for the community aspect. I’ve never been much of one for traditions, or groups, or organized religion in general even growing up raised as a Christian in childhood/teenhood. I hated the forced socializing of youth group after already draining my battery at school all day. As someone with about a two-note singing range, and who is also picky about the style of music I like, I never understood why singing was the only way I was able to celebrate faith. Can’t I stand in the back and draw or paint??? No, it is when I am outside alone in nature, taking in all the details of the sky, the tiny veins on a leaf, the beauty and intricacy of moss and mold, the teensy tiny legs of scuttling insects, the many colors (in Michigan, mostly many shades of black, yellow and brown but still!) of a bird feather, that I feel my faith bloom.
No matter what your beliefs are, we can all agree that we are blessed to be surrounded by so much vibrant beauty in our natural world. The plants and living creatures we share our lives with are so detailed and unique in color, pattern, and personality – the most amazing works of art! Our surroundings could have been all gray, streamlined, and plain and still function – but instead, we have been given the greatest gift. We are lucky to be surrounded by such diversity. Meditating on this thought helps me remember gratitude, and feel a connection to the world around me and my place in it.

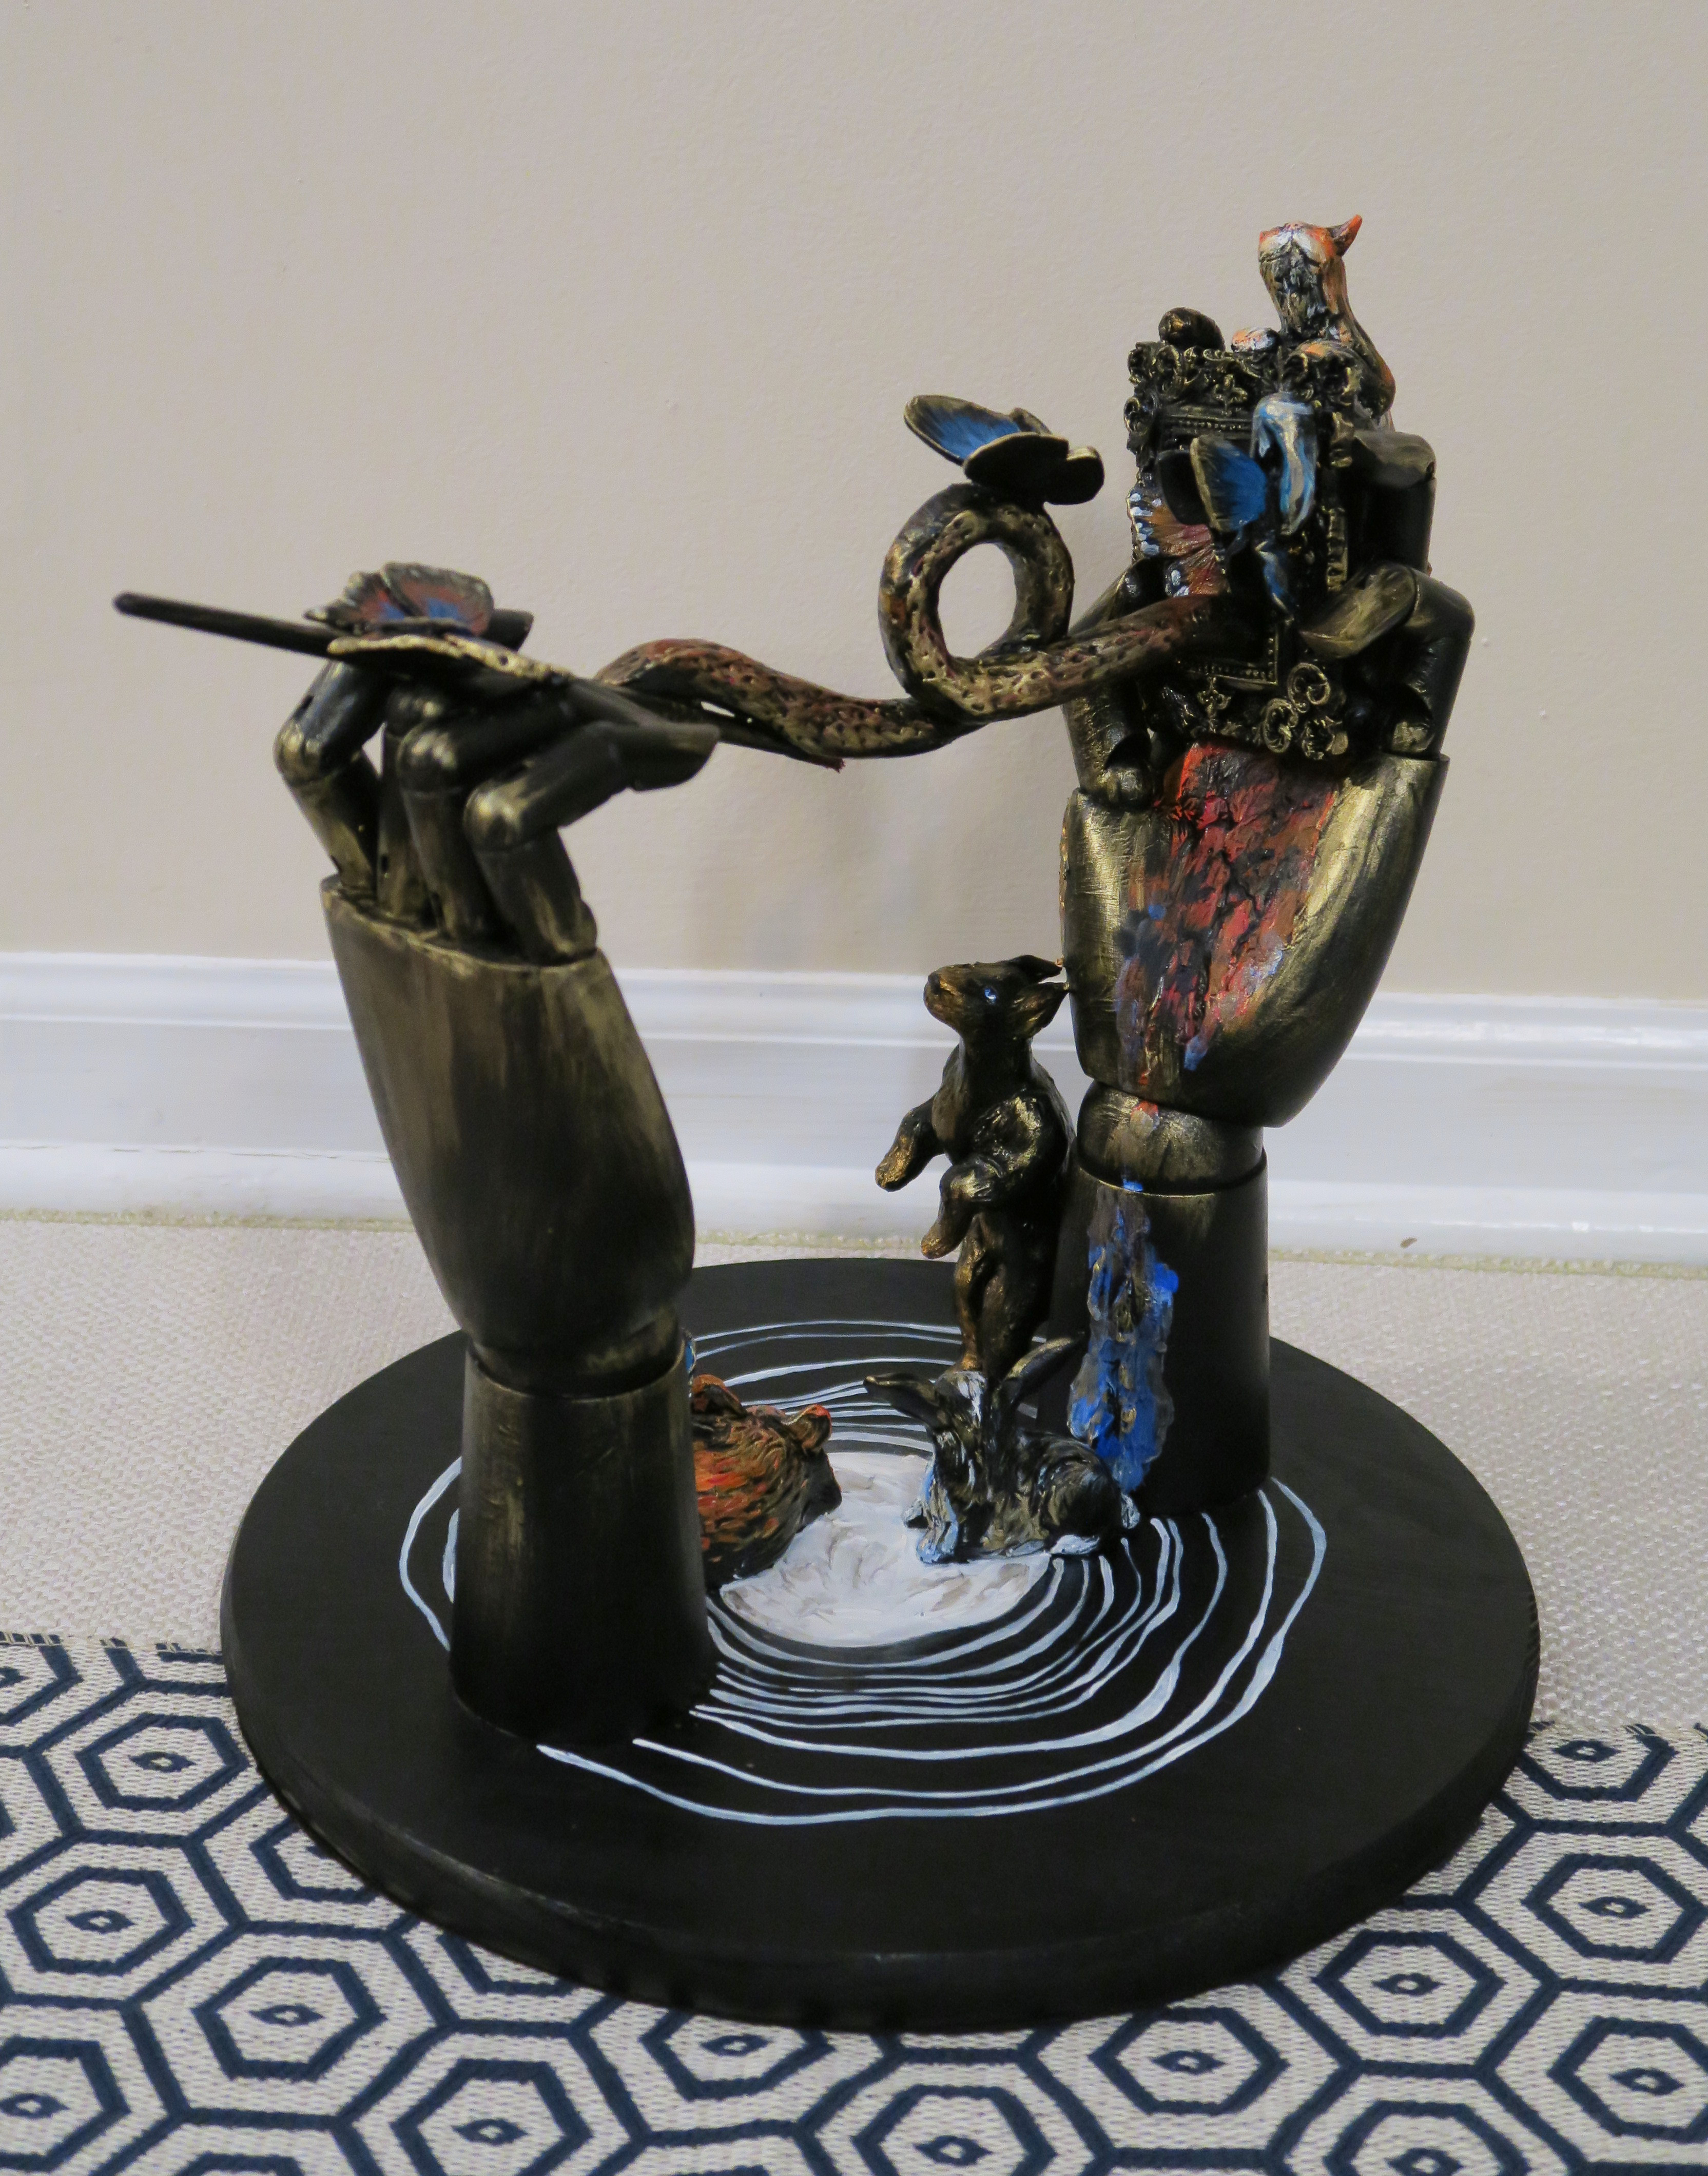


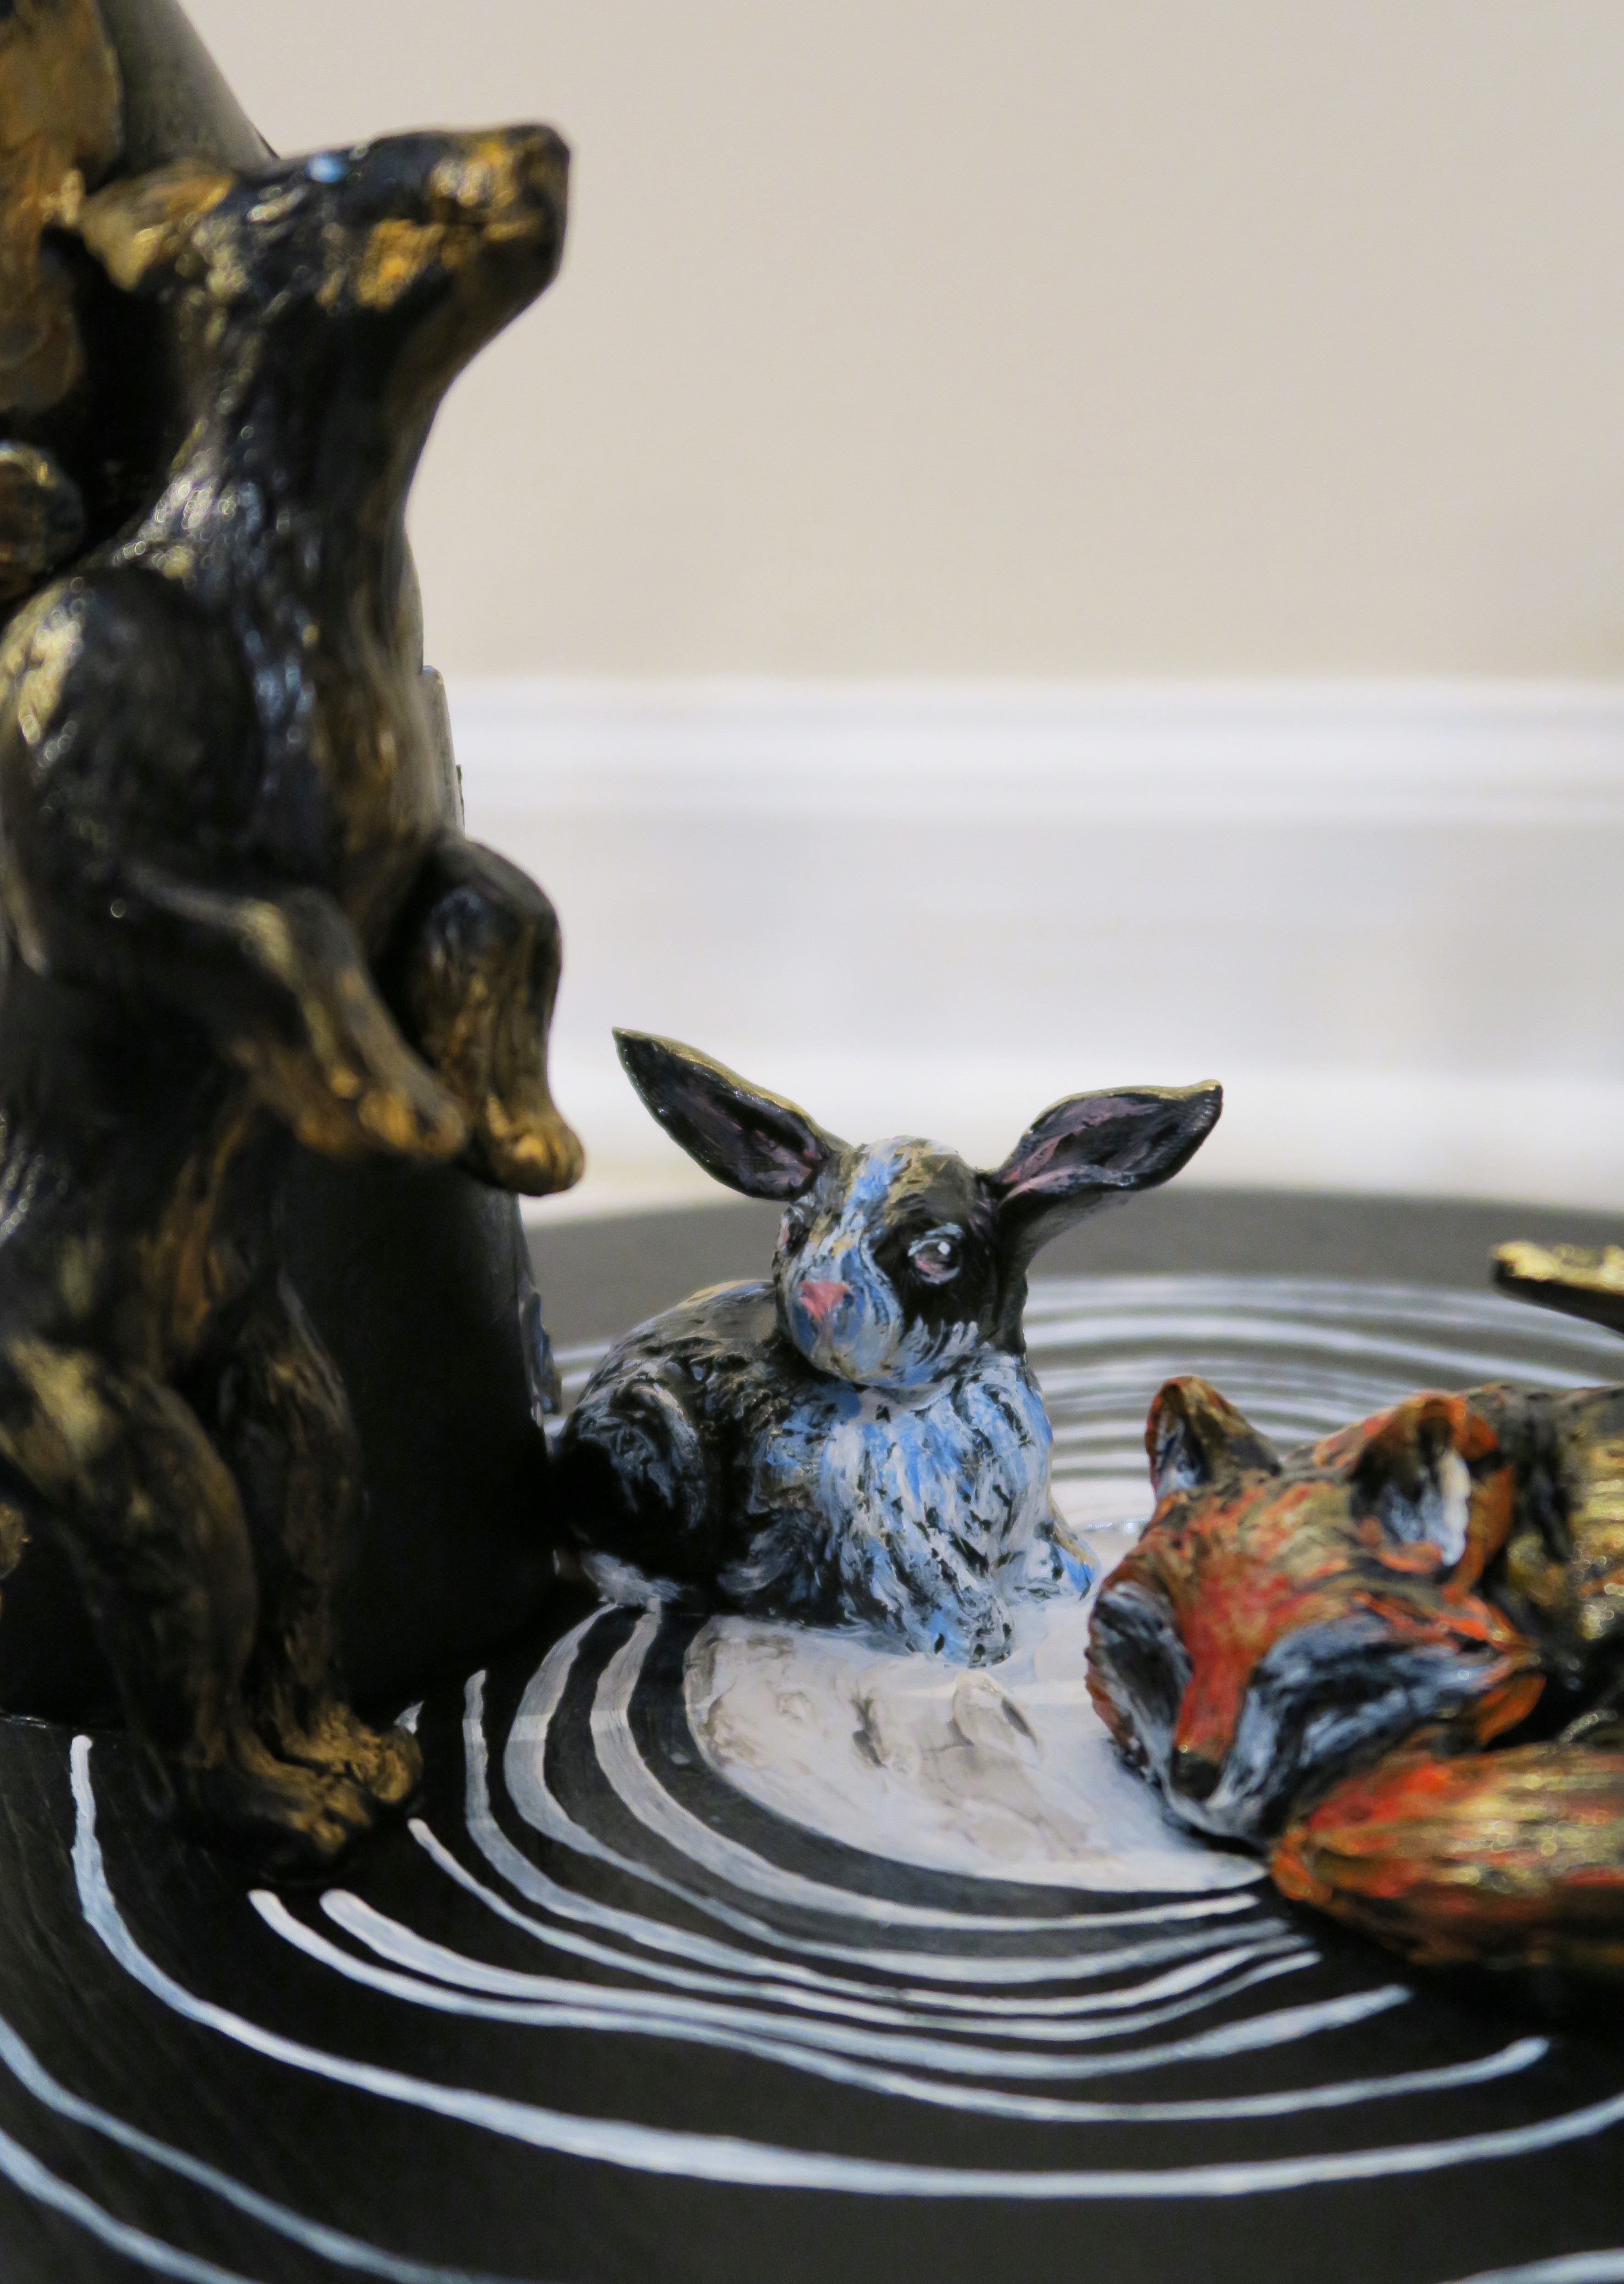

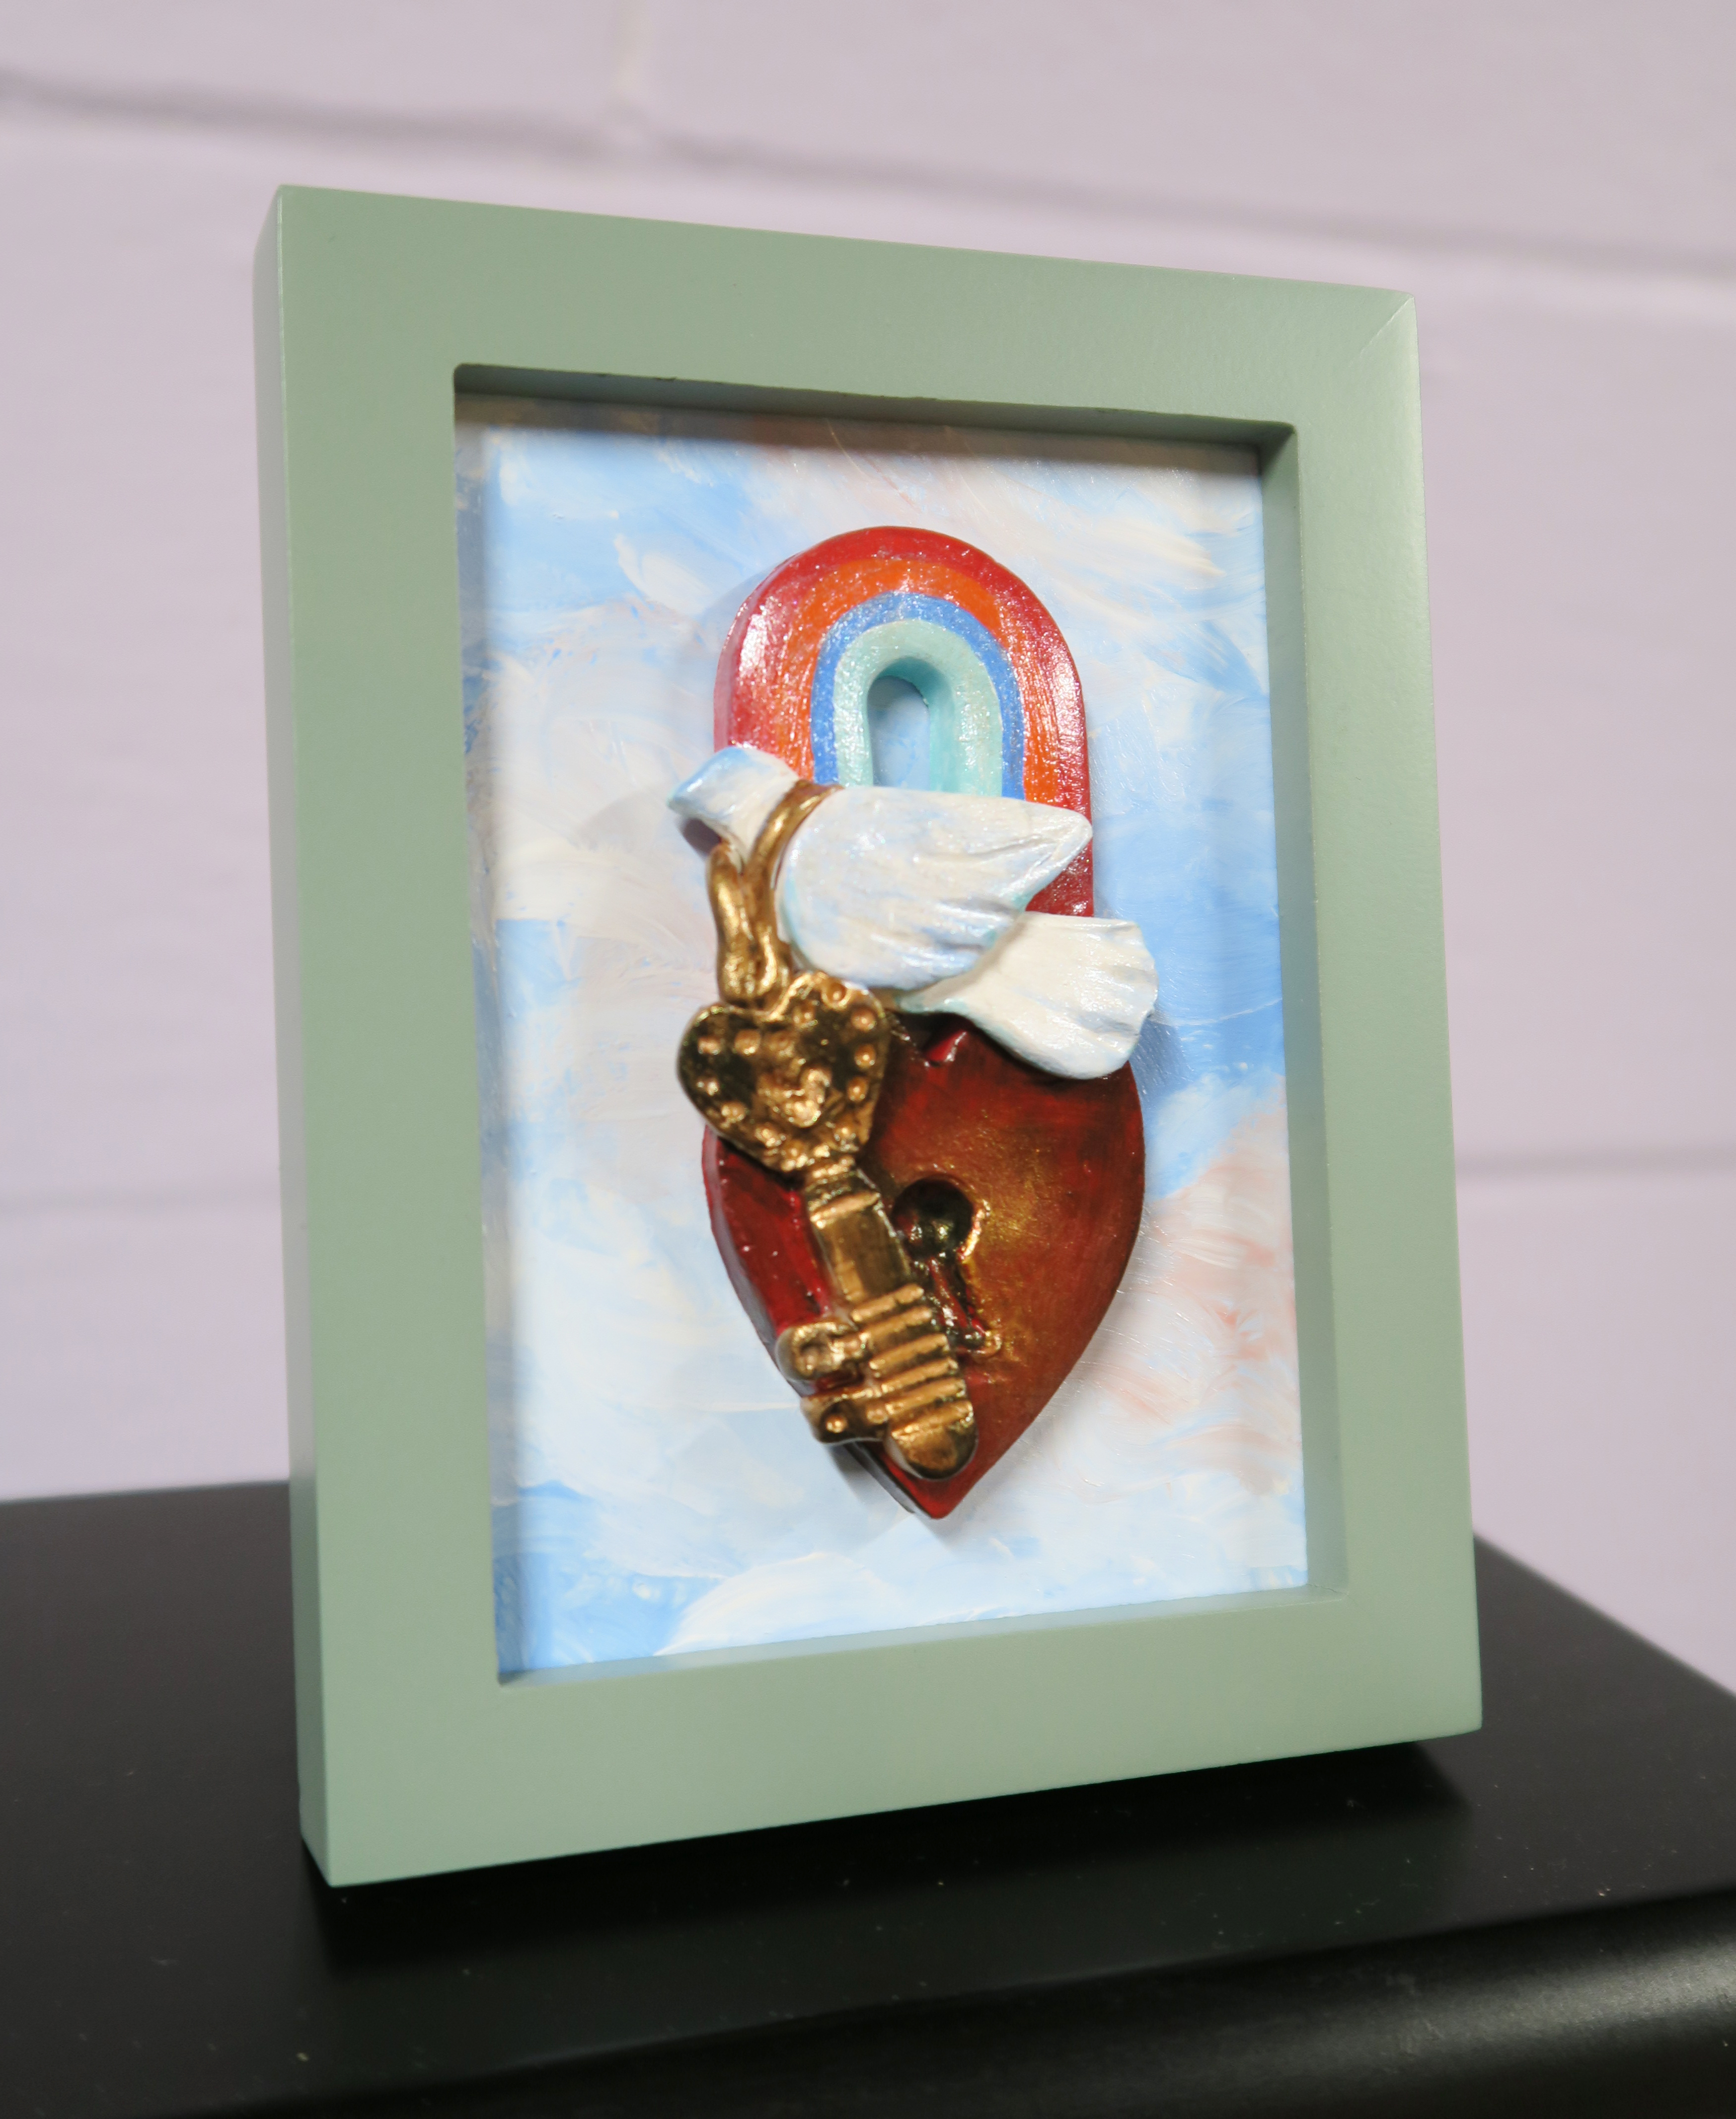
I am primarily a 2D artist, but was opened up to the possibilities of clay hand building when I took a beginner class with Artshop, the inclusive program I am the lead instructor for. I later ended up as a long term sub now and again for this very same class. Though I never made anything notable out of traditional kiln fired clay, I discovered I could do the mini, picky little detailed things I wanted to with polymer clay, and even better for me I wouldn’t need the use of a kiln. Part clay, part assemblage, I sculpted all of the animals, and combined them with wooden drawing model hands, a sacrificed paint brush of mine that was past its prime, and a miniature picture frame left over from the tiny reliefs I first started creating when getting into polymer clay (The first on the left is still available in my shop, so take a look!).


3D art was always such a struggle for me in class throughout grade school and college, so I never dreamed my first real attempt as an official artist would be accepted into a juried show! My mind is turning over all the possibilities for the future, and I am excited to continue lifelong learning in arts.
Last year’s entry for the Animals In Art juried show was the largest painting I’ve ever completed … This annual January show seems to be one for firsts!


 Once everyone had their flat circle, we placed our chosen glass containers open side down and centered the circle of clay on the base of the container. We then gently guided the sides of the circle down to form a bowl shape, being careful not to press the clay down too tight (This makes it easier to remove later!), and not to press hard enough to leave fingerprints.

")
