The first day of Spring is here (Well, I live in Michigan so it sure doesn’t feel like it yet, but at least there are blue skies and lots of SUN!). For those like me who may in fact be some sort of human/plant hybrid as we absolutely wilt in the cold and require a certain amount of sun each day to function happily and properly, this is fantastic news. I must say, I didn’t get the winter doldrums this year like I usually do, and I think being busy creating has a lot to do with that :).
Along with the possibility of temperatures above 20 degrees (woohoo! Again – Michigan), spring also brings us into the holiday times again after that lull that falls following the nonstop celebration over the 3 months from Halloween through Christmas. I am a big holiday person, mainly because my family has always kept up special traditions for all the major through minor holidays, and I look forward to any reason to do something out of the ordinary and shake up the routine of life. Any excuse to get excited and celebrate something? I’m all over it.
Along with my birthday in 10 days, Easter and Mother’s Day are coming up! I love finding people unique gifts that they aren’t going to find anywhere else, especially items with beautiful artwork that really fits the recipient’s personality. Local handmade gift shops as well as Etsy, Redbubble, 10,000 Villages, and other online shops featuring independently designed or handmade gifts are always my go-to. Back to the thing about my family really loving holidays, I still get an Easter basket. I’m turning 27 end of this month. If you too have Easter baskets to fill, I have a lot of fun, super affordable gifts that will make both younger (and maybe older) kids smile.
Small, inexpensive wallet size prints of my artwork (called ACEO for Art Cards, Editions, and Originals if you haven’t heard of them) are available on ebay in a ton of different designs and are an easy gift to stick inside a basket or card. In addition to the fun stuff I have on etsy and ebay, I also have a RedBubble shop which offers a lot more functional items and home decor featuring my designs. For kids, there are die-cut waterproof STICKERS of my art. Who doesn’t like stickers?! There is a wide range of unique gifts handy for Mother’s Day, even if all you need is a card.

Plush hair clips perfect for Easter – bunnies, strawberries, little birds, and more on etsy!
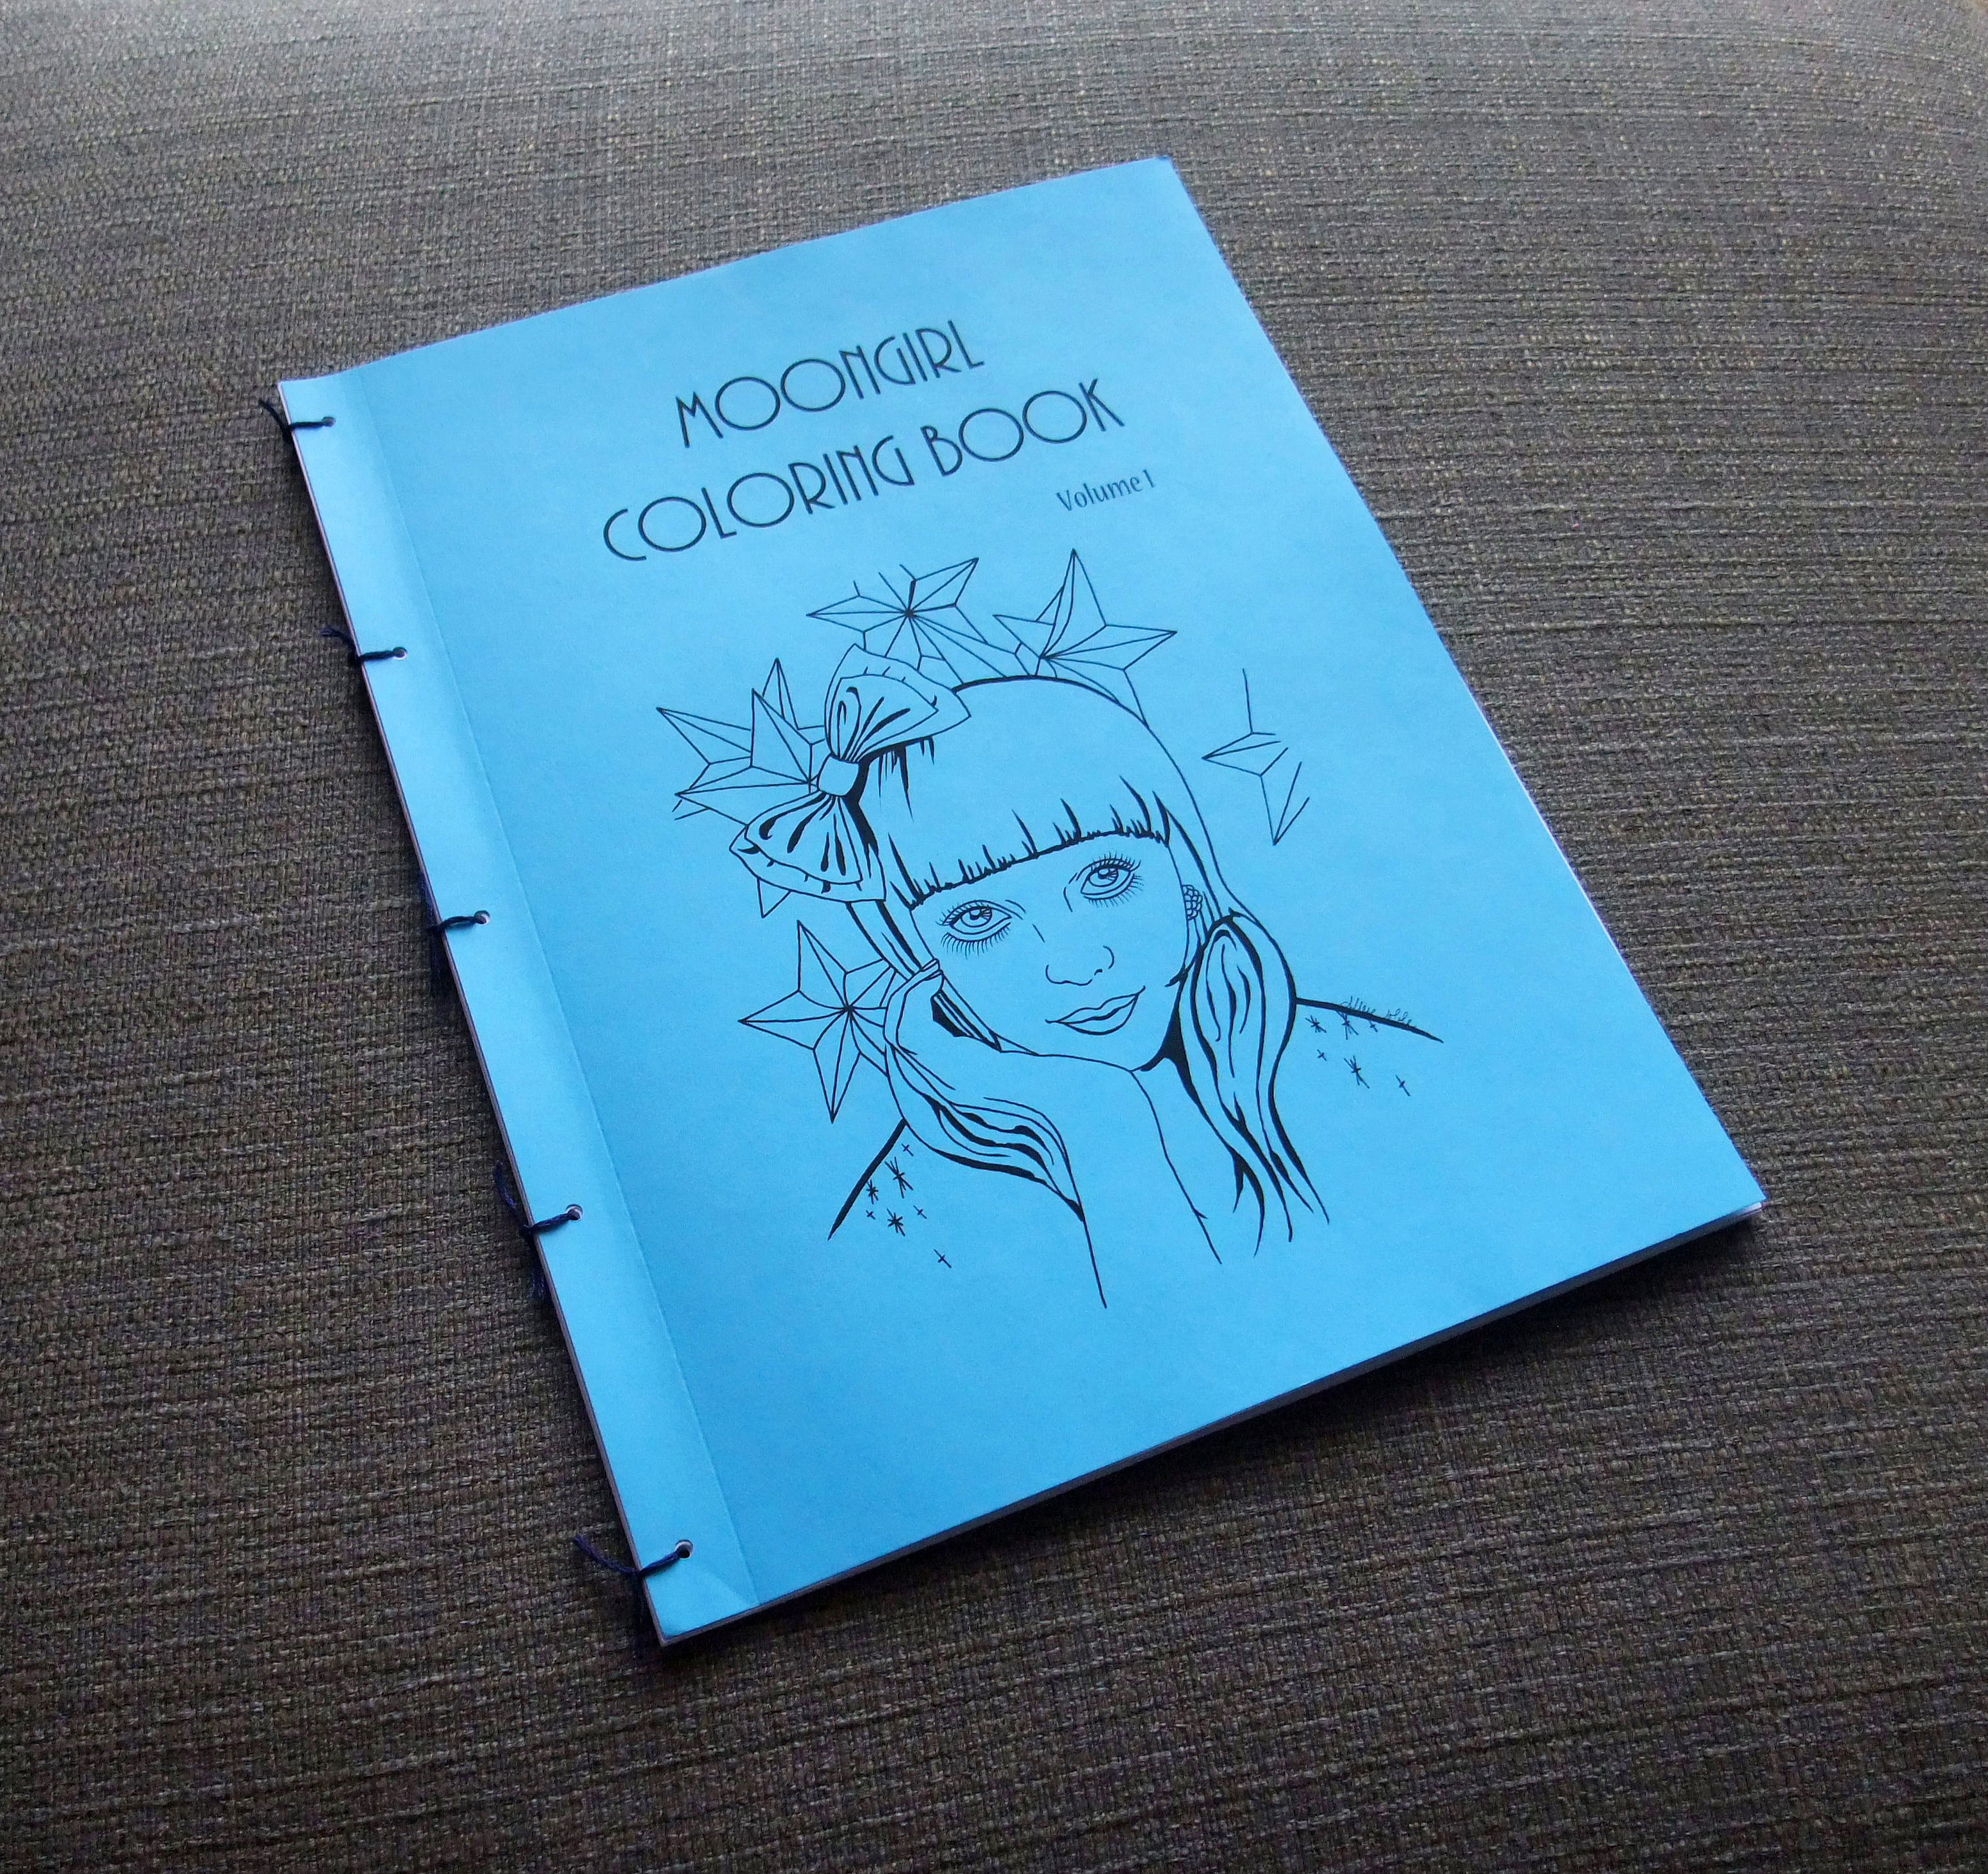
Coloring book enjoyable for kids and adults alike featuring lineart versions of my most popular illustrations! Available on ebay and etsy.

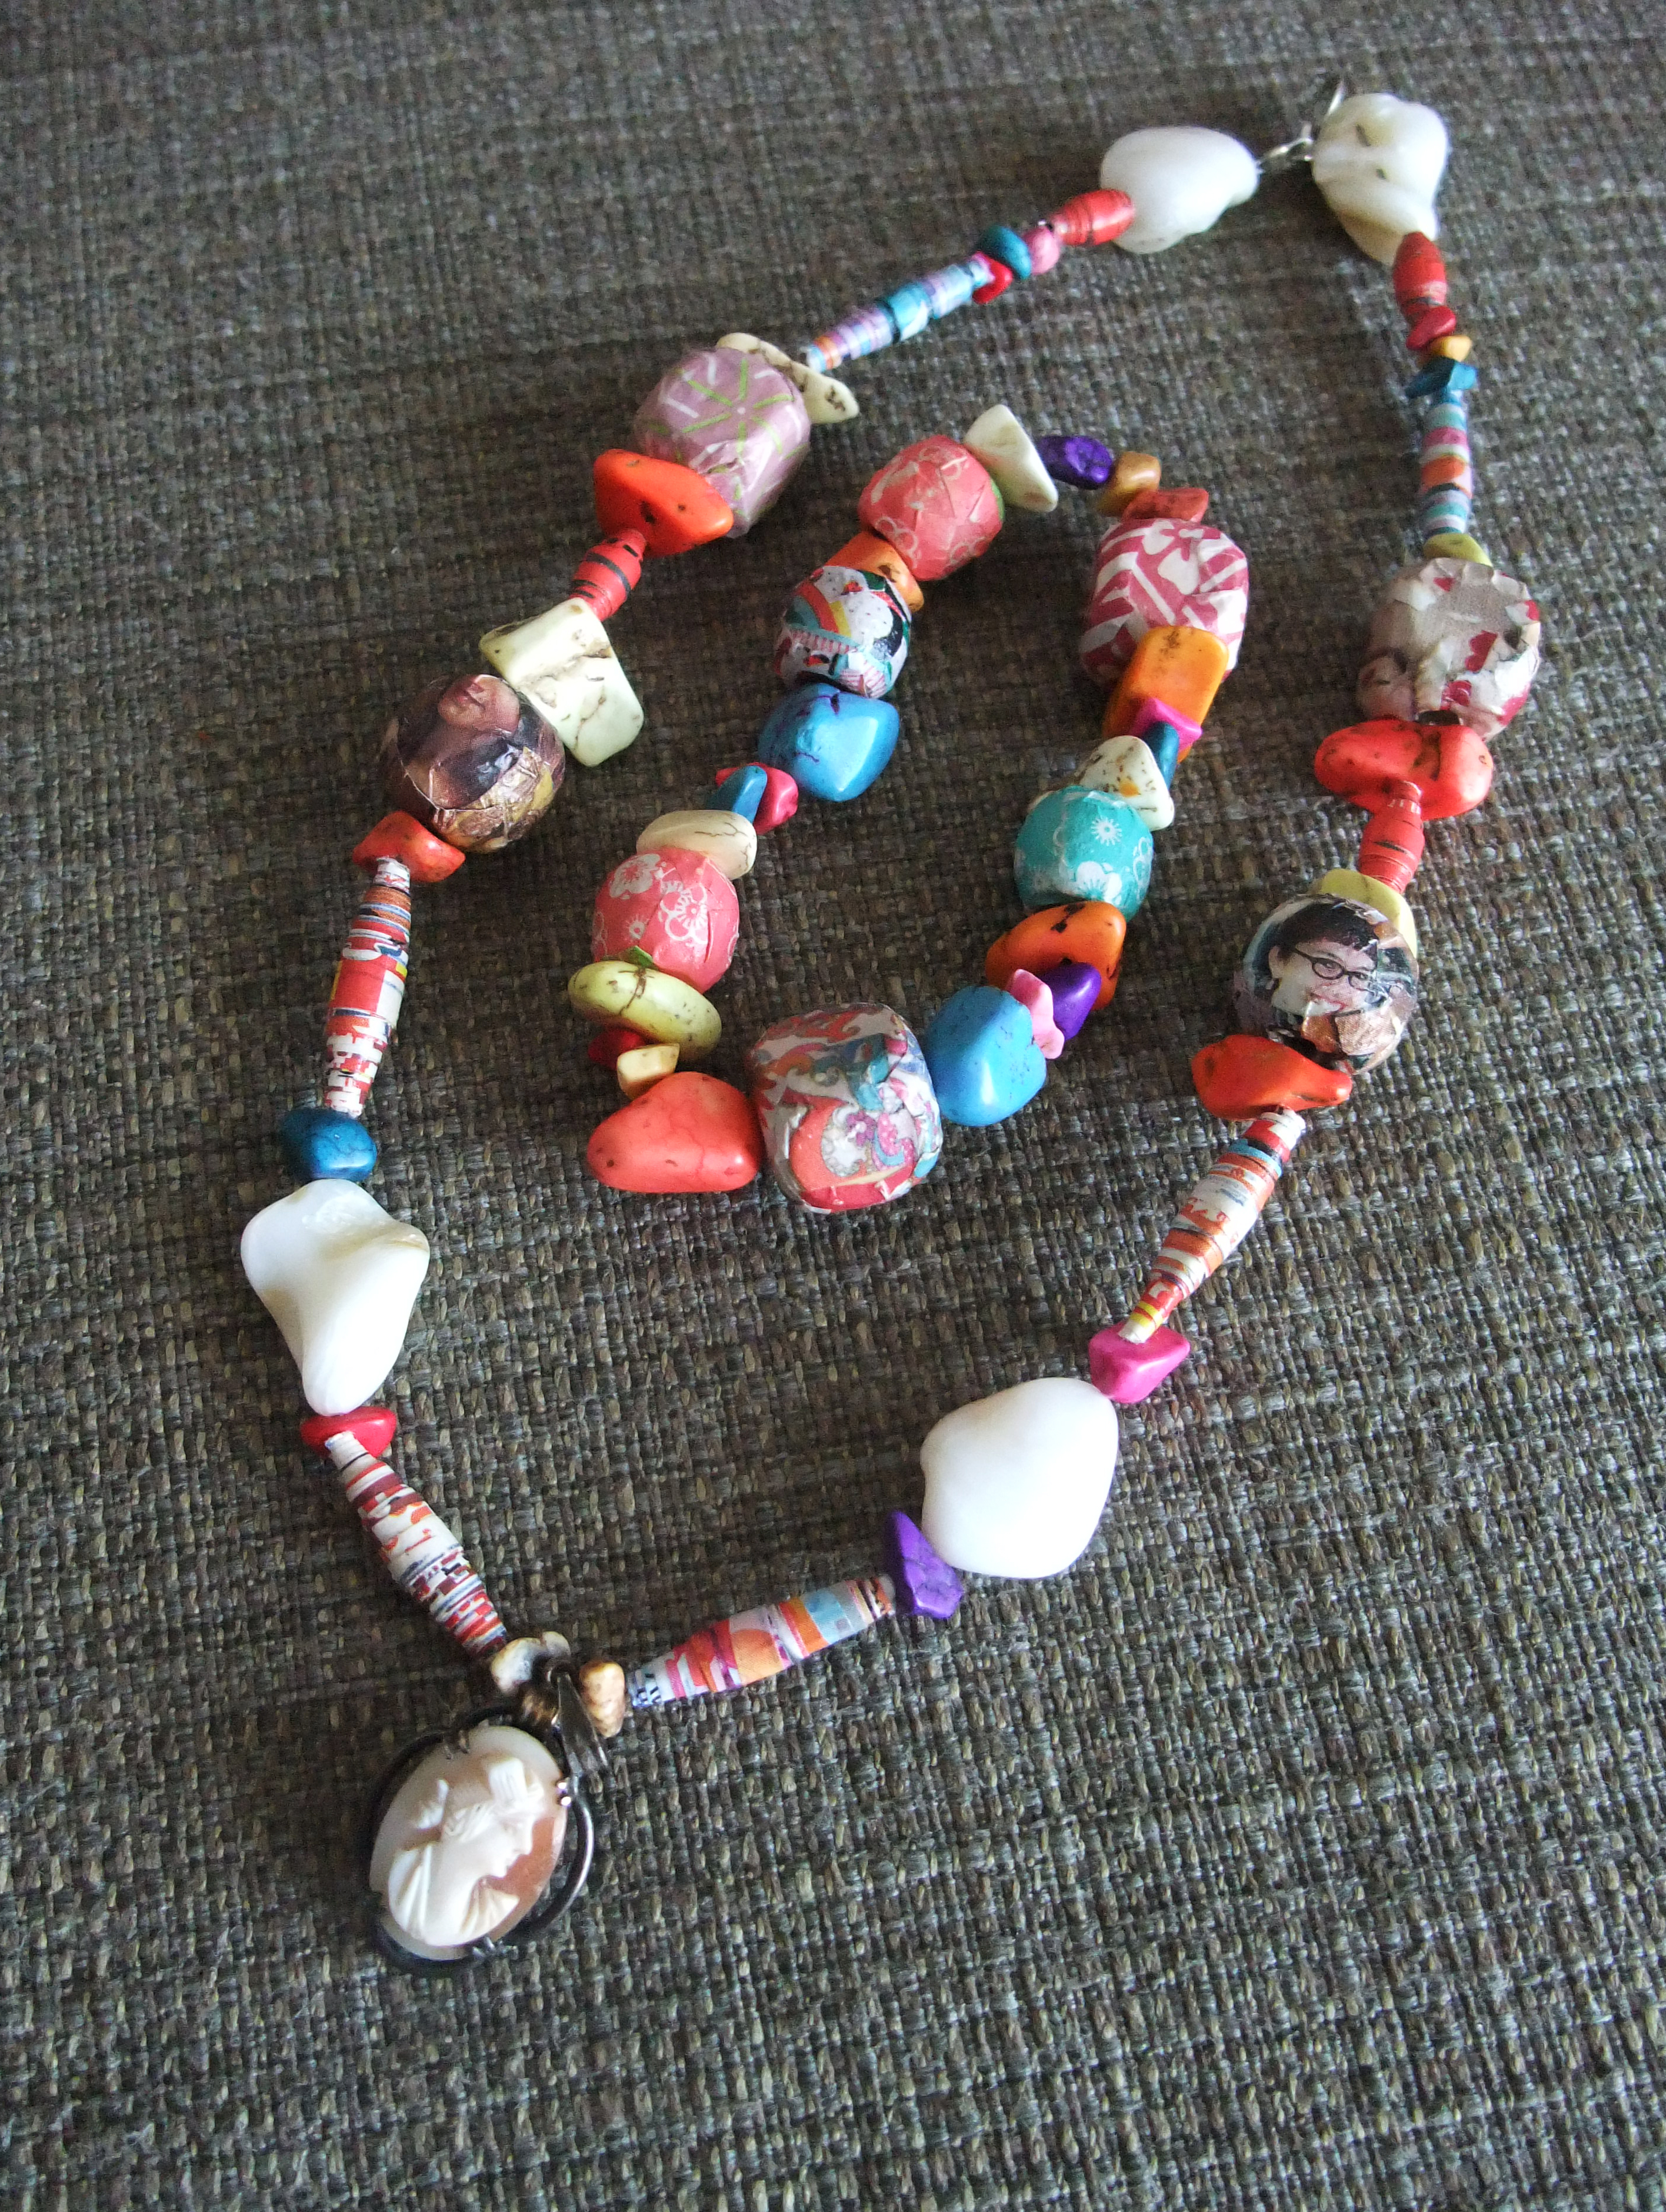
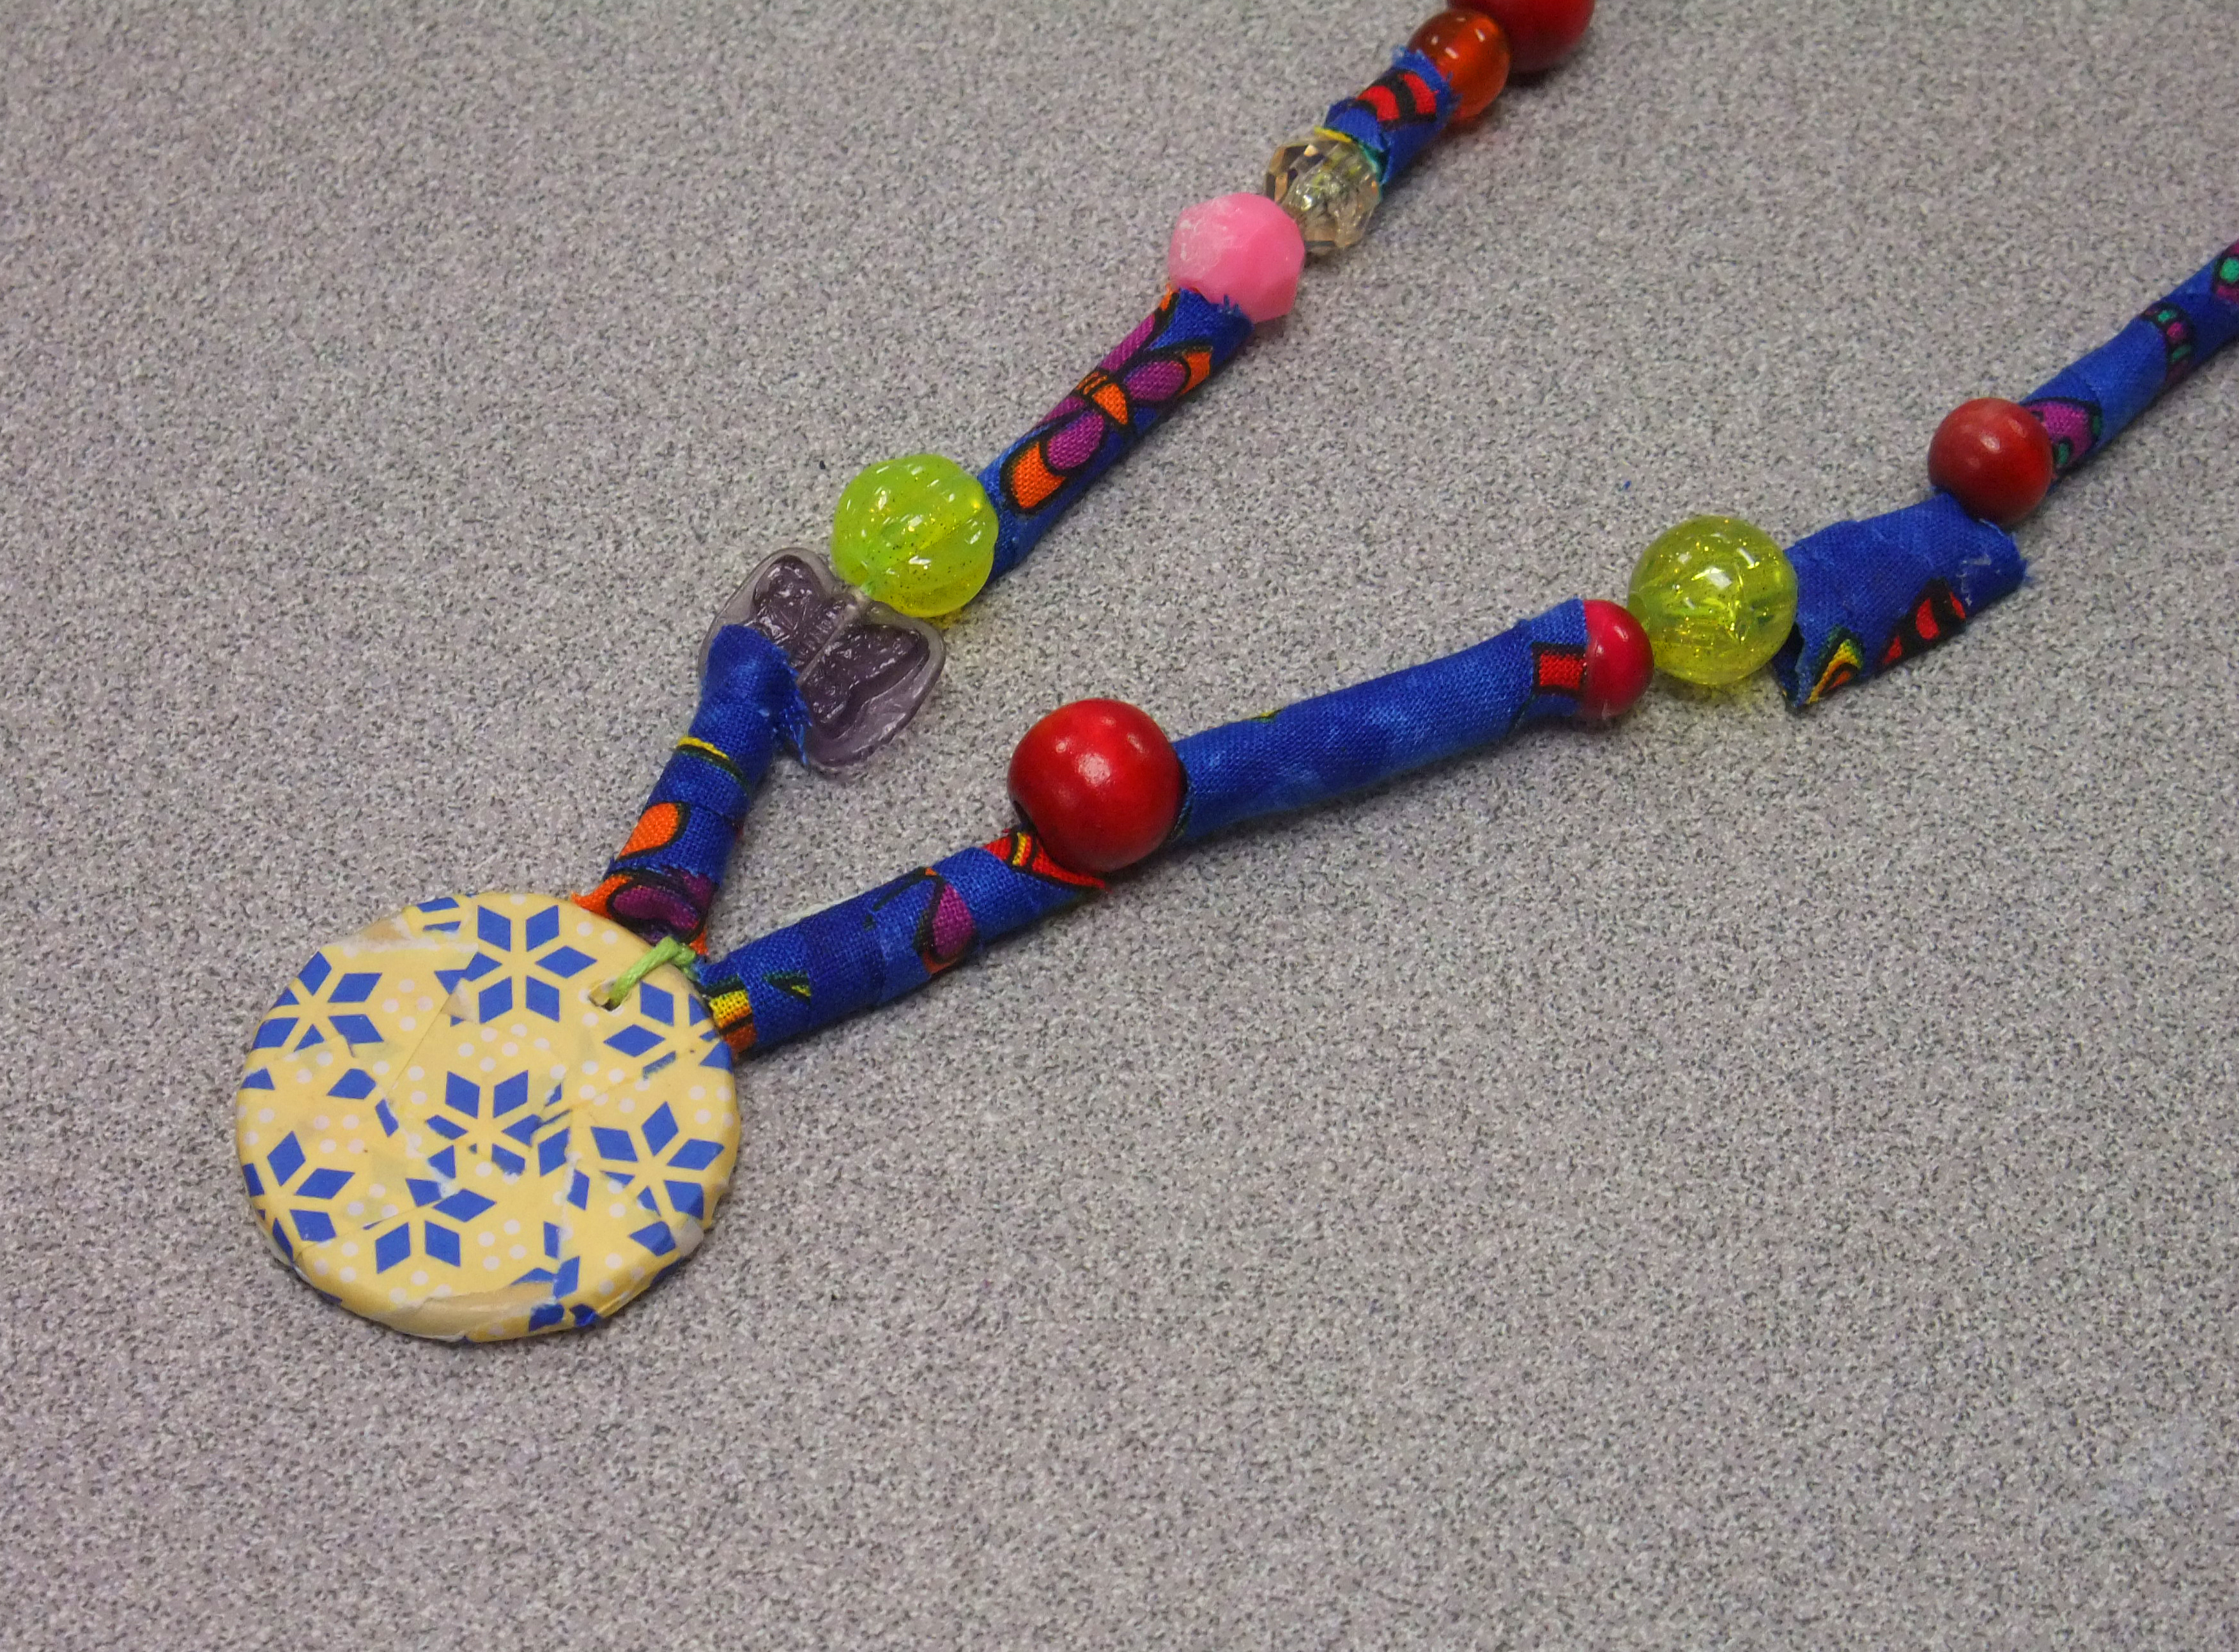
All kinds of earrings from chandelier to stud on etsy

Surround yourself with art, and turn someone else’s world into a more interesting, inspiring place :).
This Spring, why not surround yourself with art? I promise it will help to melt away that dull, uninspired winter fog. As for me, I am going to continue being my own little self-sustaining factory and will be cranking out more designs daily so be on the lookout! So long for today, going on a nice long walk while the sun lasts :).