So, this update is going to be a bit all over the place. First off, I will be participating in Do-All of Bay City‘s Art Clash for the third year in a row with a new(ish) friend I met through teaching at Creative 360. Heather is a wonderful artist and keeps an art blog as well, so be sure to check her out! We had such a great time last year. It’s crazy for me to create a piece of art from scratch completely live, since I usually don’t even share idea sketches with anyone but (occasionally) my parents and boyfriend, and in progress works in my studio area are hidden when people come over to my apartment. An example, back in college I spied a friend that was over flipping through my sketchbook (Without even asking! The audacity! – other artists, you know what I’m talking about!) on the other side of the room and I took a running start and tackled him WWE style to get it back ASAP. A fun fact about me; I basically dislike all sports, but I flat out hate wrestling, and honestly find any activity whose basis centers around causing bodily harm to another human being to be fundamentally disturbing. Despite this, apparently in the right circumstances…
The vulnerability of allowing others to see your “in progress” work all the way through, even in its awkward phases, coupled with a pretty short time limit of only 3 hours makes this kind of event something I always swore I could never do. Then, in 2013 I forced myself to try it specifically because I swore I couldn’t do it, and now I am addicted. Art battles are everywhere, but the cool thing specifically about Do-All’s art battle is that 50% of the proceeds from finished pieces auctioned at the event go to Do-All, an organization that provides activities and services to people with disabilities – pretty cool! Many of the students from their Do-Art program also participate in the battle, so you’re immersed amongst all different types of people from all walks of life which makes it a really fun environment. Last year, my piece even made it into the top 10 award winners which was super exciting. I have an idea prepared for where I want to go with this year’s piece, but it cannot be revealed at this time :). I’ll post the finished product after tomorrow evening!

Transformation, 18×24 Mixed Media, Do-All of Bay City’s 2014 Annual Art Clash Award Winner
Next bit of news, as if I don’t have enough social media accounts … (I just finally made a twitter after discovering that there is actually a ton of interesting information and inspiration bouncing around on there, and not simply “hey guys, I just made a sandwich!” which was my initial assumption. @AlliseNoble, get at me!) I recently discovered Artistically Social, and of course since it’s completely free, I couldn’t resist creating a gallery. It’s a bit bare bones right now, but I’ll be slowly adding more prints and hopefully a lot more originals for sale as well, so please check out the gallery.
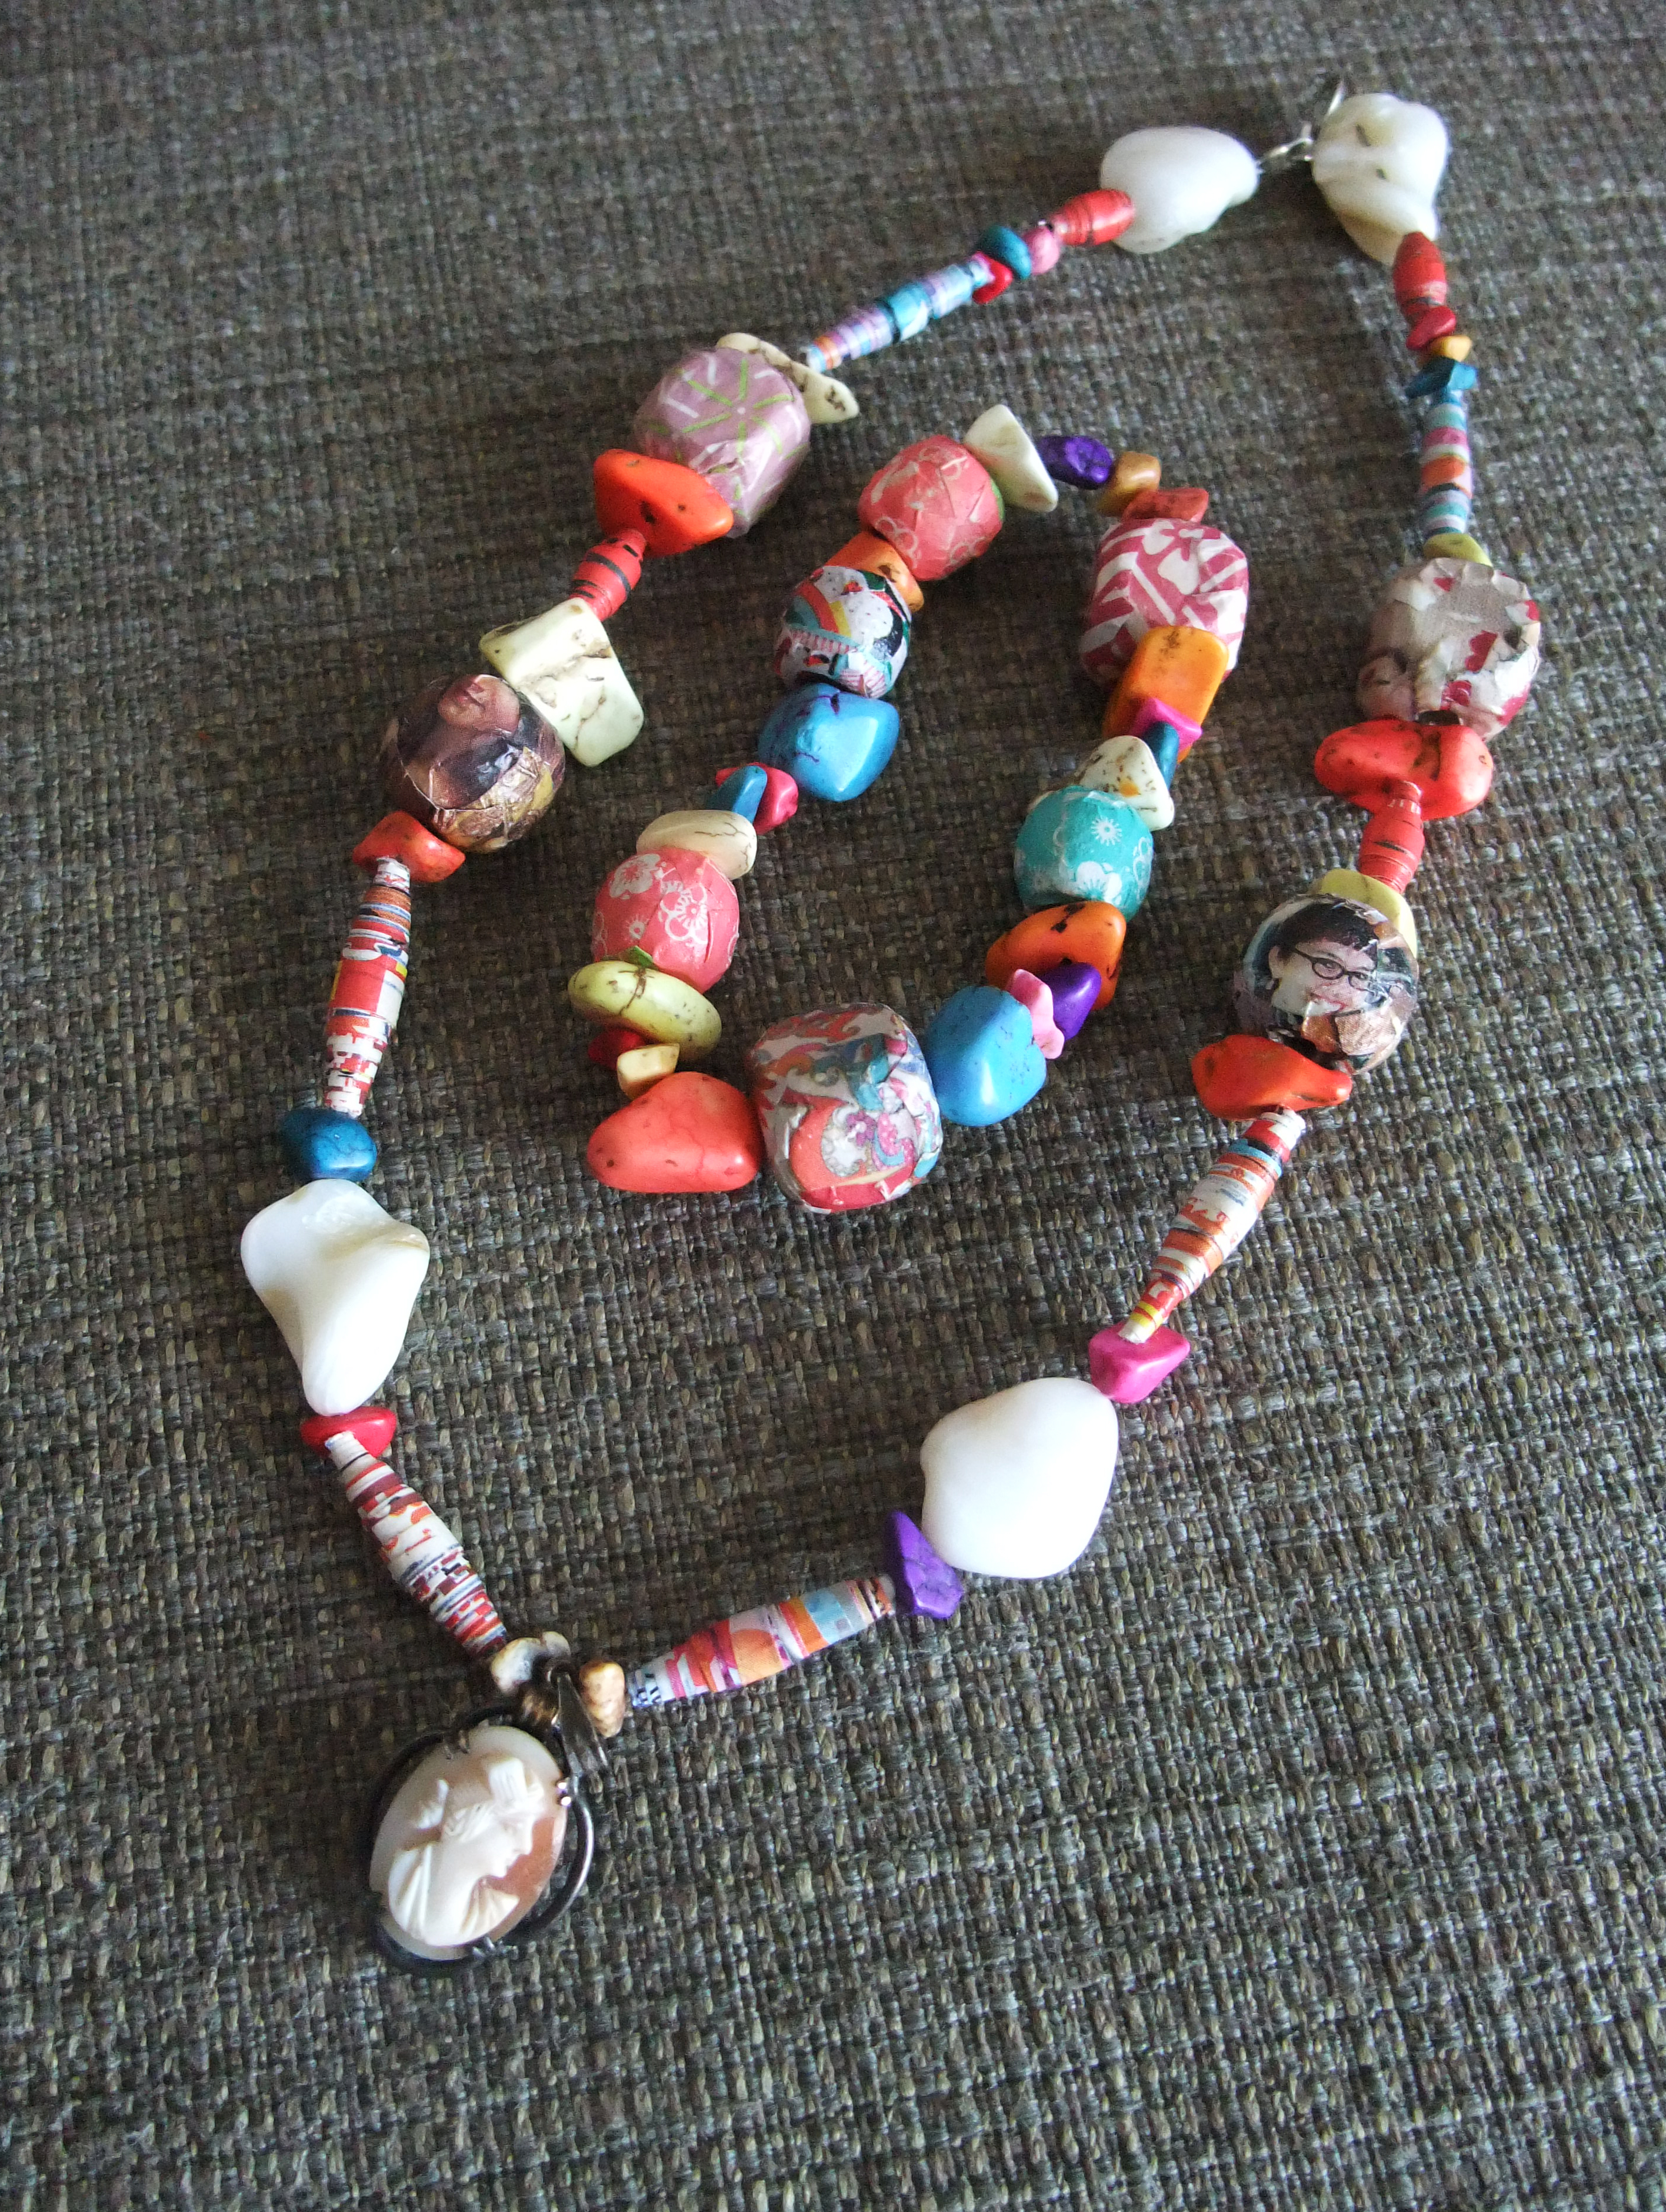
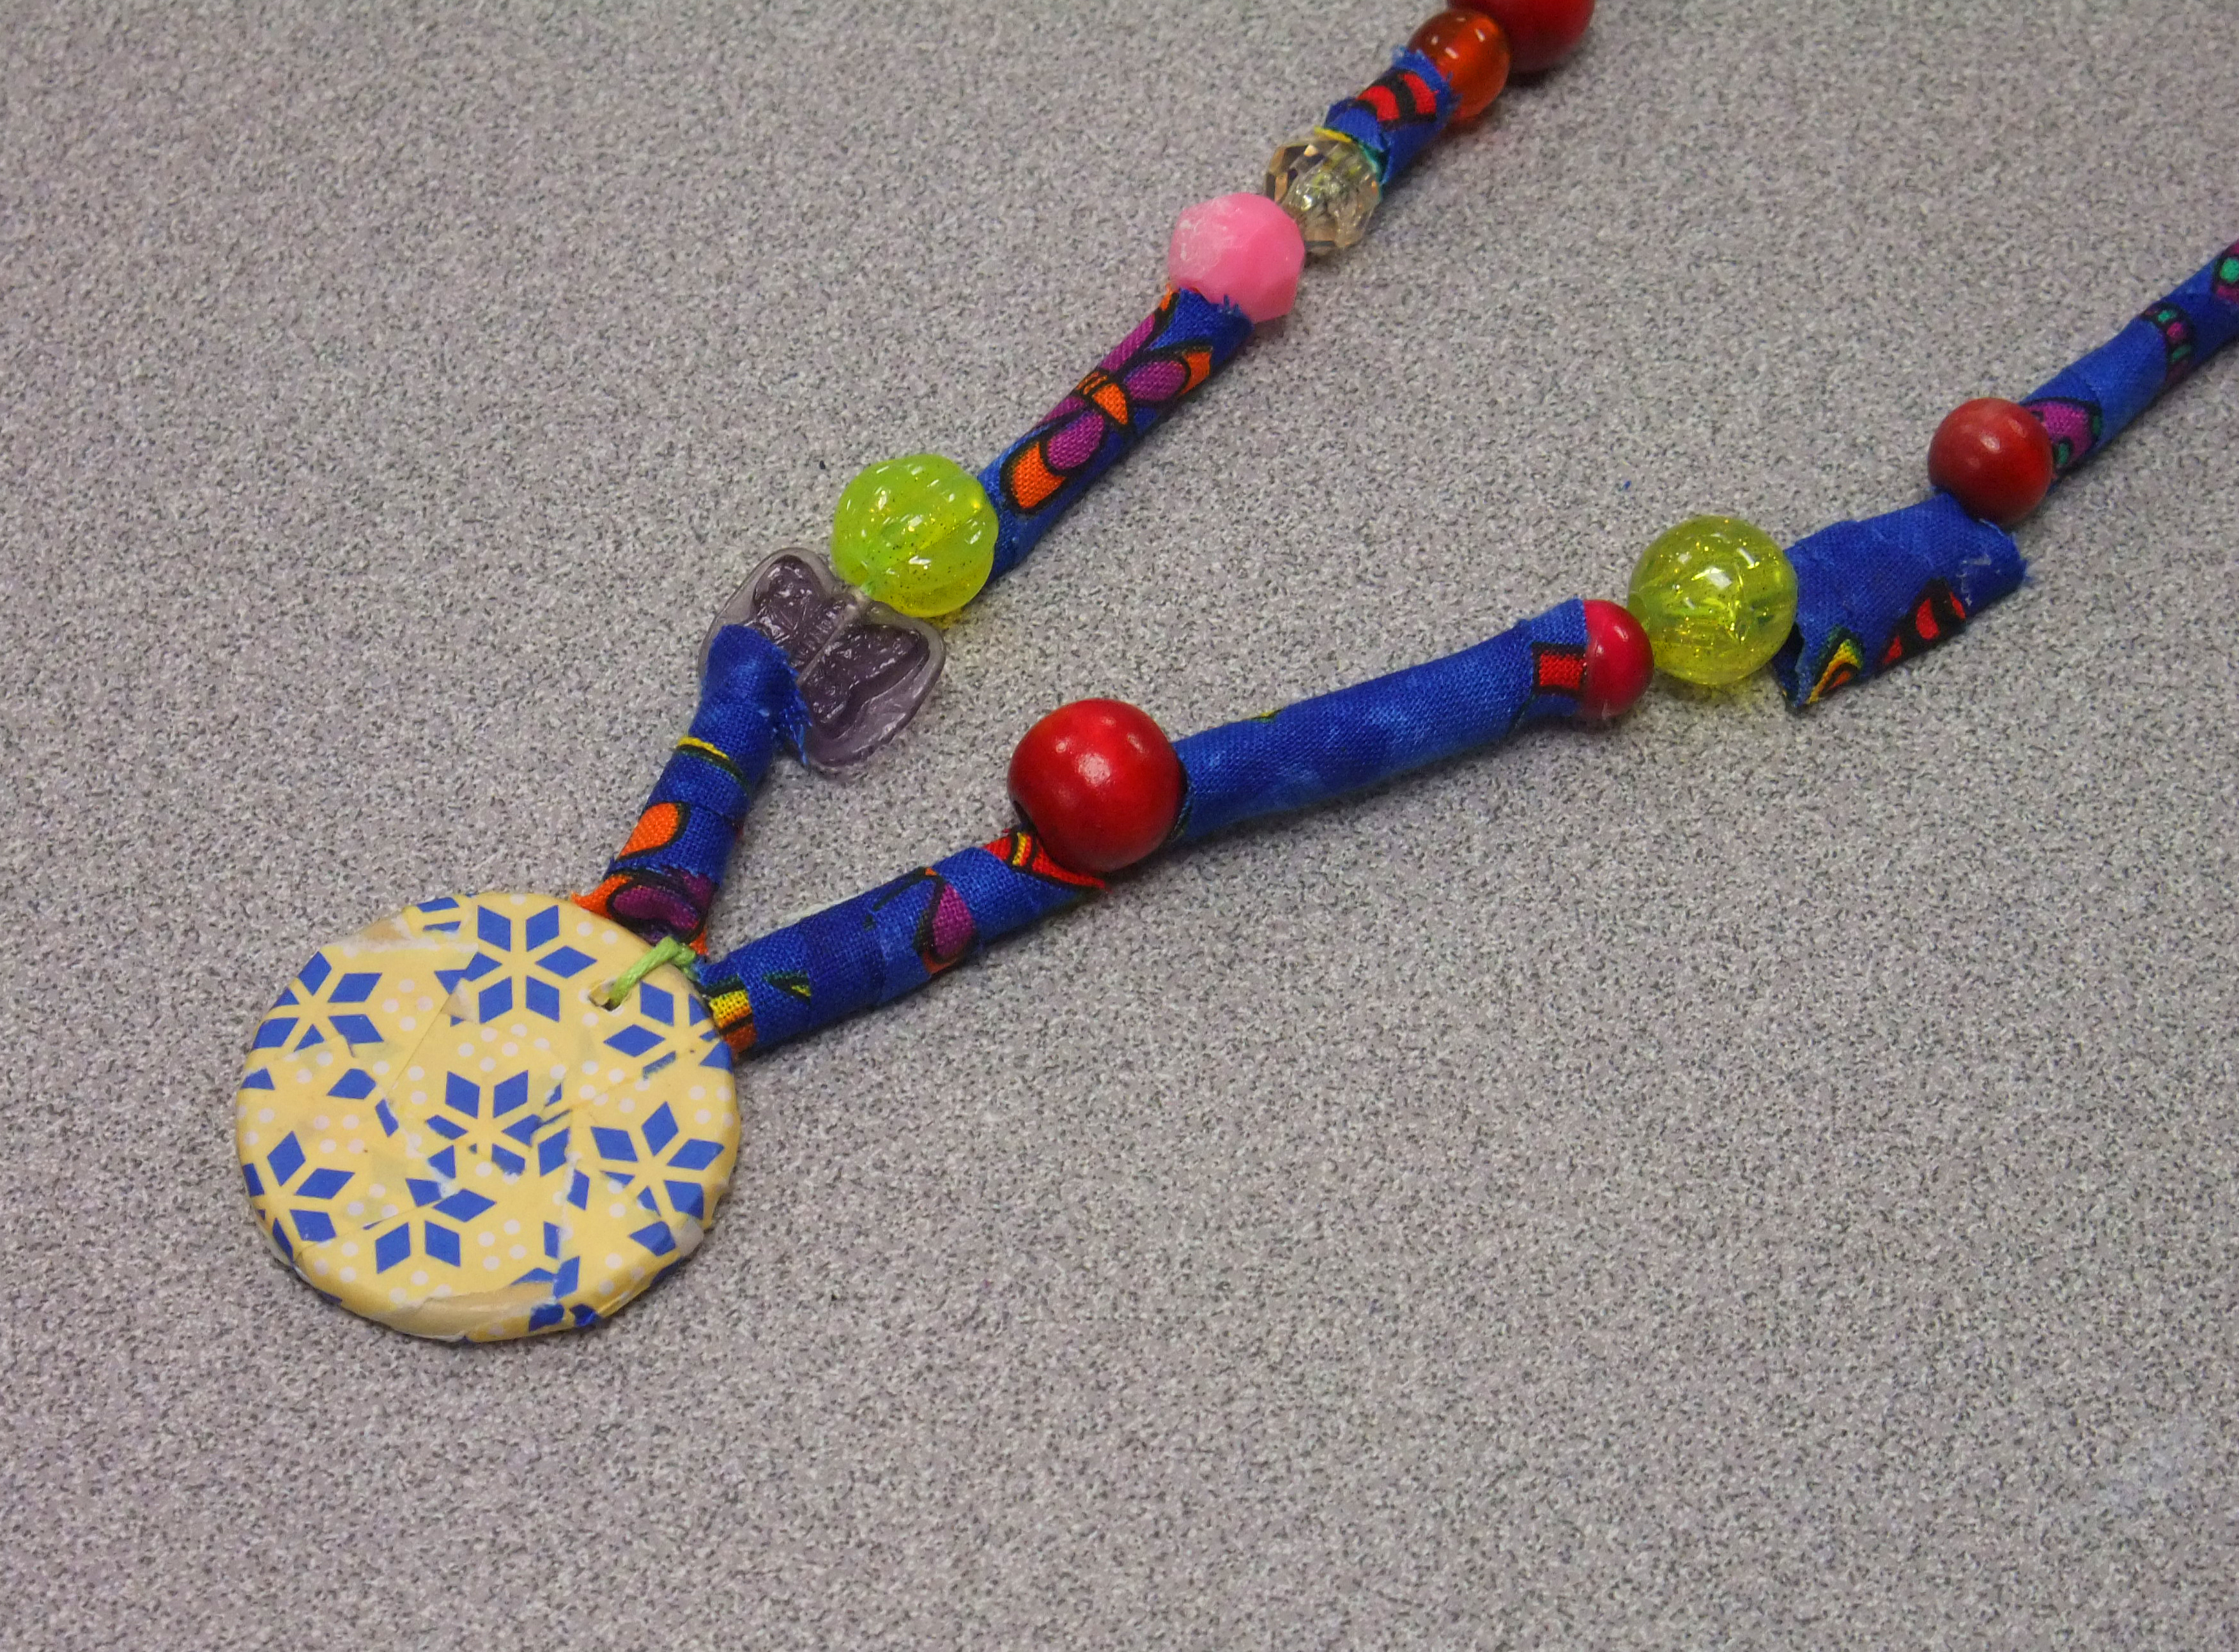
I need to finish quite a few new pieces by the end of this coming summer for some solo local exhibits around town, but I had just been feeling really burnt out lately from doing so much *serious* fine art work and longed to work on some creative pursuits that were just crafty and fun. My paper dolls and stuffed creatures for sale at Imagine That, a local handmade gift shop in Midland, also got pretty cleaned out in March so I have a legitimate excuse. I’ll post photos once I get a little further on the new paper dolls, and also introduce you to some monster friends. Another “for fun” project I’ve been working on is the amazing Artist Leesy pop vinyl! I really don’t need anymore plastic toy clutter around (if you saw my apartment, you’d understand) so I’ve restrained myself from actually buying any, but I love Funko’s Pop! Vinyl characters so, so much. After Christmas, I was at the mall perusing all the after holiday discounts and I discovered they actually had DIY blank bodies. They were on clearance, and I had a Barnes and Noble gift card – score. I did buy actual books as well, not just toys, I promise. My little mini-me muse will grace my desk from this day forth.

3 of many monster friends who have found good homes
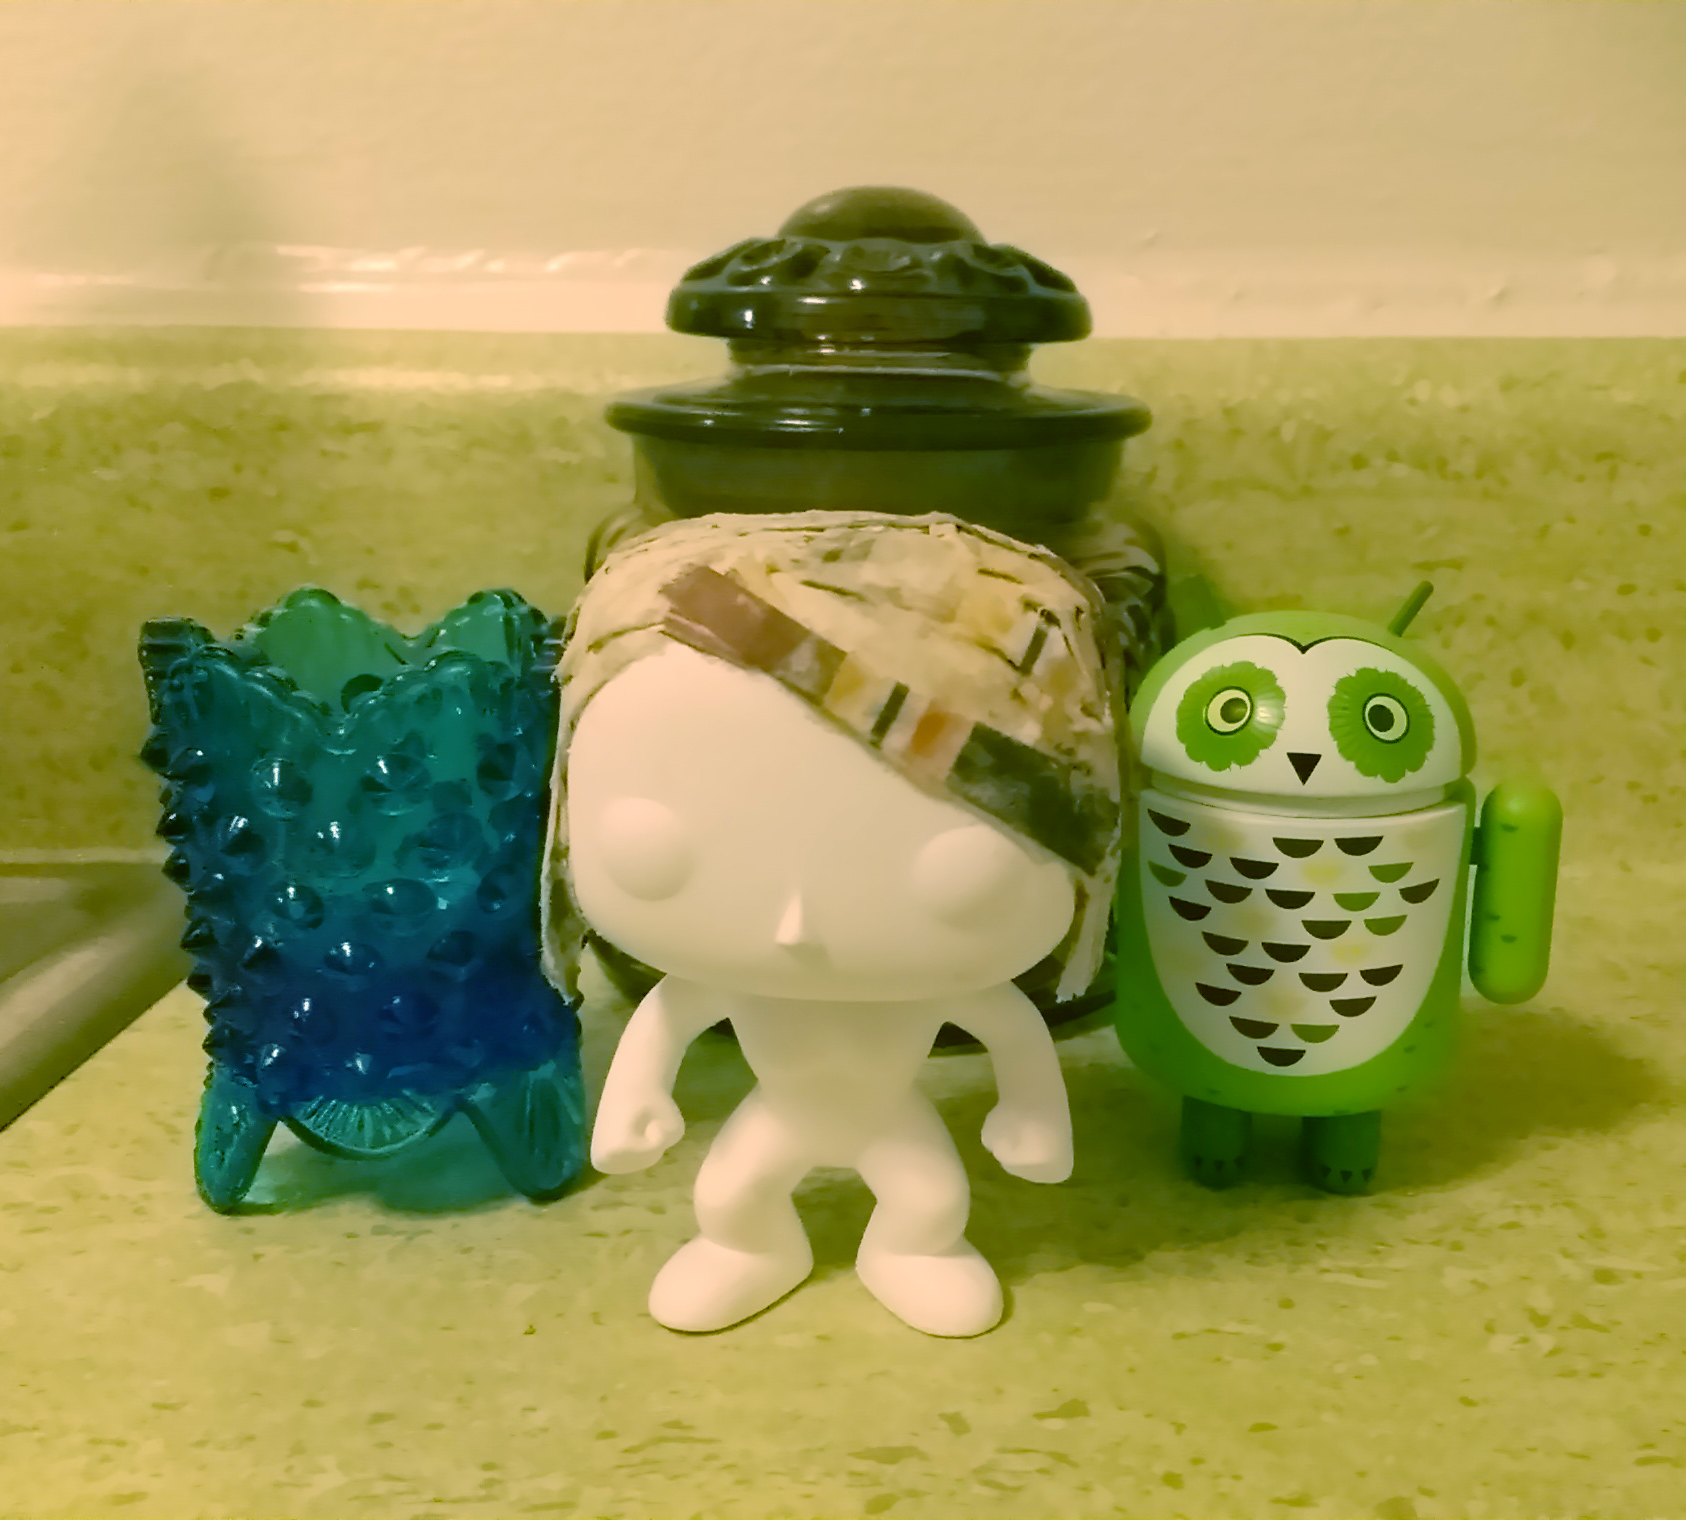
Vinyl Pop! Leesy: So far just the paper mache hair! (Yes, my kitchen is very green)
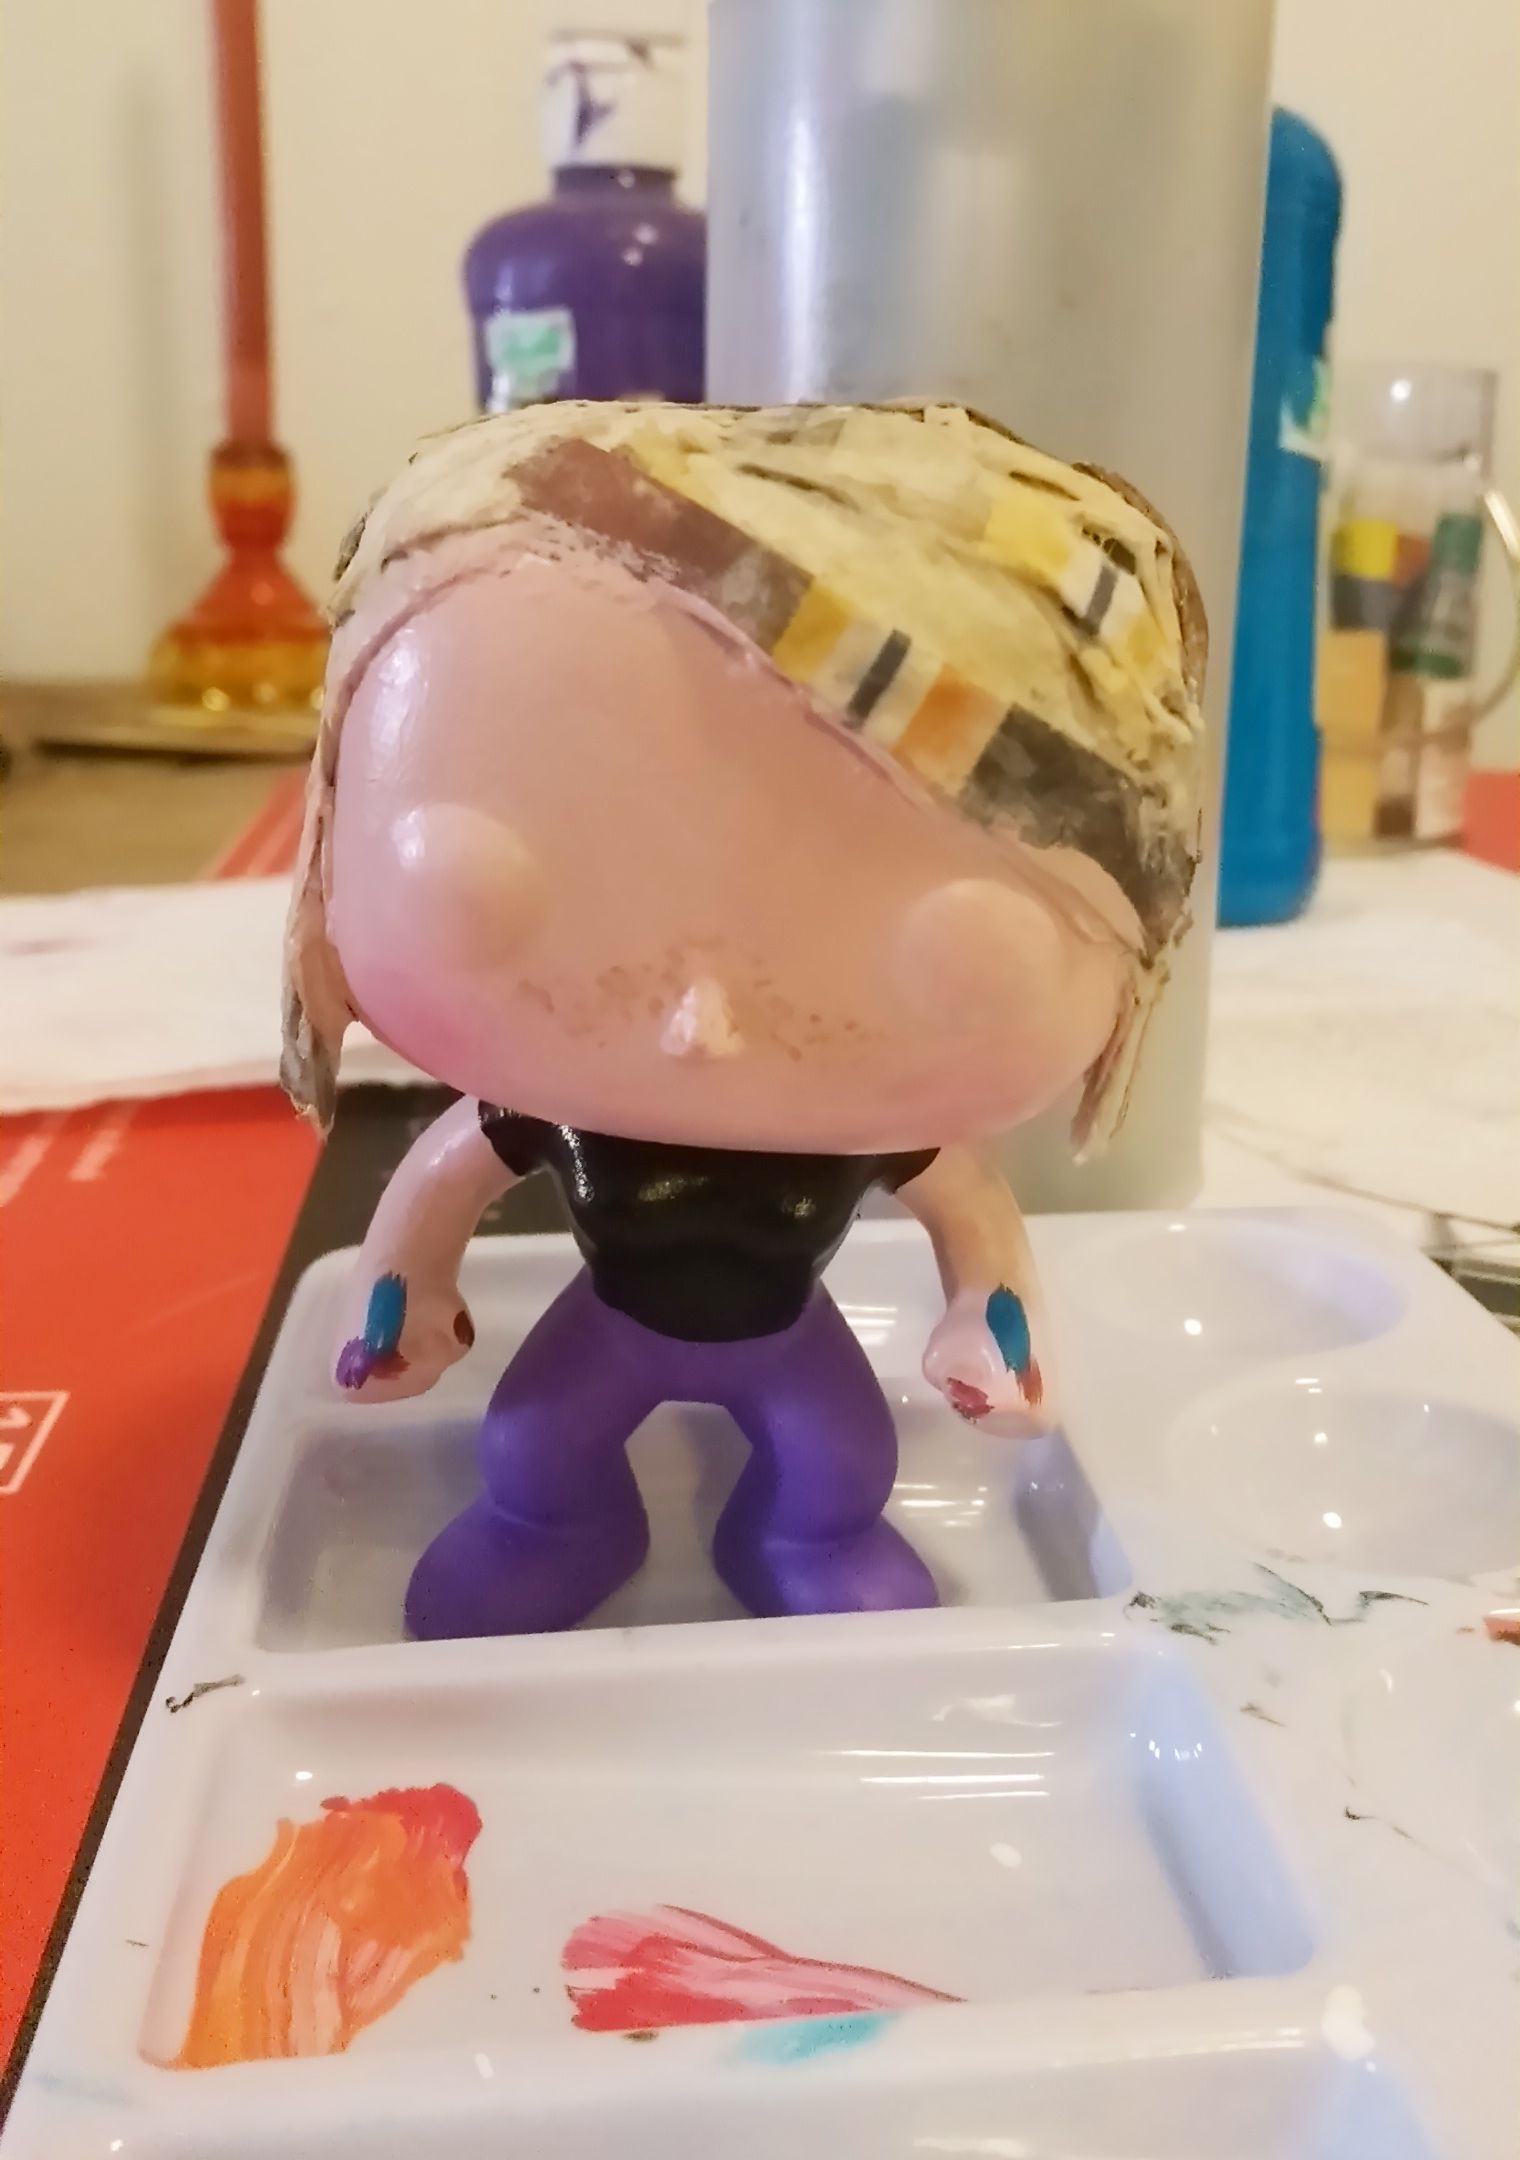
Adding some color (complete with freckles)

My characteristic magical silver slippers are a go, and all painting is done – now for the details.

Skirt, check! Hair bow, check! Drawing utensils, check! Artist Leesy and her trusty resurrected brontosaurus companion, all in a day’s work.
Wish me luck at the Art Clash tomorrow, photos soon!